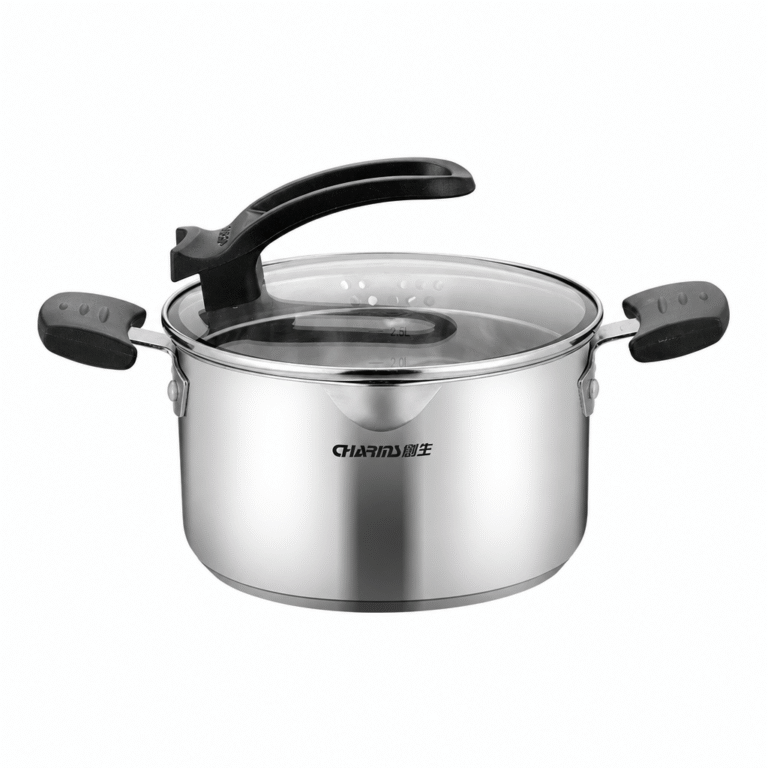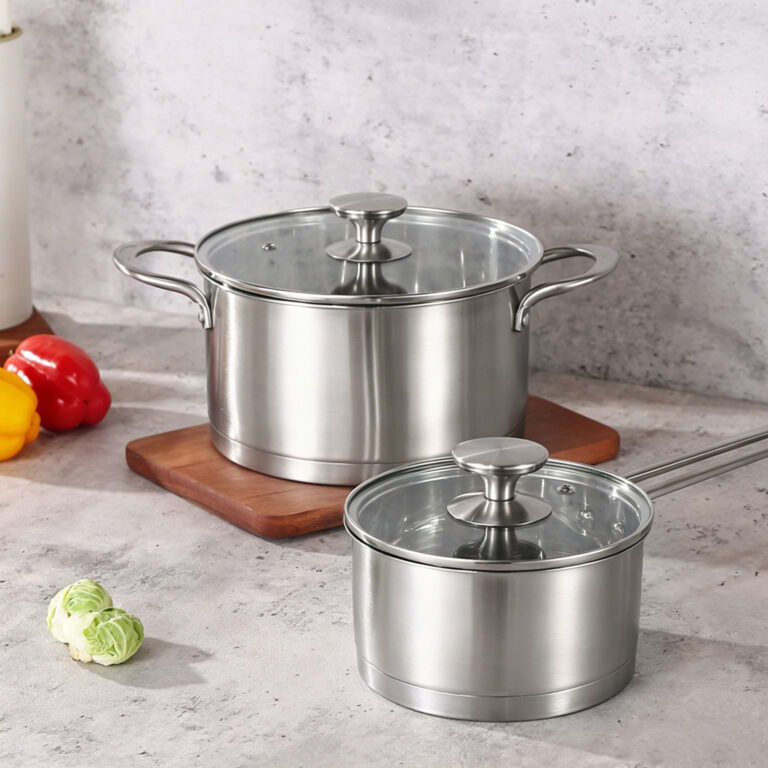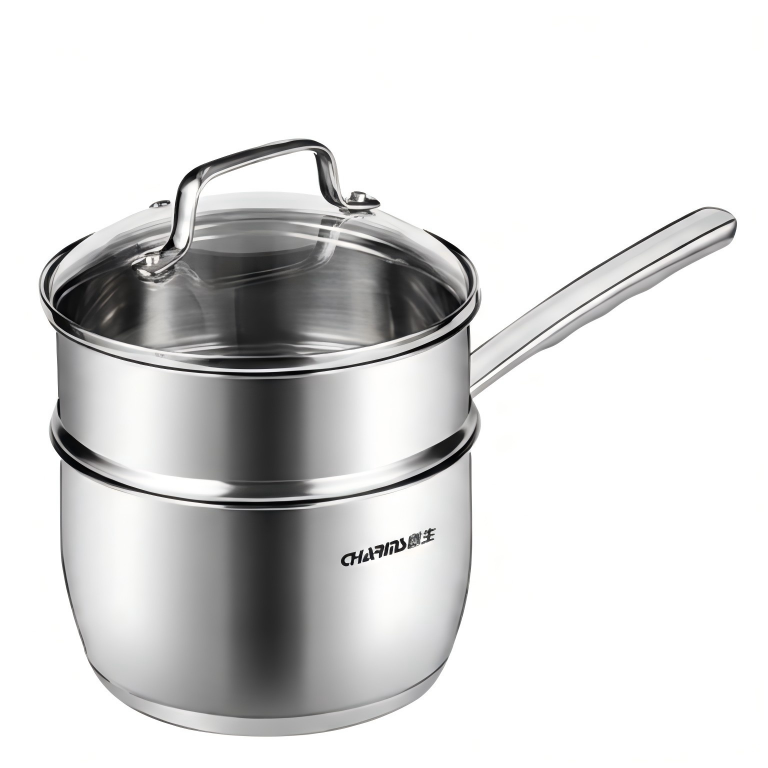


Eggs stick to stainless steel for one reason — the pan isn’t hot enough when the fat goes in, or the egg goes in before the pan stabilizes. The fix is a three-step sequence: preheat dry until water beads dance (the Leidenfrost effect), add fat and let it shimmer, then add eggs at lower heat and wait. This guide covers fried eggs, scrambled eggs, an advanced salt technique, and a troubleshooting table for when things still go wrong.
Why Eggs Stick to Stainless Steel (The Science, Briefly)
The short answer: egg proteins bond directly to metal when the surface temperature is wrong.
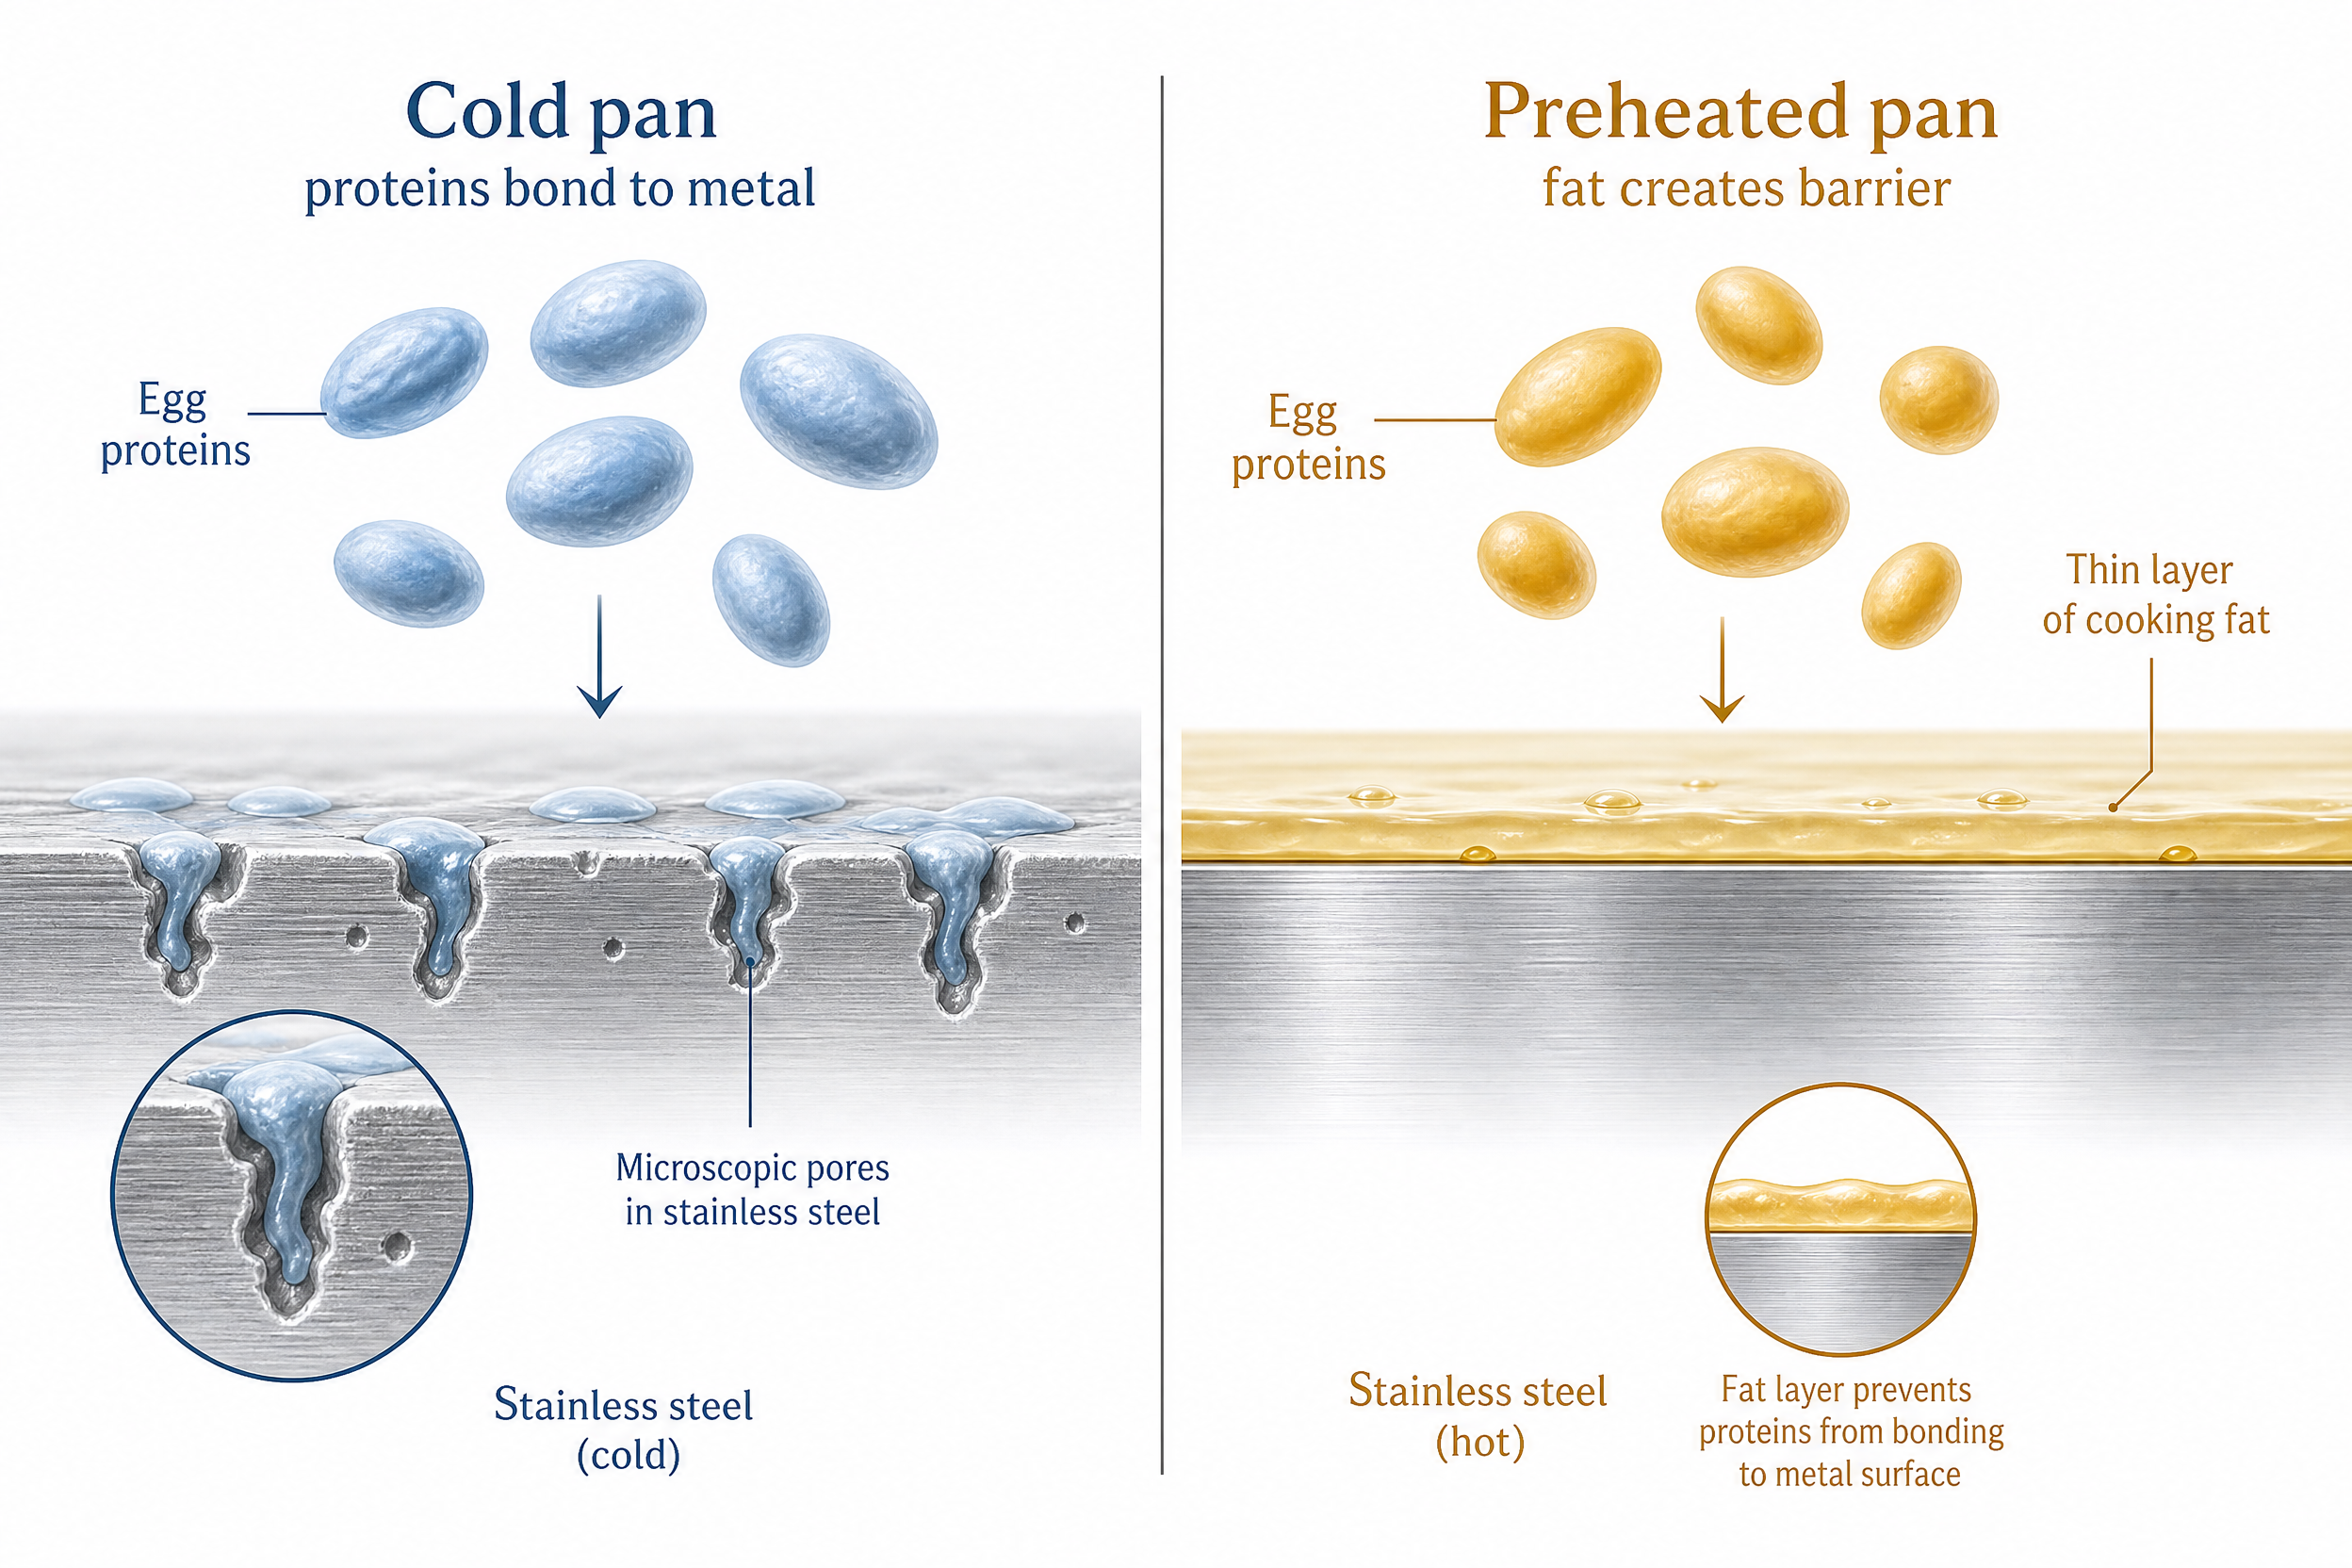
Stainless steel, viewed under a microscope, looks like a mountain range — full of tiny peaks and valleys. When you place a cold egg onto an inadequately heated pan, the egg proteins — including ovalbumin (the major egg white protein) and others — seep into those microscopic crevices and denature directly against the metal surface. That’s not sticking in the everyday sense — it’s a protein-metal bond.
The fix isn’t special cookware. It’s heat management. When the pan reaches the right temperature before you add fat, those surface pores effectively close. Add fat at the right moment, and it creates a thin lubricating layer between the egg and the steel. The egg never touches the metal. It cooks in the fat, not on the pan.
This is called the Leidenfrost effect — a phenomenon named after 18th-century German physician Johann Gottlob Leidenfrost. When you flick a few drops of water onto a properly preheated pan, they don’t evaporate instantly. They form tight, beading droplets that skitter and bounce across the surface. That’s the signal. The pan is ready.
One important caveat: the Leidenfrost effect also occurs when a pan is overheated. Water beads even on a pan that’s too hot. So the test is a checkpoint, not a guarantee — use it to confirm the pan is hot enough, then proceed immediately. Don’t walk away and come back in five minutes.
Researchers at Emory University’s Burton Lab, a physics-focused facility, have studied this mechanism and confirmed that a clean, properly heated stainless steel surface creates ideal conditions for egg release — as long as the right fat follows at the right moment.
The Three Rules That Prevent Sticking
Follow these in sequence and eggs will not stick. Skip any one of them and they probably will.
Rule 1: Preheat the dry pan for 2–3 minutes on medium heat
Place the empty pan on medium heat for about two to three minutes before adding anything. Stainless steel needs time to reach an even temperature across the entire surface, not just the center above the burner.
After two minutes, do the water drop test: flick two or three drops of water from your fingertips onto the surface. If they spit and evaporate on contact, the pan is not hot enough yet. If they form beading droplets that slide and skitter, you’re ready. If the water immediately vaporizes in a puff of steam, the pan is too hot — pull it off heat for 30 seconds and try again.
This 2–3 minute window works for most home gas and electric burners on medium heat. Induction burners run hotter and may need only 90 seconds.

Rule 2: Add fat and let it come up to temperature
Once the water test passes, immediately reduce heat to medium-low. Then add your fat.
The best options, ranked:
- Butter: Best flavor, smoke point around 302–350°F — fine for medium-low, burns at higher heat
- Avocado oil: Neutral flavor, smoke point ~520°F (refined), most forgiving if the pan runs slightly hot
- Ghee / clarified butter: Best of both — the milk solids have been removed, so it handles heat like oil but tastes like butter (smoke point ~450°F)
- Olive oil: Works fine for fried eggs at medium-low; avoid for scrambled at higher heat
Use enough fat to coat the pan — about 1 tablespoon for an 8-inch pan, closer to 1.5 tablespoons for a 10-inch. This isn’t optional. A thin scrape of butter in a hot pan evaporates before the egg even hits the surface.
Wait for the butter to foam and the foam to begin subsiding, or for oil to shimmer with slight movement across the surface. That’s the moment to add eggs.
Rule 3: Don’t touch the egg until it releases itself
This is the rule most people break. When you crack an egg into a hot, well-fatted stainless steel pan, resist the urge to move it. The egg will stick at first — and that’s normal. As the proteins set from the bottom up, the egg releases naturally from the surface. Give it 30–60 seconds. Slide a thin spatula underneath: if there’s resistance, wait another 20 seconds and try again. Forcing it tears the white and leaves half of it welded to the pan.
How to Fry Eggs in a Stainless Steel Pan
A properly fried egg in stainless steel has lacy, golden-brown edges and a yolk that holds its shape — results that are actually harder to get with nonstick.
Here’s the complete process, step by step:
What you need:
- Stainless steel skillet — 8-inch for 1–2 eggs, 10-inch for 3–4 eggs
- 1–1.5 tablespoons fat (butter or avocado oil recommended)
- Room-temperature eggs (15 minutes out of the fridge)
Steps:
- Bring eggs to room temperature. Pull them from the fridge 15 minutes before cooking. Cold eggs cause thermal shock — the sudden temperature drop when they hit the pan causes the proteins to seize and grip the surface faster than you can manage.
- Preheat pan on medium, 2–3 minutes. Run the water drop test. Adjust heat as needed.
- Reduce to medium-low. Add butter. Watch the foam rise and begin to subside.
- Crack egg directly into the fat. You should hear a satisfying sizzle — not violent spitting, not silence. A gentle sizzle is the right temperature signal.
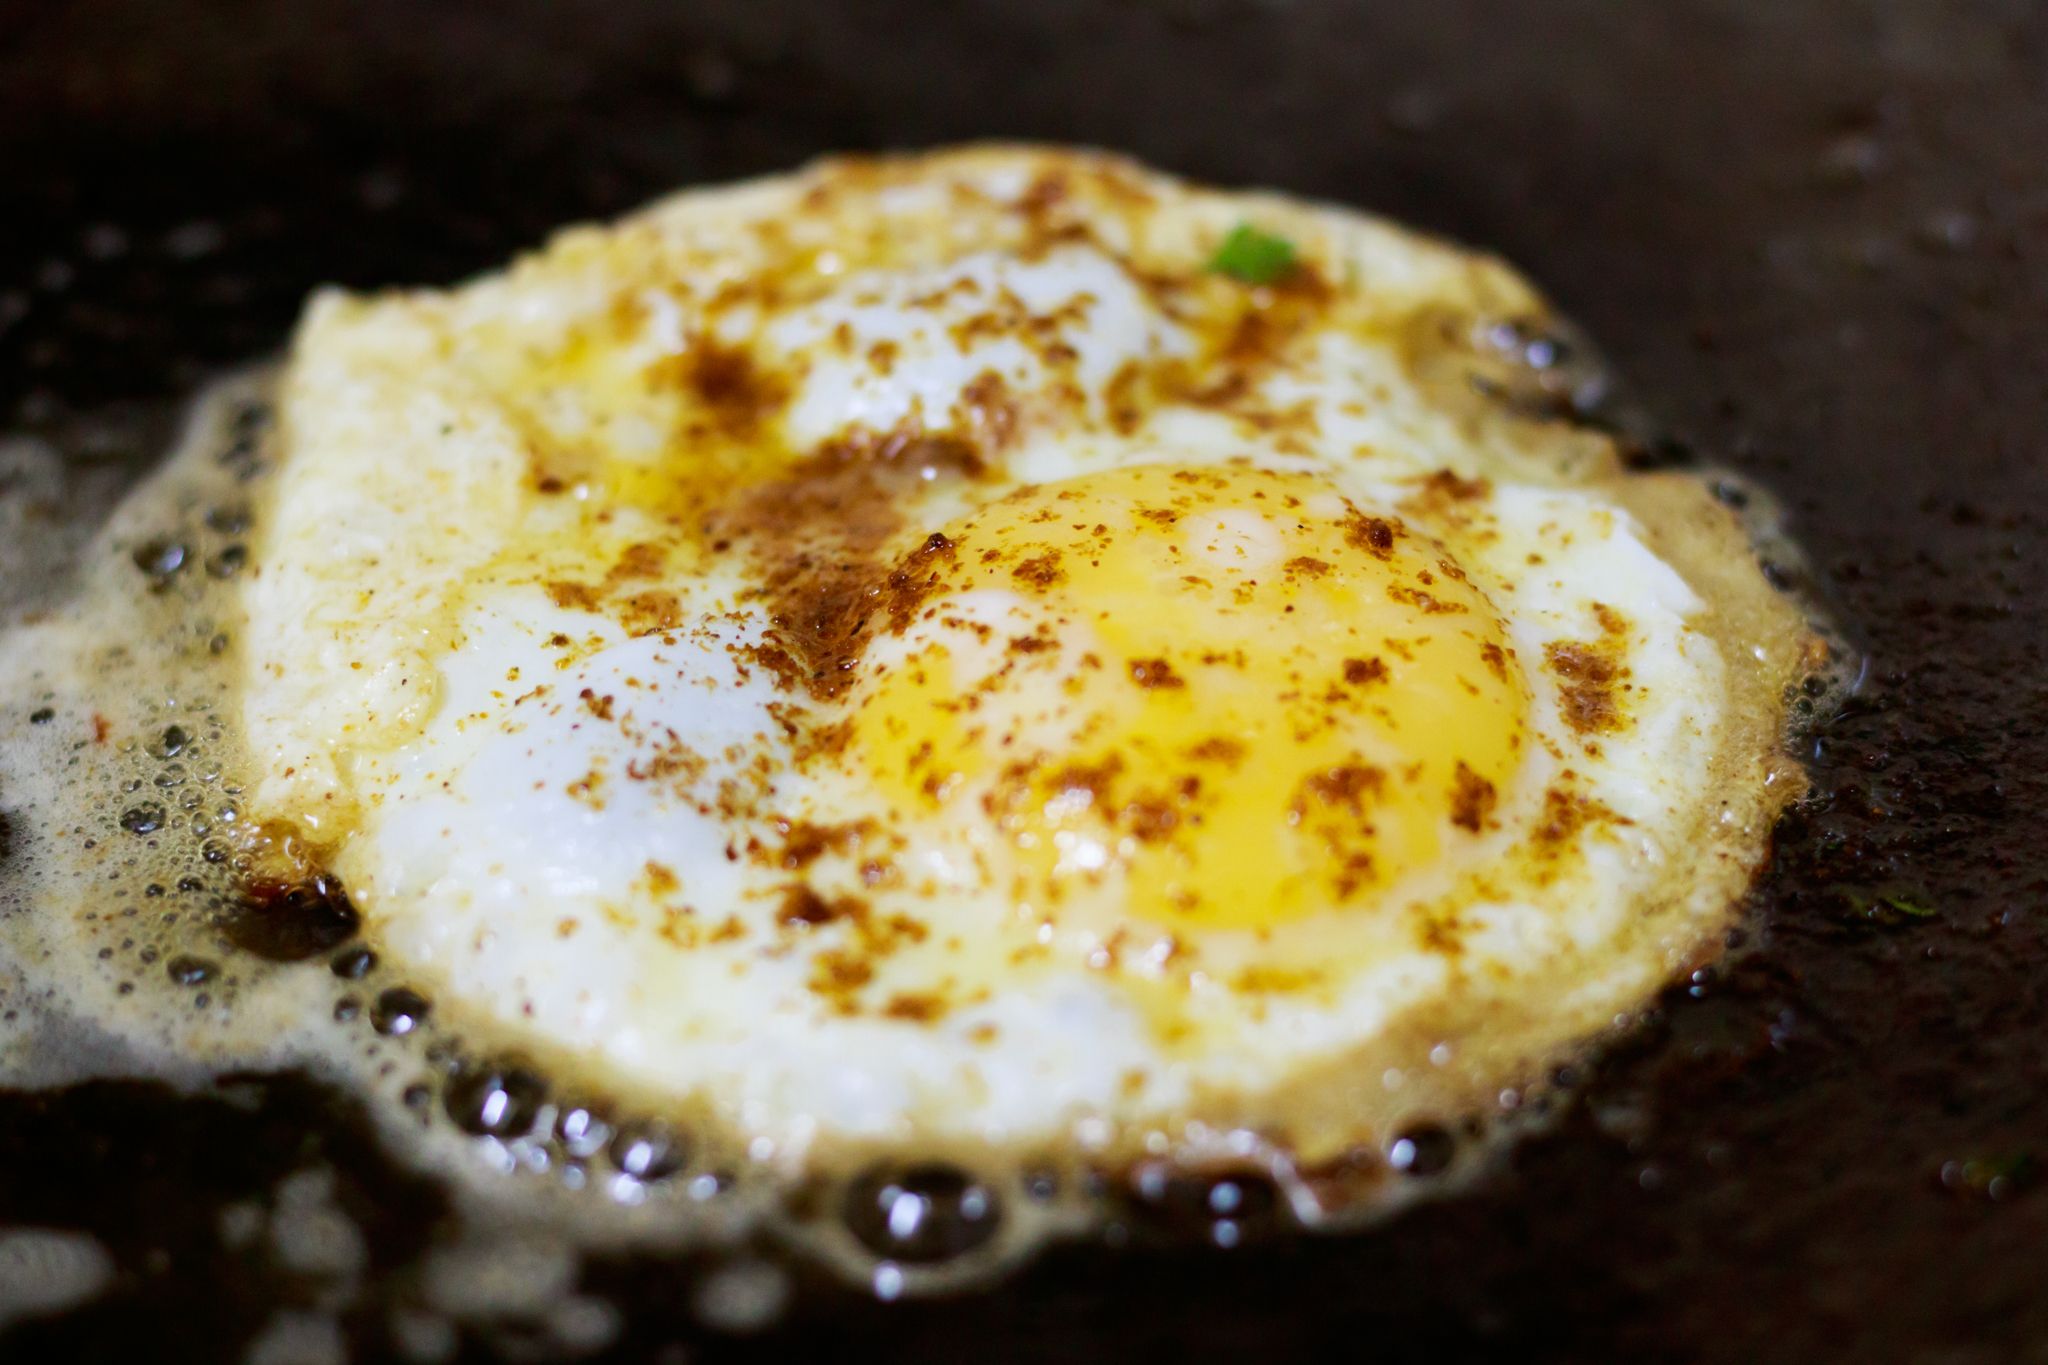
- Watch the whites. Tiny bubbles will form around the edges of the white as it sets. This is the visual indicator that temperature is right. The edges will begin to turn lacy and golden.
- Wait. Do not touch. Do not press. Do not slide the spatula underneath to check. The egg will tell you when it’s ready by releasing on its own. Usually 2–3 minutes for sunny-side up.
- For sunny-side up: When the whites are fully set and the yolk is still runny, slide the spatula under in one confident motion. No force required.
- For over-easy: Flip after the whites set completely. Cook 10–30 seconds on the second side — 10 seconds for a barely-set runny yolk, up to 30 for more cooked through.
The pan size matters more than most guides admit. An egg in an 8-inch pan spreads to fill the surface and cooks with contained heat. The same egg in a 10-inch pan spreads thin, cooks unevenly, and the edges overcook before the center sets. Use the right size pan.
How to Cook Scrambled Eggs in Stainless Steel
Scrambled eggs are more forgiving in stainless steel than fried eggs — but they respond differently to heat, so the technique shifts.
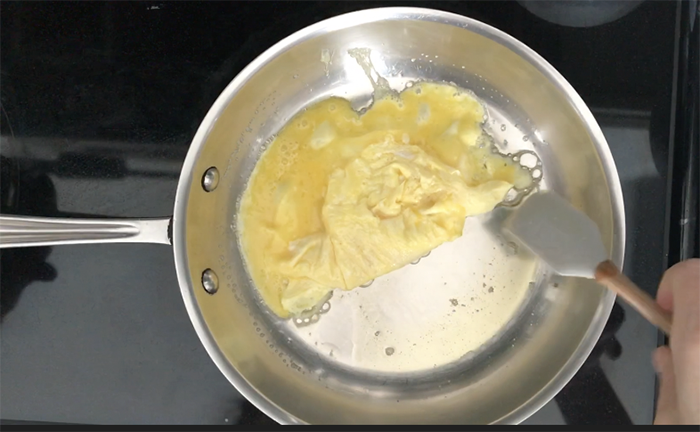
The key difference: scrambled eggs want lower heat than fried eggs, and you never stop moving them. The movement prevents any one spot from bonding to the metal long enough to stick.
Steps for soft, creamy scrambled eggs:
- Beat eggs in a bowl. 2–4 eggs, a small pinch of salt, a tablespoon of milk or cream if you prefer a richer texture. Beat until fully combined — no streaks of white.
- Preheat pan on medium, 2 minutes. Run the water drop test.
- Reduce to low. Add butter (1 tablespoon). Let it melt fully and begin to foam.
- Pour beaten eggs into the pan in a swirling motion. This distributes the eggs evenly and avoids creating a cold spot in the center.
- Stir gently and continuously. Use a silicone spatula. Push from the edges toward the center, folding rather than stirring. The goal is to move the eggs before they can bond to the surface in any one spot.
- Pull off heat when they look underdone. This is the most common mistake. Scrambled eggs in stainless steel continue cooking from residual pan heat for 30–60 seconds after you remove the pan from the burner. Pull them off when they look glossy and slightly wet — they’ll finish perfectly by the time they reach the plate.
- Total cook time: 5–7 minutes at low heat. If you’re cooking faster than that, the heat is too high.
One limitation nobody talks about: scrambled egg whites (no yolks) behave completely differently. The fat content in whole eggs is what helps prevent sticking — it comes from the yolks. Egg whites alone have almost no fat, so they stick aggressively even in a well-prepared pan. If egg white scrambles are a regular part of your routine, a nonstick pan is the more practical tool for that specific task.
The Salt Hack: A Technique That Actually Works
This technique comes from a French Culinary Institute chef-instructor and was independently validated by physics researchers at Emory University — it’s not a cooking myth.
The idea is that kosher salt, used as a dry abrasive while the pan is hot, temporarily fills in the microscopic surface irregularities of stainless steel. Under a microscope, stainless steel looks jagged — it’s those jagged peaks and valleys that catch egg proteins. Salt polishes them flat, temporarily, before you add oil. The salt also absorbs residual moisture and old cooking residue that contributes to sticking.
The technique was originally learned at The French Culinary Institute (now merged into the Institute of Culinary Education) by Wirecutter kitchen writer Michael Sullivan, from chef-instructor Scott Larson. Wirecutter’s Maki Yazawa later tested it independently and reported that eggs “glided effortlessly across the surface of the skillet” after mastering it — but also honestly noted it took three tries to get right.
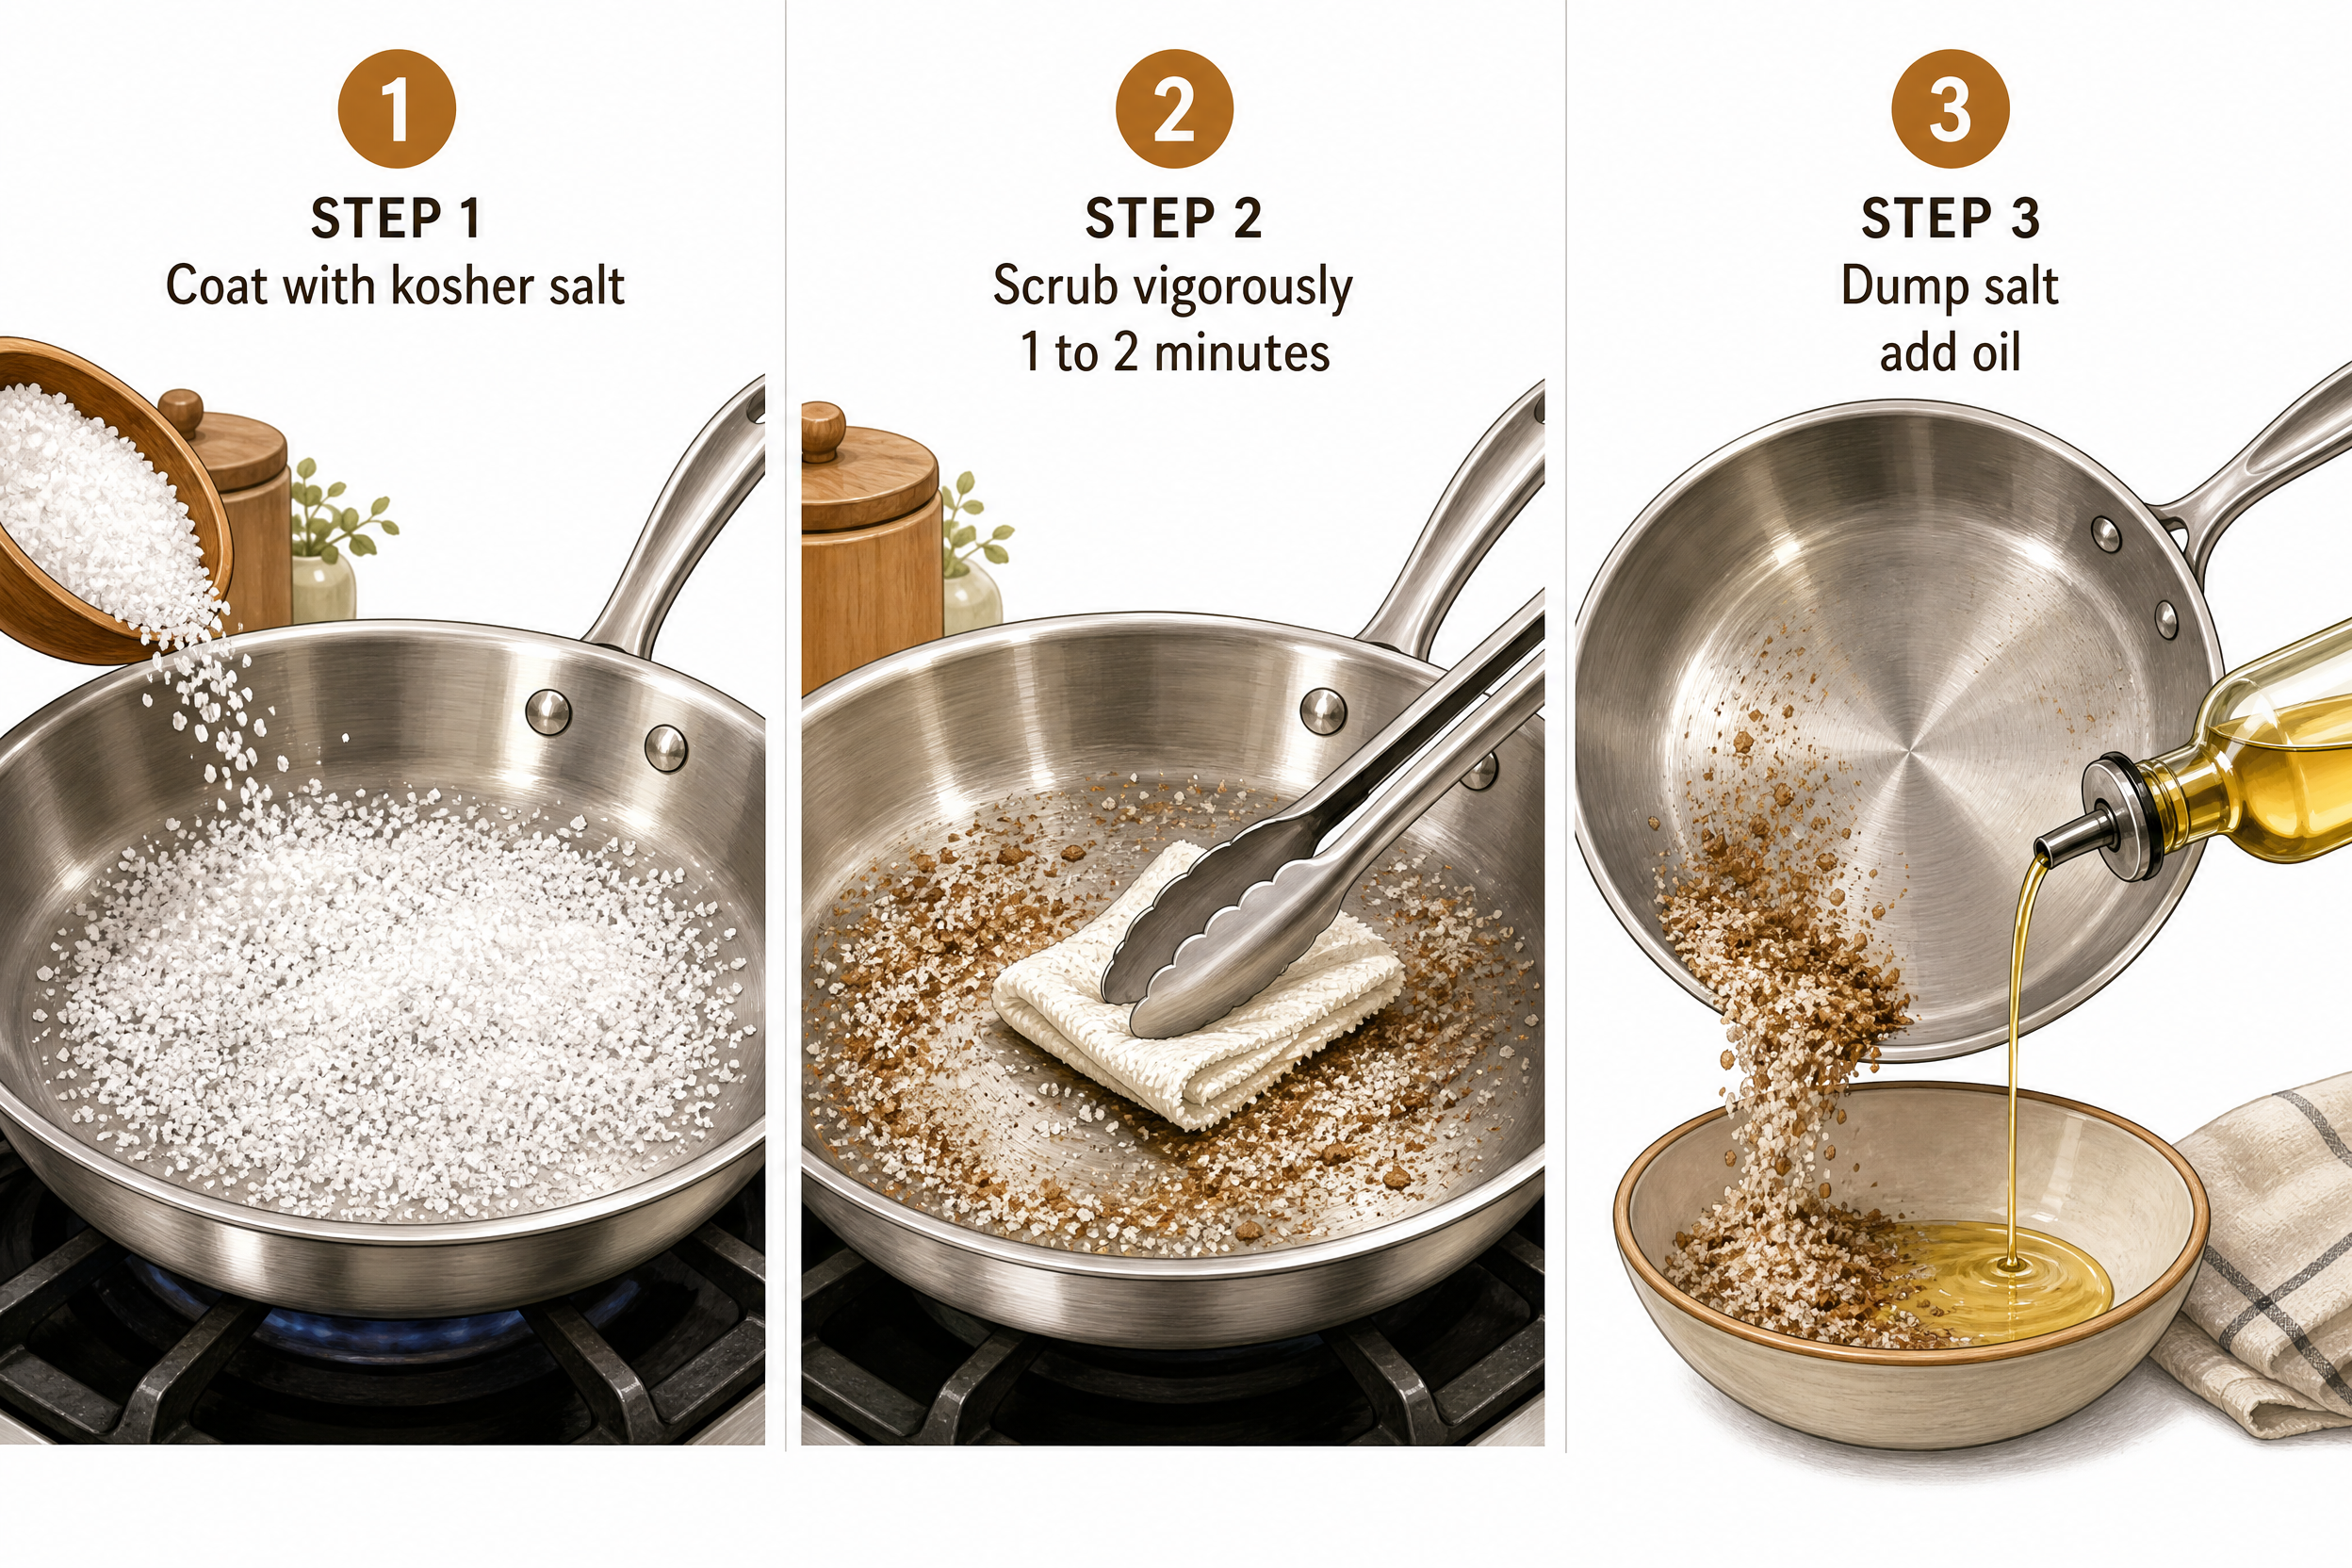
How to do it:
- Heat the empty pan on medium-high until very hot — hotter than you’d normally use for eggs.
- Add an even layer of kosher salt to coat the surface completely, including the sides.
- Use a folded paper towel (held with tongs) to scrub the salt vigorously across the entire surface for 1–2 minutes while the pan is on the heat.
- Dump out the salt into a heatproof container. The salt may have turned brownish — that’s the absorbed residue.
- Add a generous amount of high-smoke-point oil (avocado oil works best here — the high heat required means butter will burn).
- Wait for the oil to begin smoking lightly, then add your eggs.
Important limitations to know before trying this:
- You must re-do the salt process every time. There’s no holdover effect like with cast iron seasoning.
- It works best on a clean pan. Grimy pans respond poorly.
- Use a high-heat oil, not butter — the elevated temperature required for the technique will burn butter before the eggs even go in.
- This technique does not work on ceramic or Teflon pans — it actually makes sticking worse on those surfaces.
- Scrambled egg whites still won’t cooperate, even with the salt hack. Yolk fat is the variable the salt can’t replace.
Troubleshooting: Why Did My Eggs Still Stick?
If you followed the steps and still had problems, this table will identify the cause.
| What happened | Most likely cause | Fix |
|---|---|---|
| Eggs stuck immediately on contact | Pan not hot enough — water test failed or skipped | Preheat longer, repeat water test |
| Edges burned before center set | Pan too hot, or excess heat not reduced before adding eggs | Reduce to medium-low after water test passes |
| Eggs stuck and tore when flipped | Flipped too early — proteins hadn’t set fully | Wait for white to be completely opaque before flipping |
| Scrambled eggs welded to the bottom | Heat too high or not moving eggs continuously | Lower heat, use silicone spatula, keep moving |
| Butter burned before egg was done | Butter added to too-hot pan | Reduce heat more before adding butter, or switch to avocado oil |
| Second batch stuck even though first was fine | Fat burned off, now pan is dry | Wipe pan, add fresh fat before each batch |
| Egg white scramble stuck | Egg whites have no yolk fat — stainless steel is the wrong tool | Use nonstick pan for egg-white-only scrambles |
| Pan is well-seasoned cast iron but still sticks | This guide is for stainless steel — cast iron has different protocols | Follow cast iron seasoning/preheat guide instead |
The most common failure is a pan that’s at the right temperature for the water test but then sits for another 2–3 minutes while you crack eggs and prepare other things. The pan continues heating during that gap and overshoots. Do the water test, then add fat and eggs within 30 seconds.
Frequently Asked Questions
How do I stop eggs from sticking to my stainless steel pan?
Preheat the empty pan on medium heat for 2–3 minutes until water drops bead and skitter (the Leidenfrost effect). Reduce to medium-low, add enough fat to coat the entire surface, and add room-temperature eggs. Wait until the egg releases naturally before attempting to move it.
What temperature should a stainless steel pan be for eggs?
Around 320°F (160°C) is the target for fried eggs — equivalent to a medium-low setting on most burners. The practical indicator is a gentle sizzle when the egg hits the fat, not violent spattering or silence.
Do I need special oil for eggs in stainless steel?
No special oil — but the choice matters. Avocado oil (smoke point ~520°F refined) is the most forgiving. Butter gives better flavor and works fine at medium-low heat. Ghee combines both. Olive oil works at lower temperatures.
Can you cook eggs in stainless steel without butter or oil?
No. Fat is the separator between the egg protein and the metal surface. Without it, no amount of preheating prevents sticking.
Why do eggs stick to stainless steel but not nonstick?
Nonstick pans (PTFE/Teflon or ceramic) have a chemically smooth surface that egg proteins cannot bond to. Stainless steel has microscopic surface irregularities — egg proteins bond into these gaps when temperature conditions aren’t right. The solution is using heat and fat to prevent that initial bonding, not eliminating the surface texture.
Is it safe to cook eggs in stainless steel?
Yes. Stainless steel (18/8 or 18/10 grade, containing nickel and chromium) is considered food-safe for cooking under normal conditions. It doesn’t leach significant amounts of metals at cooking temperatures and contains no synthetic polymer coatings that could degrade over time.
How long does it take to preheat a stainless steel pan for eggs?
On medium heat, 2–3 minutes for most gas and electric stovetops. Induction runs hotter and typically needs 90 seconds. Always confirm with the water drop test rather than relying purely on time.
Conclusion: What Changes Once You Get It Right
Cooking eggs in stainless steel is one of those skills that feels impossible until it suddenly clicks. The first time a fried egg slides cleanly off the surface — intact, golden at the edges, yolk unbroken — it’s genuinely satisfying in a way that nonstick never delivers.
The underlying principle doesn’t change whether you’re frying or scrambling: hot pan, enough fat, patience. The science is real (Leidenfrost effect, protein denaturation), the technique is learnable, and the results are better than what most nonstick pans produce once they’ve aged past their prime.
If eggs are sticking after you’ve followed this guide, the troubleshooting table will identify the specific variable. Every sticking problem has a cause. Almost all of them come down to temperature or timing — not the pan.