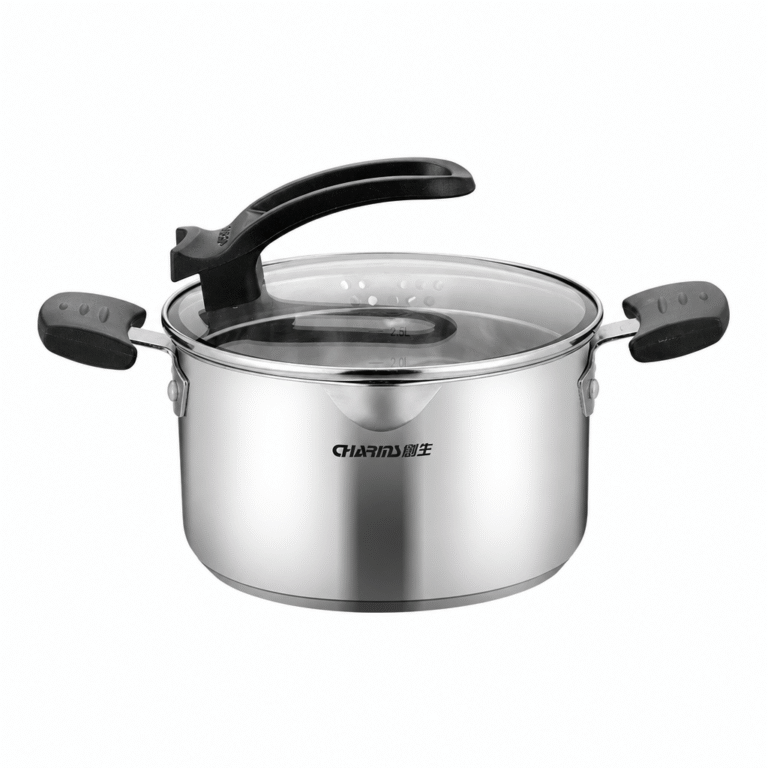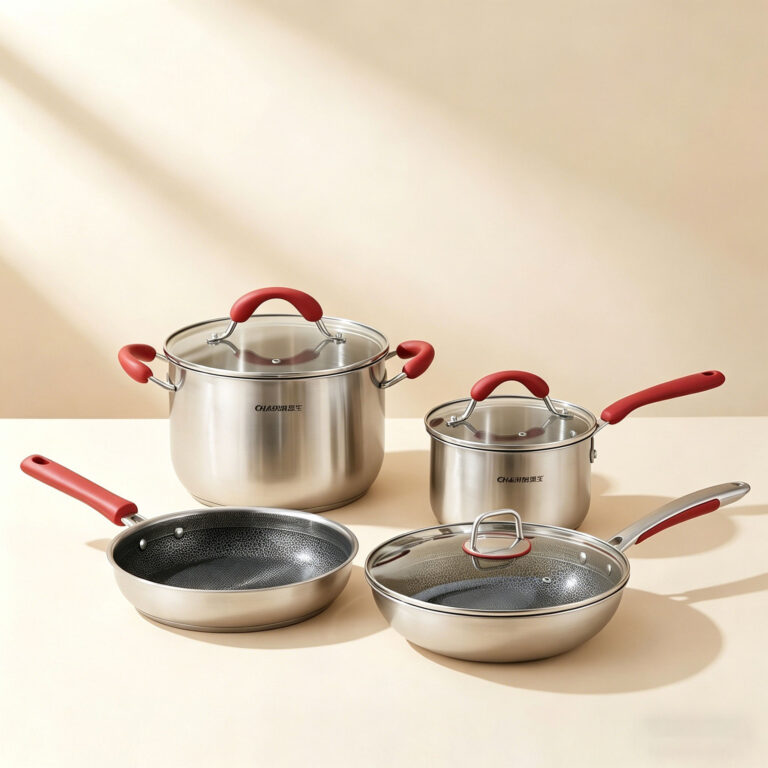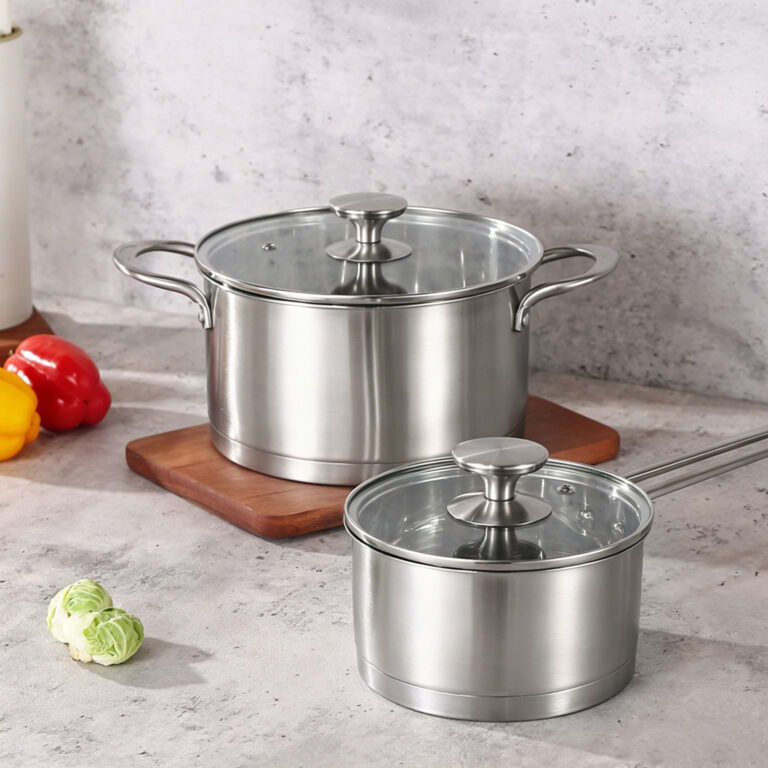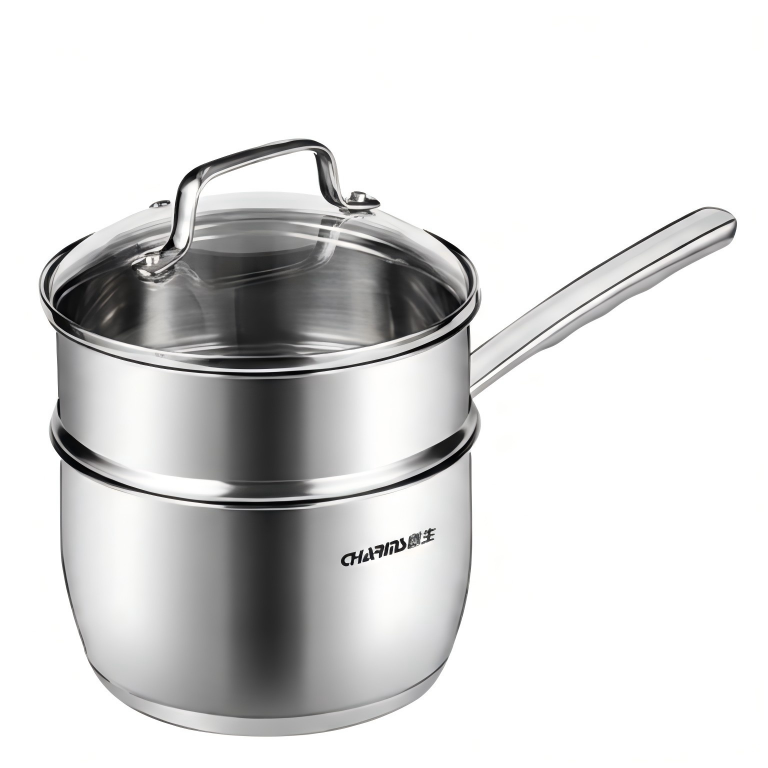


Stainless steel cookware is virtually indestructible — but only if you treat it right. The biggest mistakes are thermal shock (cold water on a hot pan), skipping preheating, using abrasive scrubbers, and stacking pans without protection. This guide covers the full lifecycle: first use, correct preheating to prevent sticking, daily cleaning, restoring burnt or discolored pans, and storage. Follow these habits and a good stainless pan will outlast every nonstick pan you’ve ever owned.
Why Stainless Steel Actually Needs Some Care
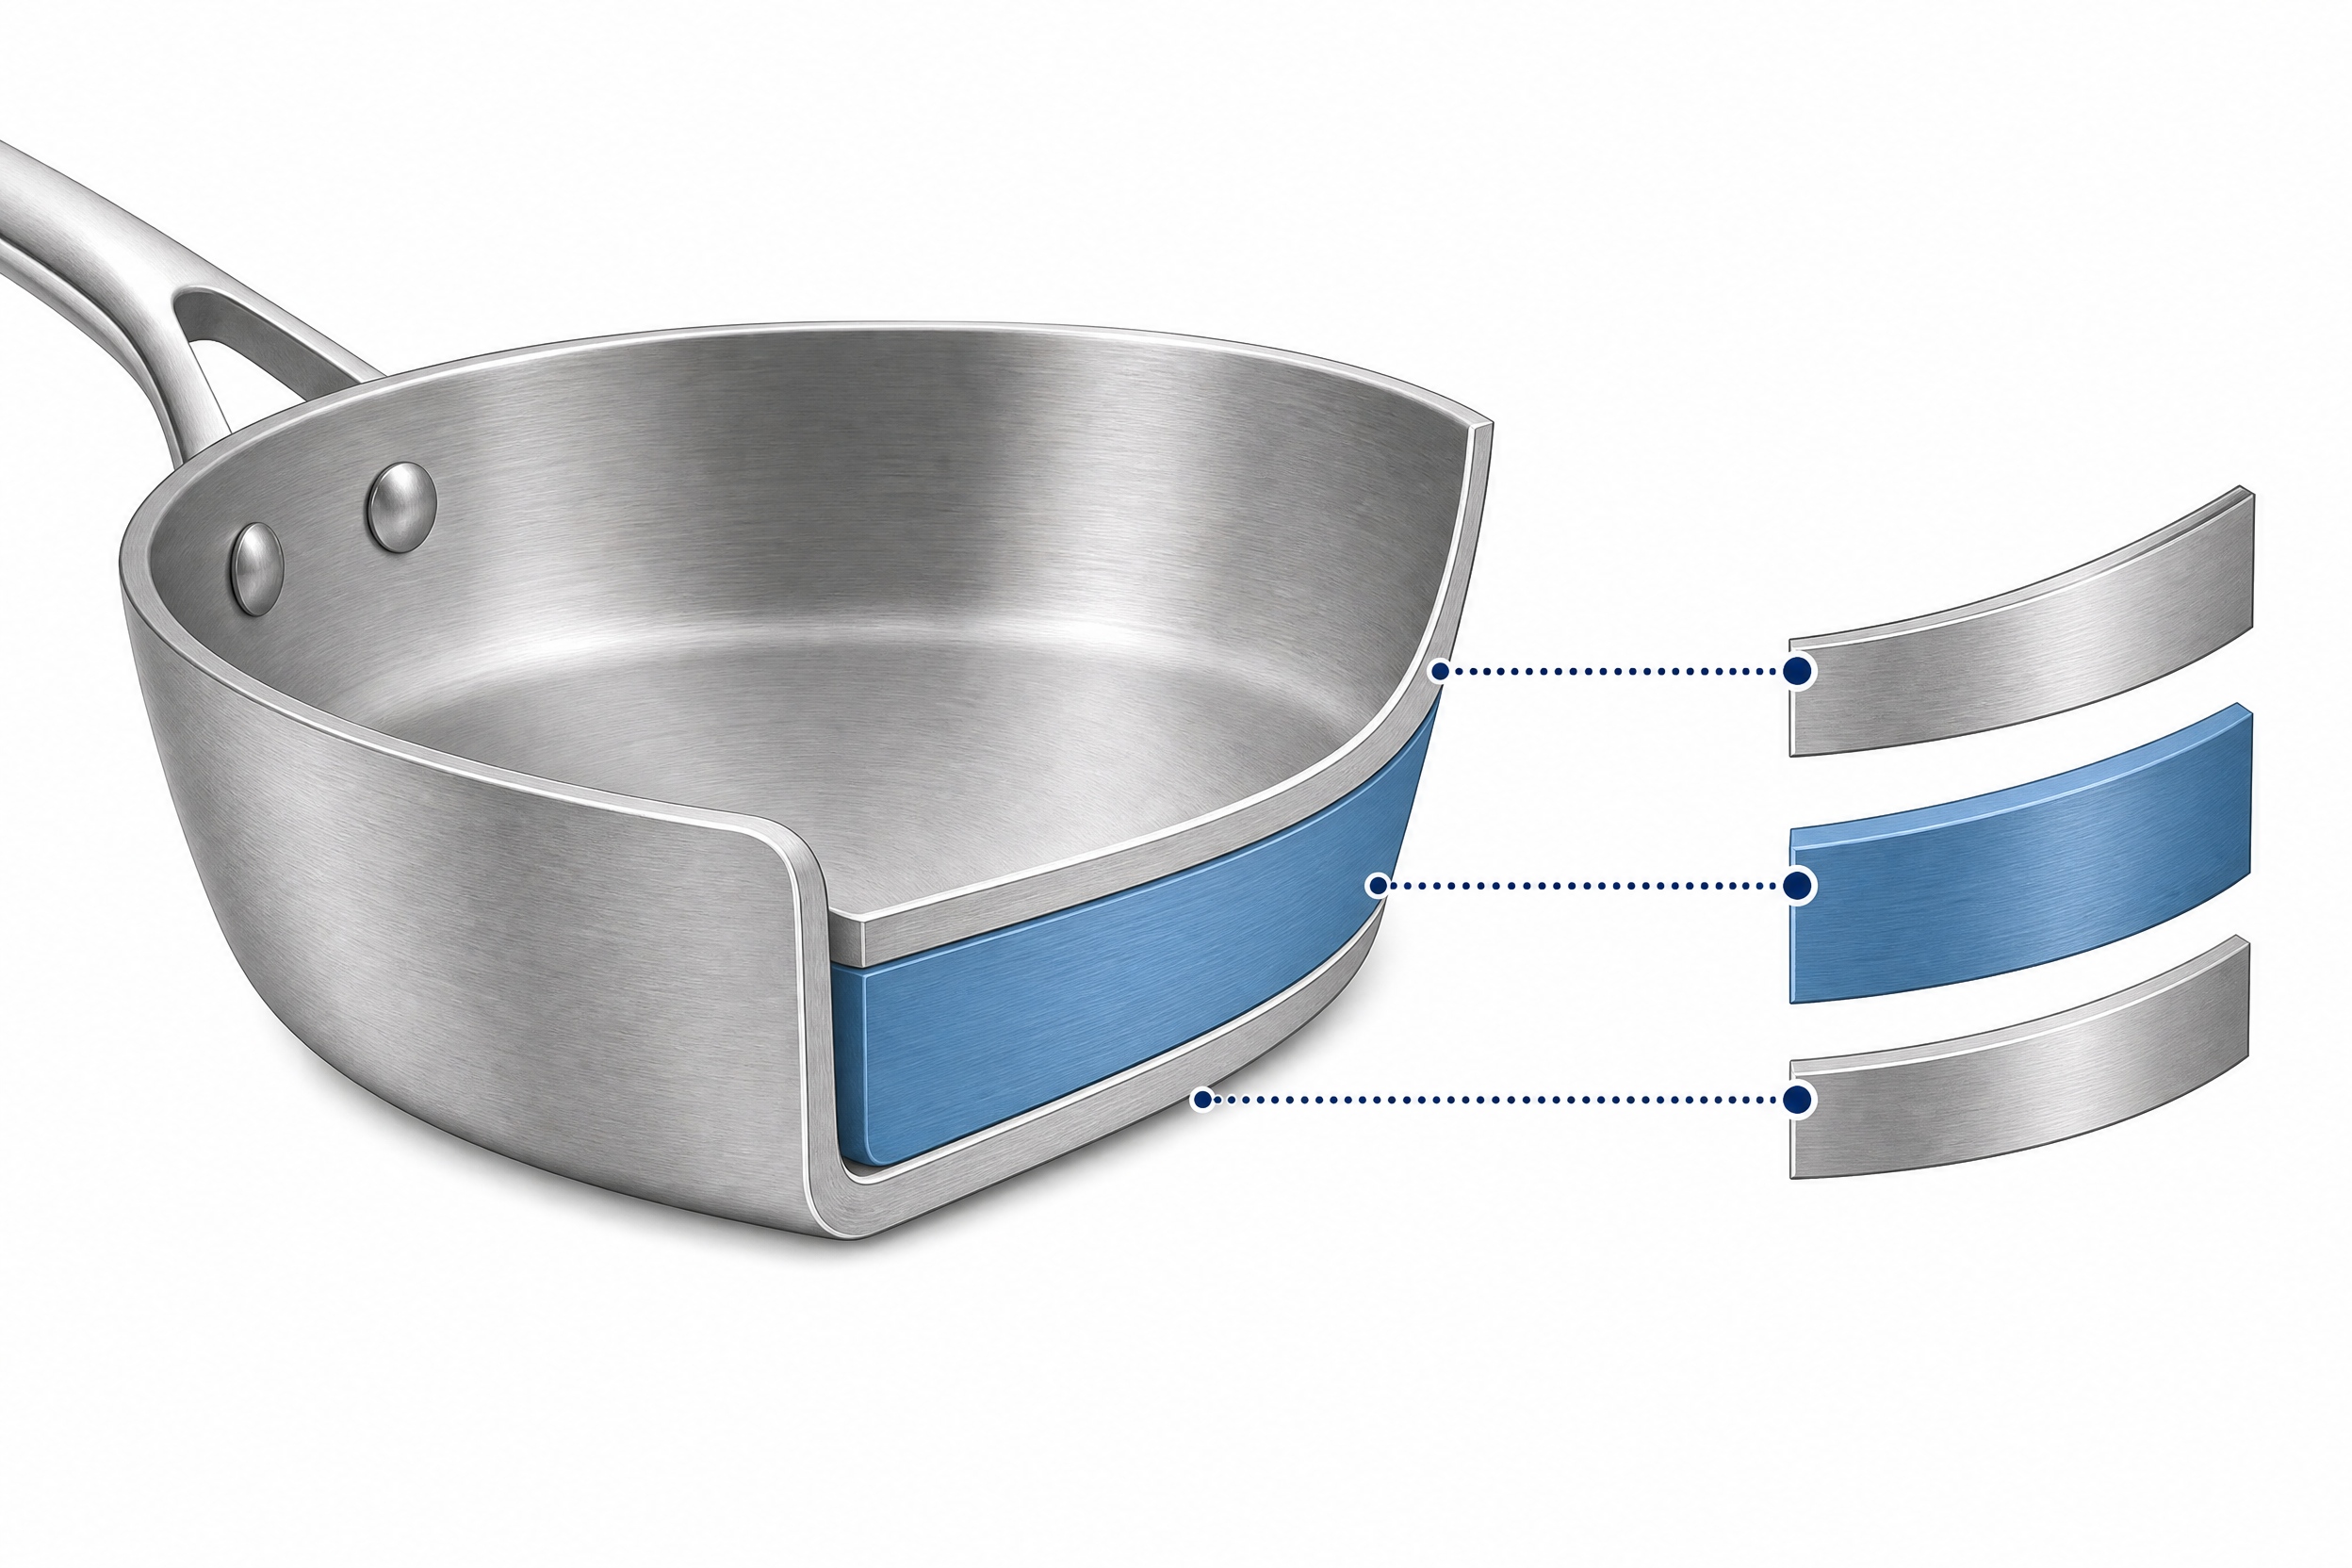
Stainless steel cookware gets its corrosion resistance from a thin, invisible layer of chromium oxide on the surface. That layer is self-repairing under normal conditions — but it isn’t invincible. Bleach, harsh abrasives, and sustained high heat can degrade it. Salt added to cold water causes pitting (small permanent craters) by attacking the chromium layer before it can stabilize.
This doesn’t mean stainless is fragile. A well-made 3-ply or 5-ply stainless steel pan handles high oven temperatures without warping — typically 500–600°F for most brands, up to 800°F for some premium lines. But understanding why certain things damage it makes the care rules obvious, rather than arbitrary.
The other issue is sticking. Stainless steel doesn’t have a nonstick coating, so food bonds to the surface through protein adhesion — until the Maillard reaction releases it naturally. The fix isn’t a better pan; it’s proper preheating technique. Get preheating right, and sticking becomes almost a non-issue.
Before You Cook: First Use and Preheating
The first time you use a new stainless pan, wash it with warm soapy water, rinse well, and dry completely. That’s it — no seasoning required (that’s cast iron). Some manufacturers apply a thin factory coating that should be washed off before cooking.
The Water Droplet Preheat Test
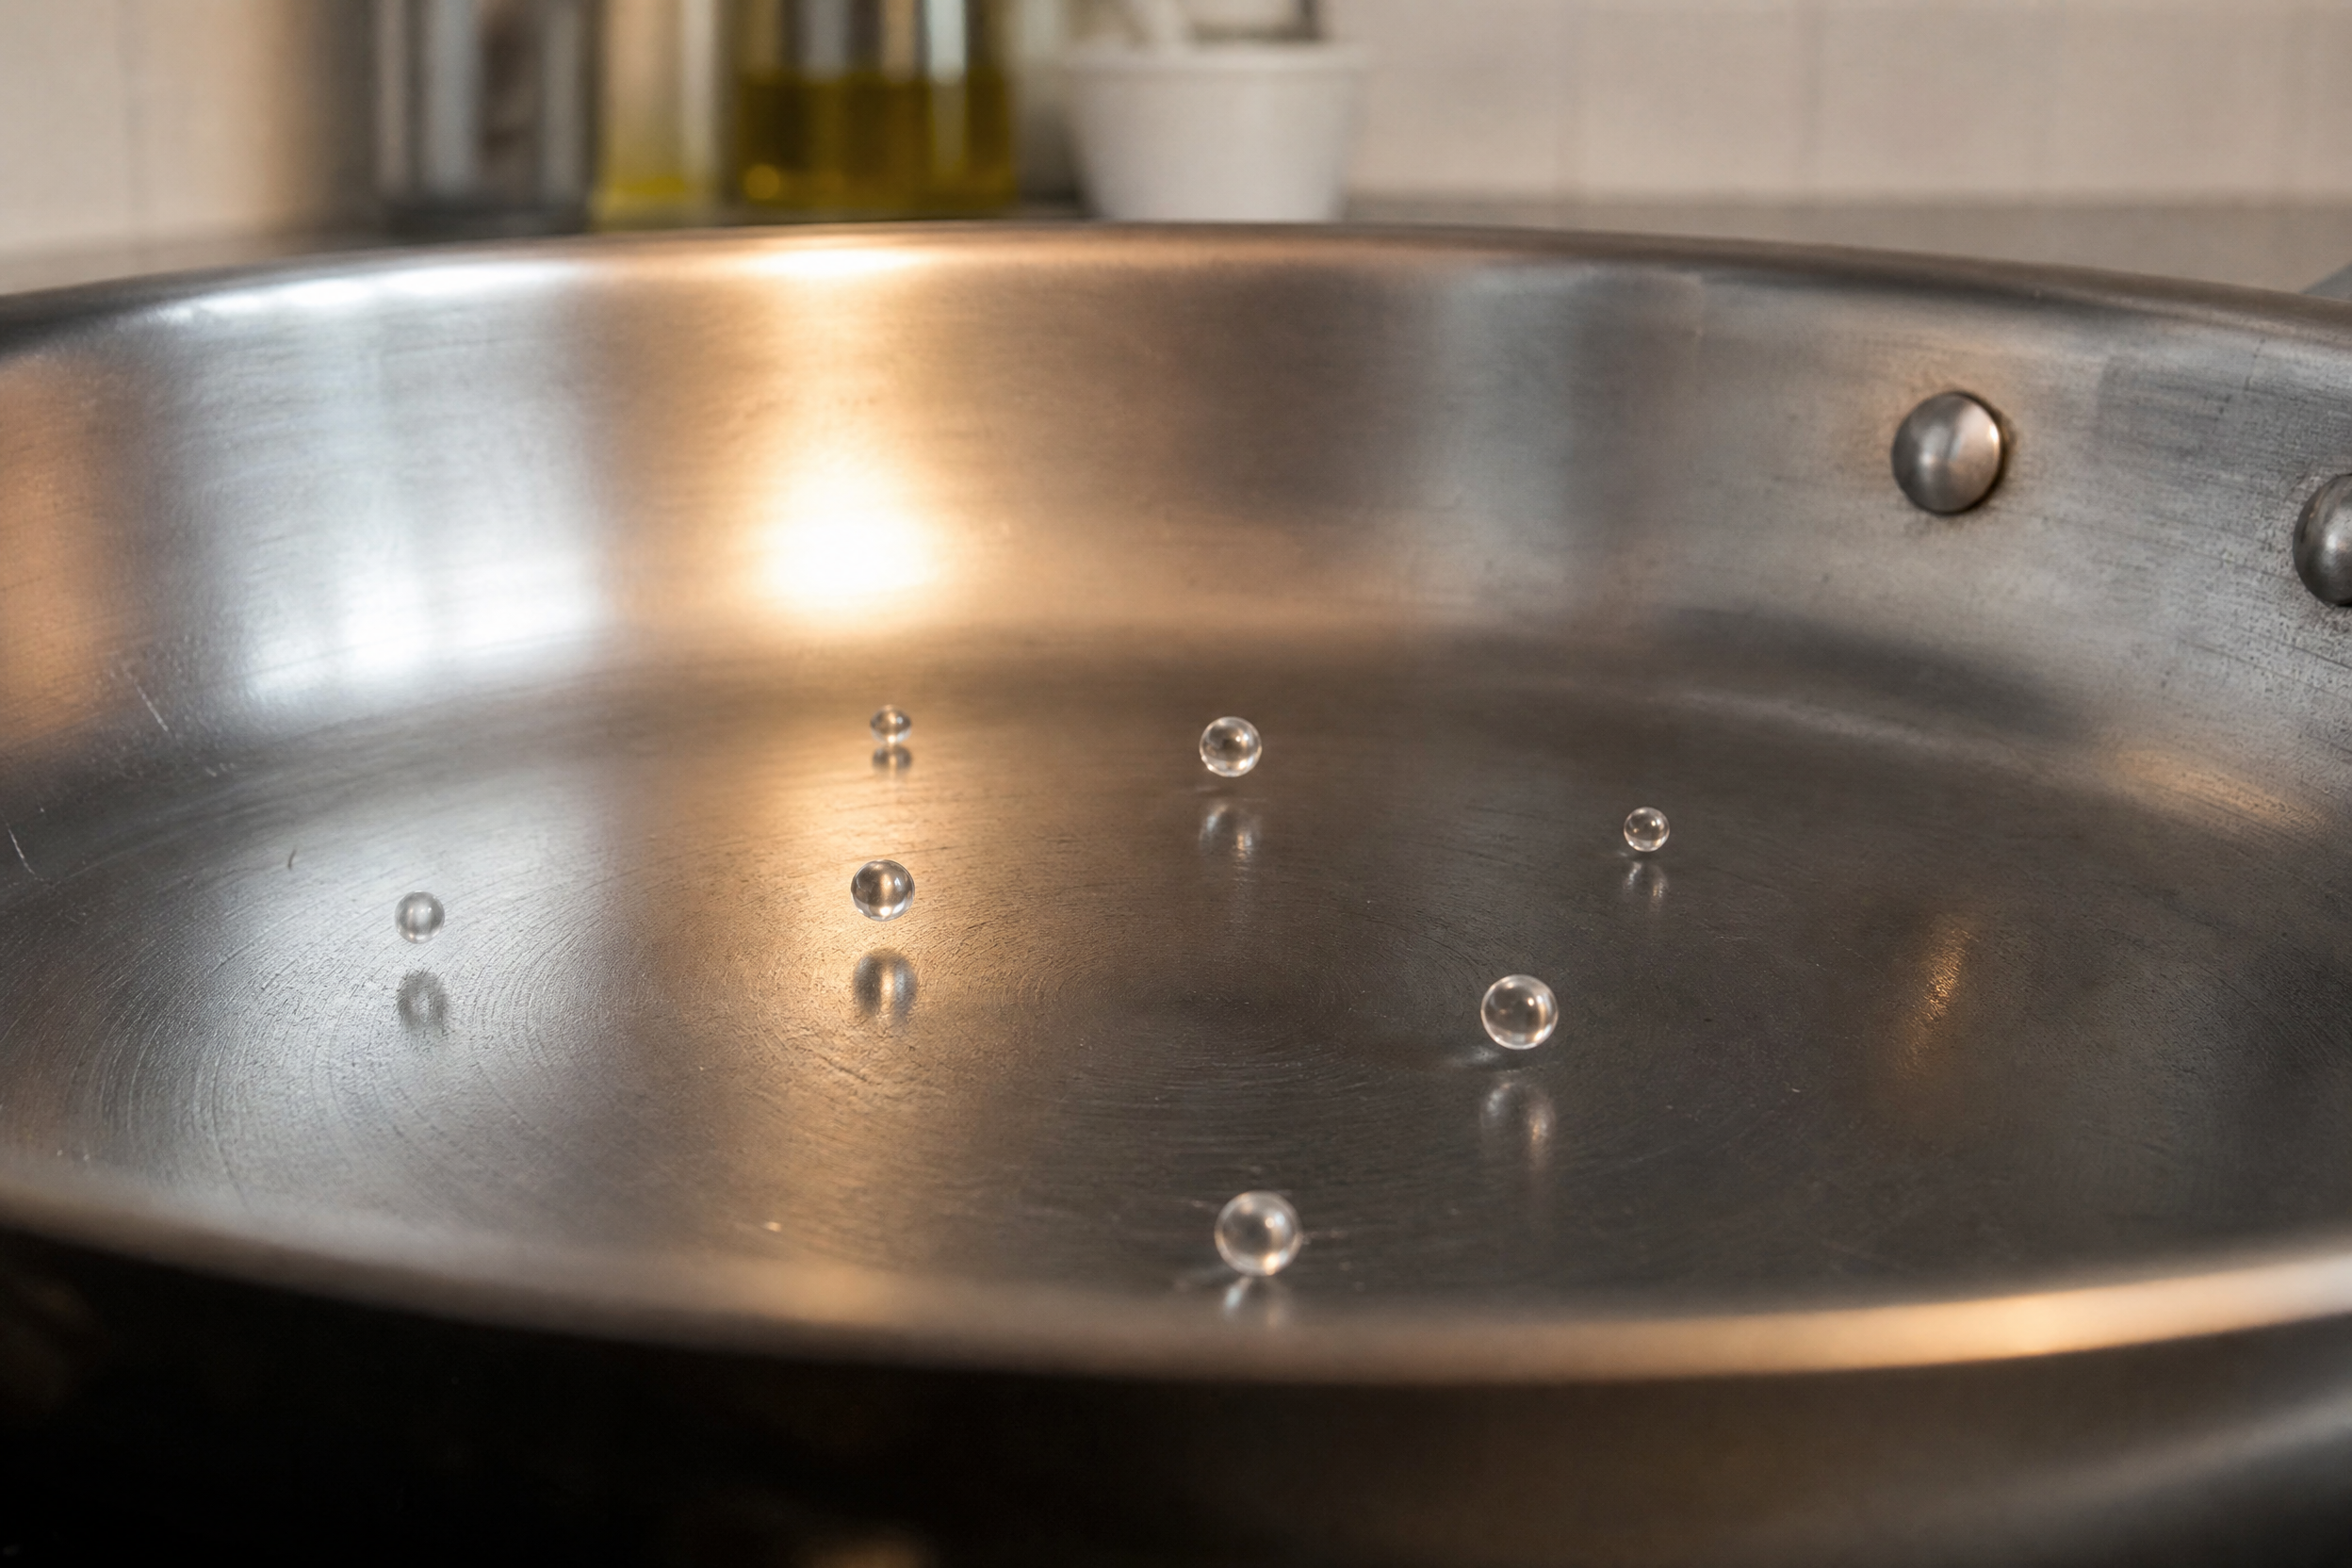
Proper preheating is the single most useful maintenance habit for stainless cookware. It prevents sticking, reduces cleanup time, and extends the pan’s surface quality. Here’s how it works:
- Place the empty pan on medium or medium-low heat for 2–3 minutes.
- Flick a few drops of water onto the surface.
- If the drops scatter and evaporate immediately — the pan is too hot. Remove from heat briefly and retest.
- If the drops bead up and glide around the pan like tiny marbles — the pan is at the right temperature (the Leidenfrost effect). Add your oil now.
- If the drops just sit and slowly steam — keep heating.
Once the oil shimmers (not smokes), add your ingredients. Food added to a properly preheated pan will initially stick, then release on its own as it cooks — that’s exactly what should happen.
Why does this matter for maintenance? A pan that overheats regularly develops thick, baked-on oil residue that gets progressively harder to clean. Consistent medium-heat preheating keeps the surface cleaner and reduces the need for aggressive scrubbing.
Always Temper Cold Ingredients
Adding cold food directly from the fridge to a hot pan causes localized thermal stress. Over time, repeated temperature shocks can stress the pan’s multi-ply construction. Let proteins like chicken breast and steak sit at room temperature for 15–20 minutes before cooking.
The Golden Rules of Cleaning Stainless Steel
For 90% of daily messes, warm soapy water and a soft sponge are all you need. The goal is to clean after each use before residue has a chance to bake on further during storage.
The Basic Routine
- After cooking, remove food and let the pan cool for 5–10 minutes. Do not run cold water over a hot pan — the sudden temperature change (thermal shock) can warp even quality pans over time.
- Add a splash of warm water to the still-warm pan and use a spatula to loosen any fond (the browned bits). This is the easiest moment to clean the pan.
- Wash with a soft sponge or dish brush, a few drops of dish soap, and warm water. Scrub in a circular motion.
- Rinse thoroughly.
- Dry immediately with a clean towel. Air-drying leaves mineral deposits from tap water that create white chalky spots.
Hand-Washing vs. Dishwasher
Almost every stainless steel pan is labeled “dishwasher-safe.” This is technically true but practically misleading. Dishwasher detergents are highly alkaline — they’ll dull the surface finish over time and can cause pitting around rivets. The high heat of drying cycles also stresses the multi-ply bonding.
Hand-washing takes under two minutes for a clean pan. It’s the straightforward choice if you paid good money for your cookware.
One Rule on Salt
Never add salt to cold water or a cold pan. Undissolved salt sitting on the pan surface creates a concentrated chloride environment that attacks the chromium oxide layer locally, causing pitting — small, permanent craters in the surface. At boiling temperature, the chlorides disperse into the water harmlessly. Always wait until water is boiling before adding salt.
How to Remove Stubborn Problems
Even with good habits, burnt food, rainbow stains, and white mineral deposits happen. Here’s how to handle each one.
Burnt or Stuck-On Food
Don’t scrape aggressively right away. First, try the deglaze method: add a small amount of water or broth to the still-warm pan and return it to low heat. The liquid will loosen most stuck residue in under two minutes. Wipe clean with a sponge.
For more stubborn burnt food:
- Baking soda method: Sprinkle baking soda generously over the burnt area, add just enough water to form a paste, and let it sit for 15–30 minutes (or overnight for severe cases). Scrub with a non-scratch sponge. Baking soda is mildly abrasive and alkaline — it lifts residue without scratching.
- Boiling vinegar-water method: Fill the pan with a 1:1 mix of water and white vinegar, bring to a simmer for 10 minutes, then let cool. The acid breaks down mineral and protein residue. Drain, sprinkle baking soda, scrub, rinse.
- Bar Keepers Friend: In side-by-side testing by Wirecutter, BKF outperformed baking soda on the toughest stains — it restored pans to a shinier, more like-new finish. Wet the pan, sprinkle BKF, scrub with a sponge within 60 seconds, then rinse immediately. Don’t let it sit longer — the oxalic acid can discolor some finishes.
Rainbow Stains (Heat Tint)

Those iridescent blue-gold-purple patches that appear after high-heat cooking are caused by the chromium oxide layer thickening slightly under heat — the same optical effect as a thin layer of oil on water. They are completely harmless and have no effect on cooking performance.
To remove them: wipe with a cloth dampened with white vinegar. The mild acid dissolves the thickened oxide layer instantly. Rinse and dry.
White Spots and Chalky Deposits
Hard water leaves behind calcium and magnesium when it evaporates. The fix is the same as heat tint: white vinegar on a cloth, or simmer a diluted vinegar-water solution in the pan. If deposits are heavy, let the vinegar solution sit for 5 minutes before wiping.
Preventing them: always towel-dry your pan after washing instead of air-drying.
What Not to Do — Mistakes That Quietly Damage Your Pan
Most stainless steel cookware damage is gradual and preventable. These are the habits that shorten a pan’s life or permanently compromise its appearance:
| Mistake | Why It’s a Problem | What to Do Instead |
|---|---|---|
| Running cold water on a hot pan | Thermal shock warps multi-ply construction | Let cool 5–10 min first |
| Dishwasher on a regular basis | Harsh detergent dulls finish, damages rivets | Hand-wash |
| Abrasive steel wool or harsh scrubbers | Scratches the cooking surface | Use soft sponge or BKF |
| Bleach-based cleaners | Corrodes the chromium oxide protective layer | Use baking soda or vinegar |
| Salting cold water or cold pan | Causes permanent pitting | Add salt only to boiling water |
| Stacking pans without protection | Surface scratches accumulate | Use pan protectors or a towel between pans |
| Overheating an empty pan | Burns oil residue onto the surface, accelerates heat tint | Preheat on medium only |
| Soaking in water for extended periods | Promotes water spots and stresses rivets | Wash and dry promptly |
One that catches people off guard: using concentrated vinegar directly on the pan. While diluted vinegar is fine for cleaning, undiluted vinegar left on stainless steel for more than a few minutes can etch the surface. Always dilute or rinse quickly.
How to Store Stainless Steel Cookware
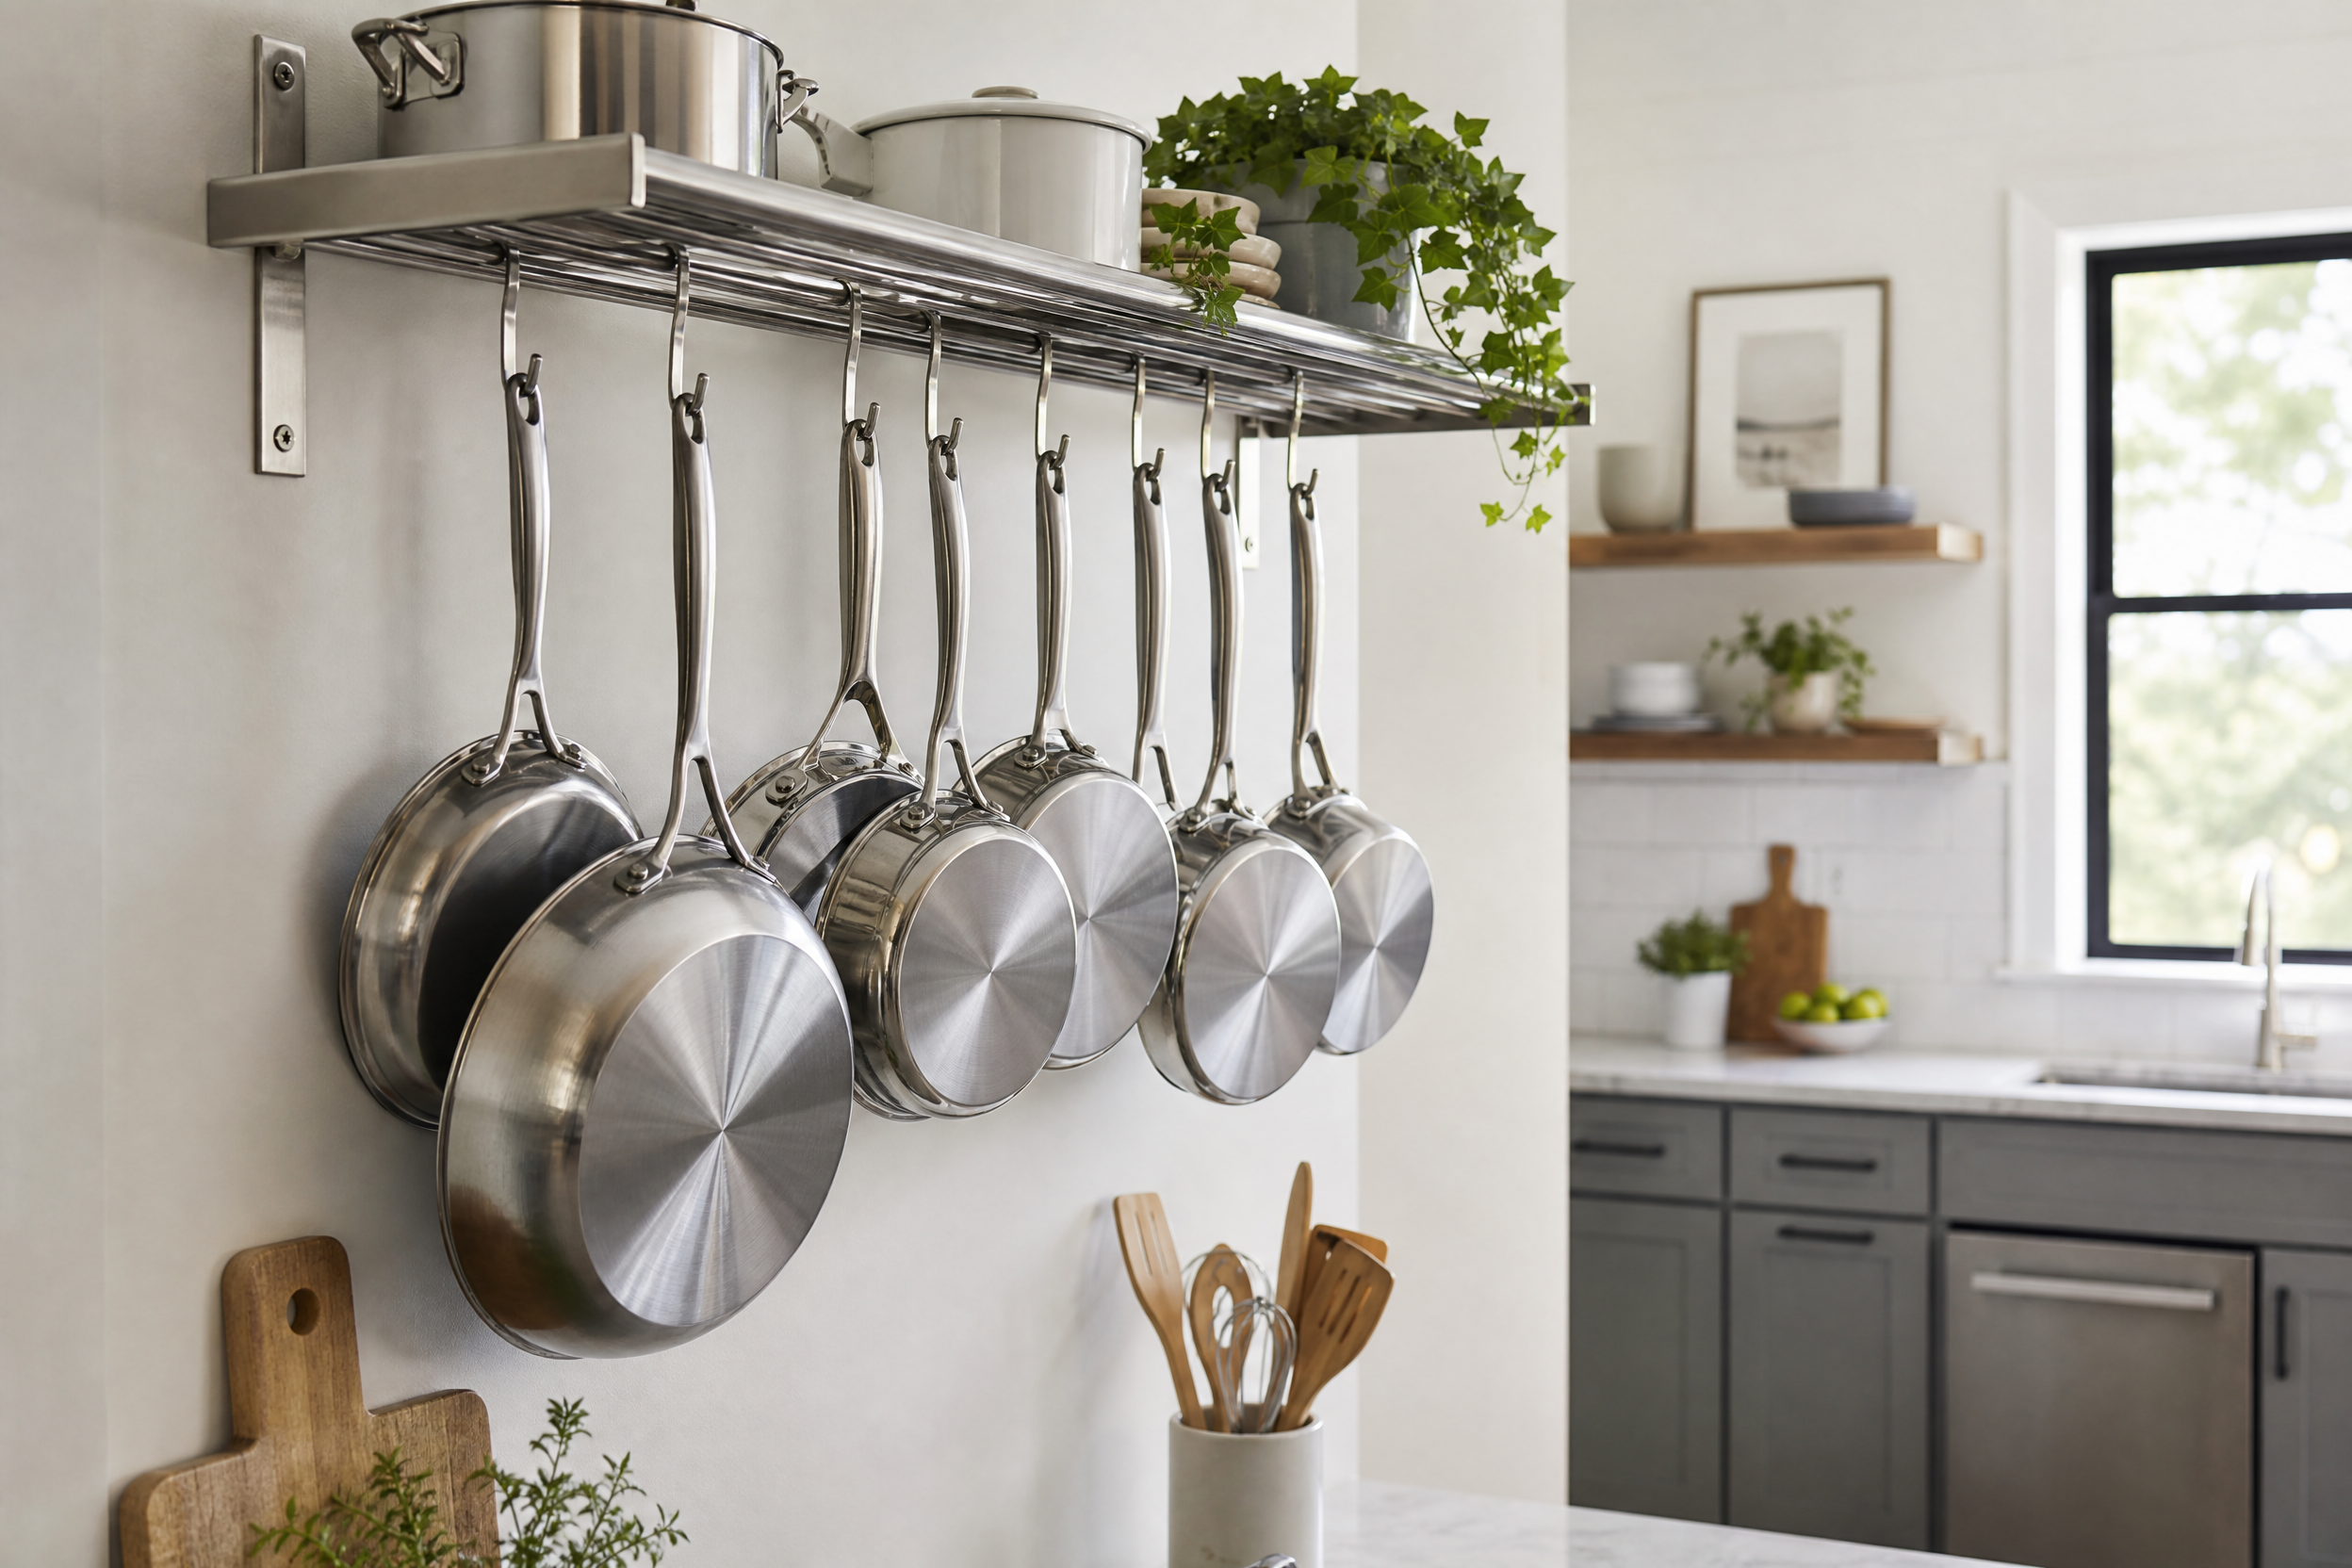
Storage is often overlooked, but it’s where a lot of cosmetic damage happens. The inside of a pan can survive years of cooking; the outside and rim often show more wear from poor stacking habits.
Dry completely before storing. Even a small amount of moisture trapped between stacked pans can leave water spots over time. Towel-dry, then let the pan air out for a few minutes before putting it away.
If stacking, use pan protectors. Felt or silicone pan protectors are inexpensive and prevent the bottom of one pan from scratching the cooking surface of the one below. A folded dish towel or paper towel works just as well. Place one between every pan in the stack.
Hanging is ideal. If you have wall space or a ceiling rack, hanging pans eliminates stacking damage entirely. It also keeps them accessible and lets you see which pan you want at a glance.
Avoid damp or enclosed spaces. A cabinet directly under a sink can create humidity that promotes water spots and, in extreme cases, rust on exposed non-stainless parts like handles or rivets.
Frequently Asked Questions
Do stainless steel pans need maintenance?
Not in the way cast iron does — no seasoning, no special oils. The maintenance is behavioral: preheat correctly, avoid thermal shock, hand-wash, dry before storing. Do those four things consistently and the pan needs almost no special attention.
How do chefs keep their stainless steel pans clean?
Professional kitchens use the deglaze-while-hot method as a first step — adding liquid immediately after cooking loosens nearly everything before it can bake on. For heavier buildup, Bar Keepers Friend is the industry standard cleaner. They also avoid soaking pans and always wipe dry.
What should you not cook in a stainless steel pan?
Delicate fish (it sticks badly without precise preheating), eggs (same issue), and highly acidic foods like tomato sauce cooked for long periods (the acid can leach trace amounts of nickel and chromium — safe in normal cooking quantities but worth knowing). For eggs and fish, a well-seasoned carbon steel or nonstick pan is a better choice.
How do you keep food from sticking to stainless steel pans?
The water droplet test (described above) is the reliable method. Cold pan + oil = sticking. Properly preheated pan + oil added at the right moment = minimal sticking. Also, don’t crowd the pan — too much food drops the surface temperature and causes steaming instead of searing, which increases sticking.
Is it safe to cook in a discolored stainless steel pan?
Yes. Rainbow heat tint and white water spots are cosmetic and don’t affect safety or performance. The chromium oxide layer is still intact; it’s just thicker or coated with minerals. Clean with vinegar if you prefer the look of bare silver stainless, but there’s no functional need to.
Can I use Bar Keepers Friend on all stainless steel?
BKF (oxalic acid + mild abrasive) is safe on most stainless steel cookware. The main caution: rinse it off within 60 seconds on prolonged contact, don’t heat it, and don’t use it on brushed or matte-finish pans where it can alter the texture slightly.
The Bottom Line
Stainless steel cookware rewards consistent, low-effort habits more than it demands intensive care. The four things that matter most: preheat properly, avoid thermal shock, hand-wash, and dry before storing. Everything else — removing heat tint, cleaning burnt-on food, dealing with water spots — is recoverable with baking soda, vinegar, or Bar Keepers Friend.
What I’ve found after using stainless pans daily: most people who struggle with stainless gave up too early because they didn’t learn the preheating step. Once that clicks, the “hard to use” reputation disappears. The cleaning complaints also largely disappear when you deglaze the pan while it’s still warm after cooking — that 90-second habit eliminates most stubborn cleanup scenarios before they start.
A well-made stainless steel pan, maintained this way, will still be in service in 20 years. That’s a better return on investment than any nonstick pan with a five-year maximum lifespan.