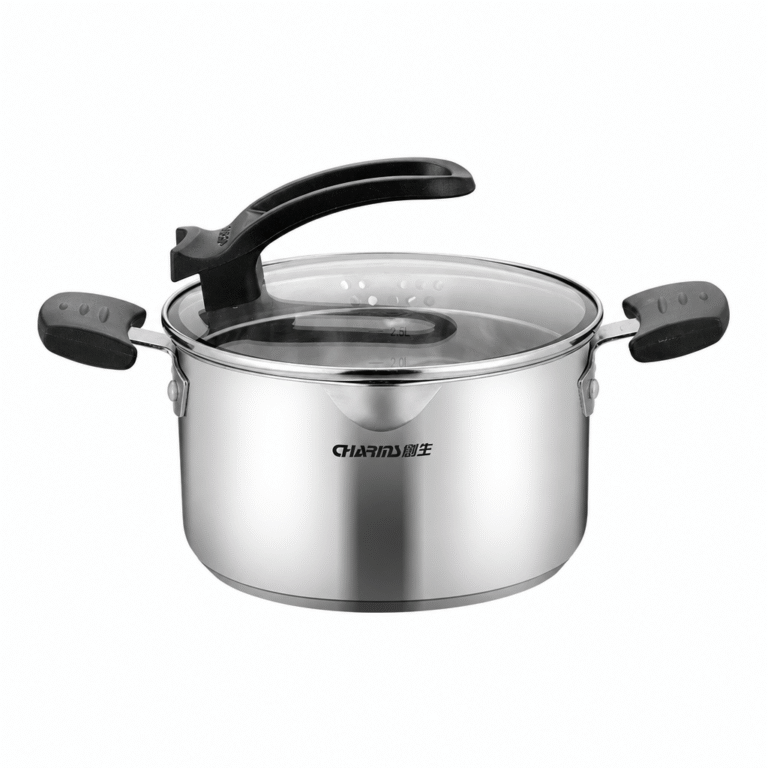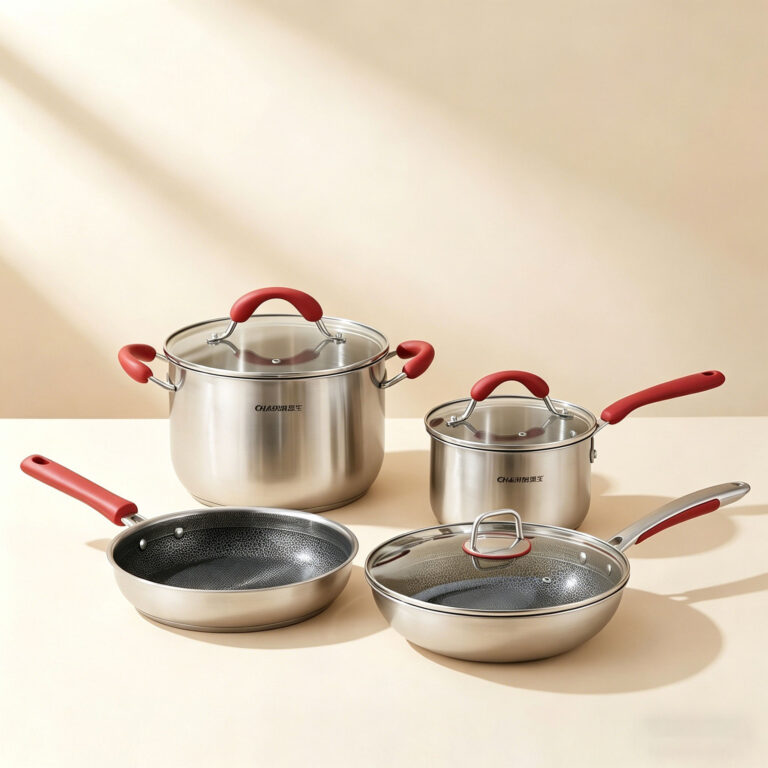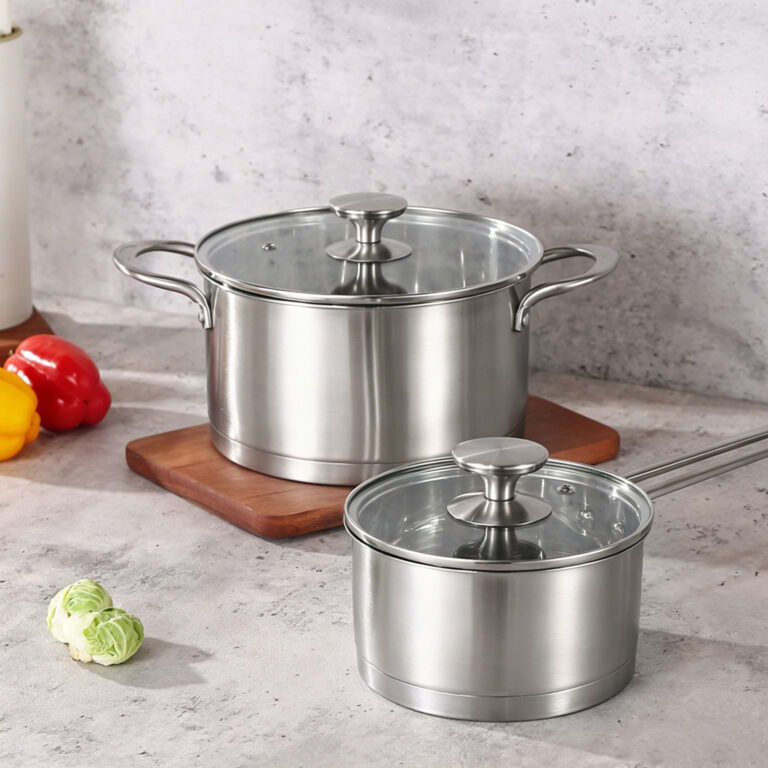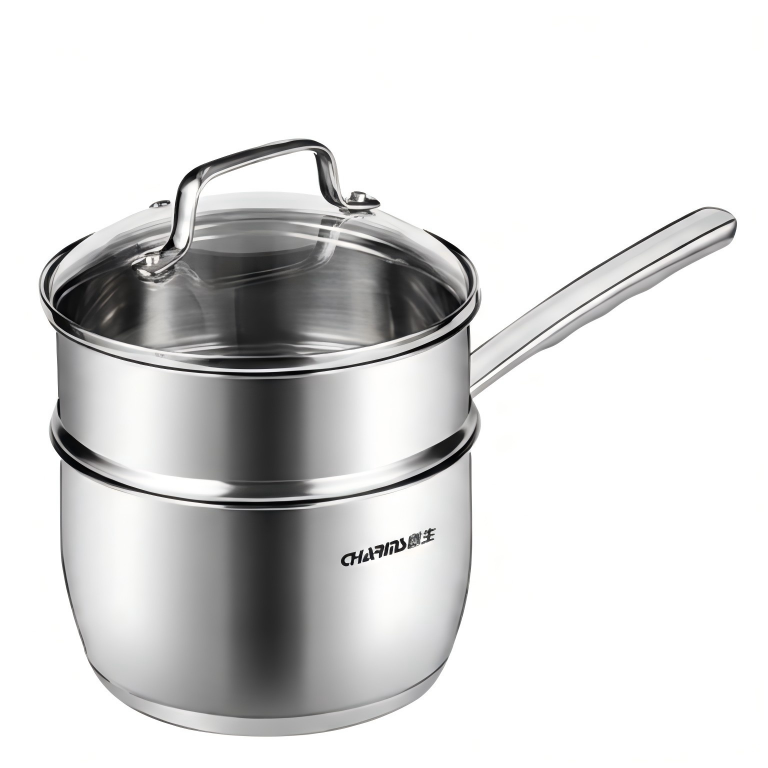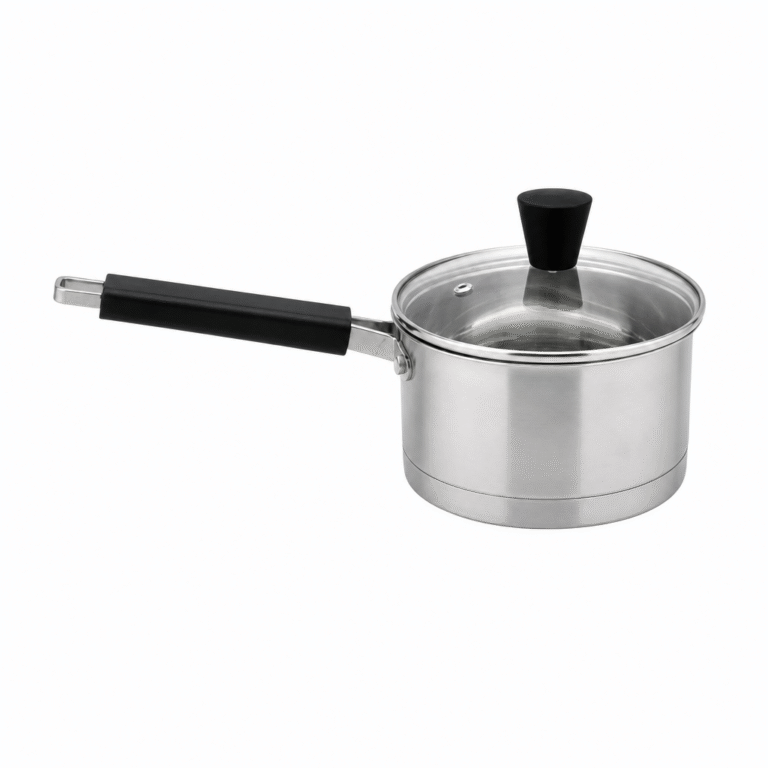


Seasoning a stainless steel pan means heating a thin coat of high-smoke-point oil until it polymerizes into a slick layer that reduces sticking. But seasoning alone is only half the story — proper preheating using the Leidenfrost effect is the technique that makes stainless steel genuinely cook-friendly day to day. This guide covers both: how to season your pan from scratch, which oils to use, and how to preheat correctly so food stops bonding to the surface. Realistic expectation upfront: stainless steel will never match a PTFE non-stick pan, but with the right technique it handles 90% of everyday cooking without frustration.
Does Stainless Steel Actually Need Seasoning?
The short answer: it helps, but it’s not the main event.
Cast iron and carbon steel have genuinely porous, rough surfaces that absorb oil and build up a durable patina over years of cooking. That patina is the non-stick surface. Stainless steel is fundamentally different — its surface is denser and less porous, which means oil doesn’t bond to it the same way. Any seasoning layer you build on stainless is thinner, less permanent, and washes away more easily.
That said, seasoning still does useful work. A freshly polymerized oil coating fills the microscopic surface irregularities in stainless steel, creating a smoother cooking surface. On a new pan, it makes a noticeable difference on the first few cooks. And for regularly used pans, a light re-seasoning session restores performance after heavy cleaning.
Where stainless steel seasoning diverges from cast iron: you still need correct preheating every time you cook. A well-seasoned stainless pan that’s added to a cold stove and loaded with food will still stick. The seasoning layer reduces the problem; temperature control solves it.
So treat seasoning as the foundation and preheating as the daily practice. Both matter.
The Oil Seasoning Method: Step-by-Step
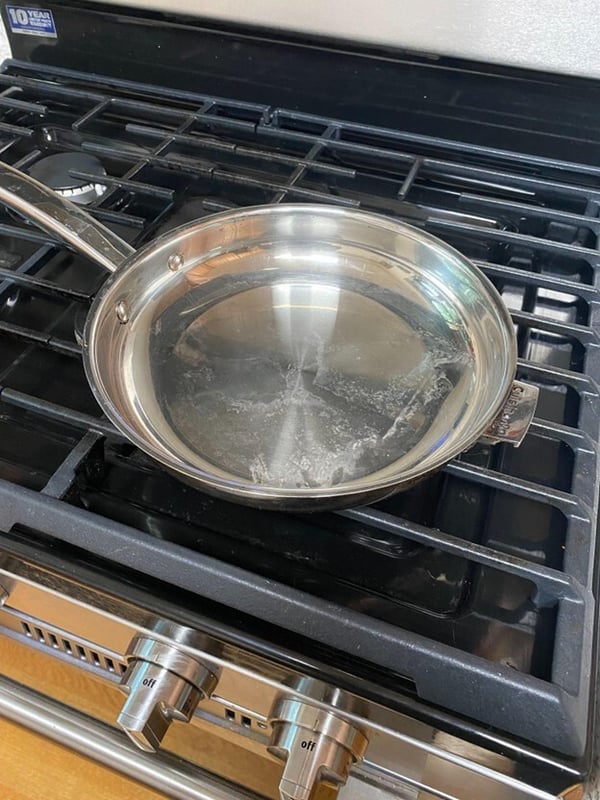
Seasoning creates a polymerized oil barrier — heat your pan and a thin oil coat past the smoke point, and the oil transforms into a hard, slick film.
Here’s the process I use on new pans and whenever a pan needs a reset:
1. Wash and dry the pan completely.
Start with a clean pan. Use dish soap, rinse well, and dry with a towel — then leave it on a burner over low heat for 1–2 minutes to evaporate any remaining moisture. Water trapped under oil will prevent proper polymerization.
2. Heat the pan over medium heat for 2–3 minutes.
You want the pan warm before adding oil — not screaming hot, not cold. Warm metal helps the oil spread into an even, thin layer instead of pooling.
3. Add a small amount of high-smoke-point oil.
About 1 tablespoon for a 10-inch pan. High smoke point oils (see next section) are essential here — you need the oil to reach its smoke point and polymerize, not just heat through.
4. Swirl to coat the entire cooking surface.
Use a paper towel folded into quarters to spread the oil in a thin, even layer across the bottom and up the sides. The coating should be so thin it barely looks oily — a heavy coat will turn tacky and sticky.
5. Heat until the oil just starts to smoke, then remove from heat.
Watch for the first wisps of smoke, then take the pan off the burner. This is the polymerization point — the oil has bonded to the metal. Let the pan cool completely before the next step.
6. Wipe away excess oil with a clean paper towel.
This is the step most people skip. Any pooled or excess oil will harden into sticky residue, not a smooth layer. Wipe until the surface looks matte and just slightly shiny.
Repeat steps 2–6 two or three times for a new pan. Each pass builds the layer. For a pan that’s been in regular use, one pass is enough for a refresh.
Best Oils for Seasoning Stainless Steel
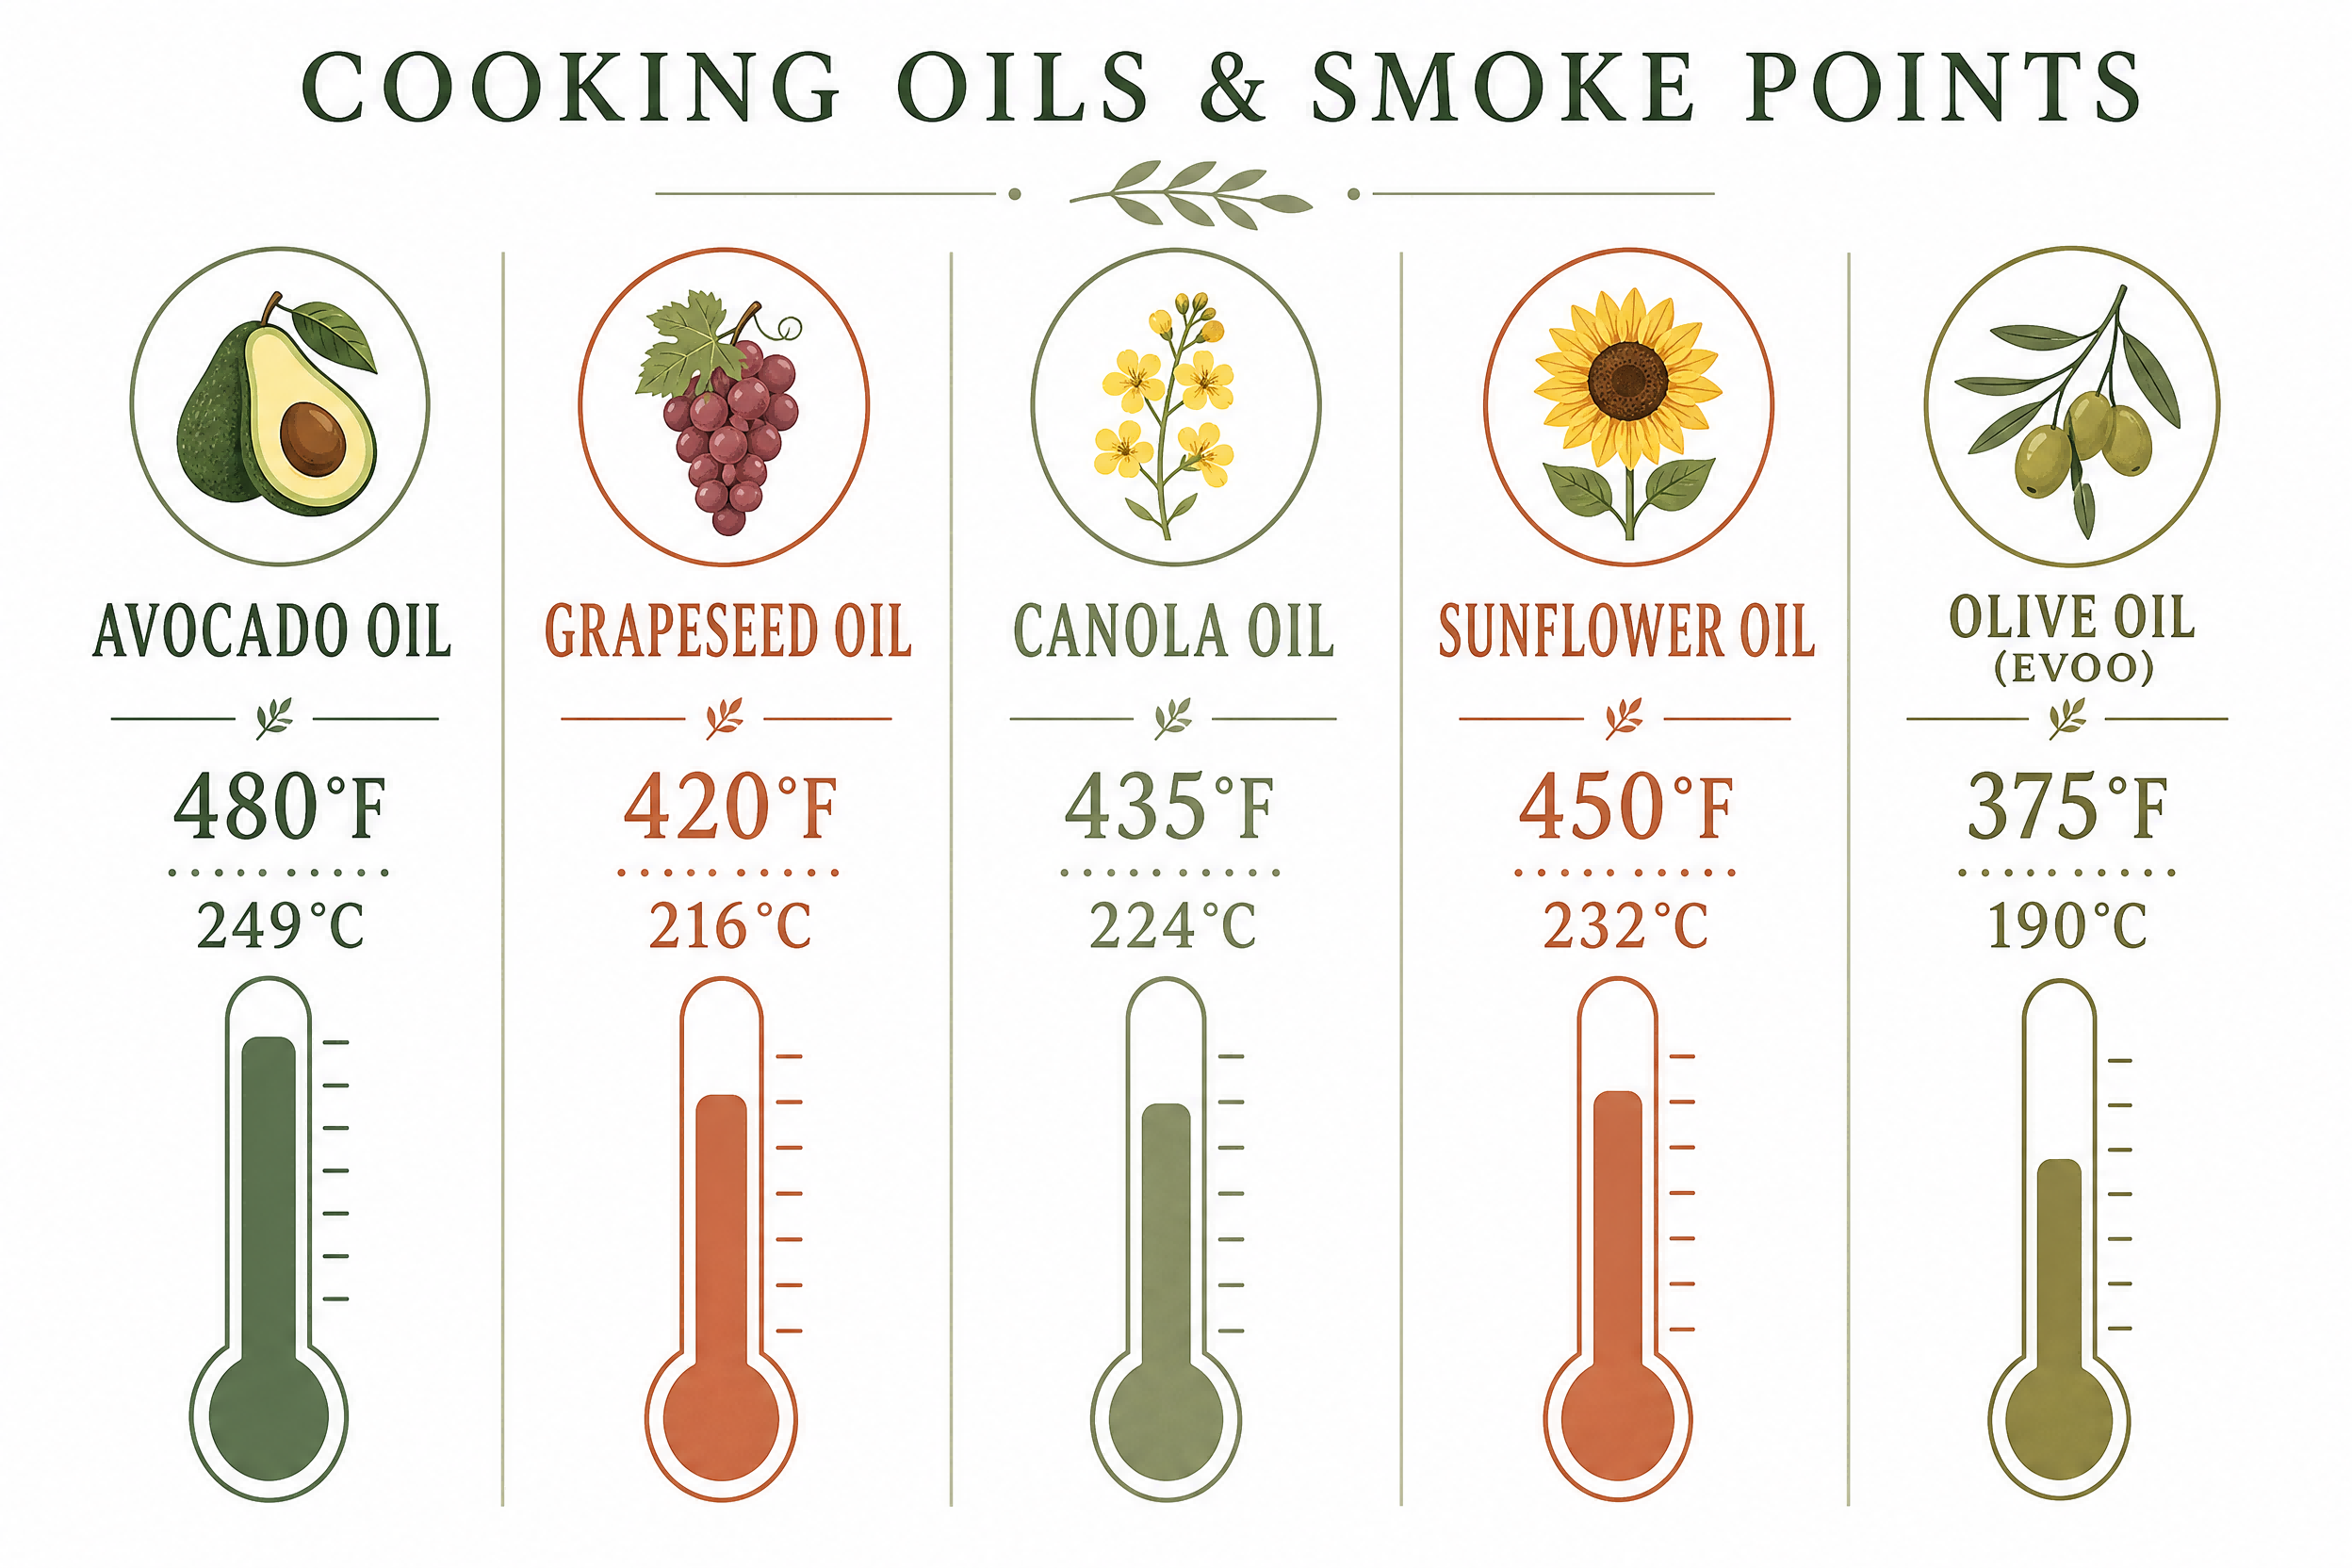
Use an oil with a smoke point above 400°F (204°C) — anything lower burns before it polymerizes properly.
| Oil | Smoke Point | Notes |
|---|---|---|
| Avocado oil (refined) | ~480°F (249°C) | Best overall — neutral flavor, very stable at high heat |
| Grapeseed oil | ~420°F (216°C) | Widely available, good neutral option |
| Canola oil | ~435°F (224°C) | Budget-friendly, works well |
| Sunflower oil (refined) | ~450°F (232°C) | Good option, widely available |
| Vegetable oil (refined) | ~400–450°F (204–232°C) | Reliable, neutral |
| Olive oil (extra virgin) | 350–410°F (177–210°C) | Too low — quality-dependent range; not suitable for seasoning |
| Butter | ~302°F (150°C) | Not suitable for seasoning |
| Coconut oil (unrefined) | ~350°F (177°C) | Borderline — refined version acceptable, unrefined not |
The oils to avoid aren’t necessarily bad cooking oils — olive oil is excellent for sautéing at medium heat. But for seasoning, the goal is controlled polymerization at a specific temperature window, and low-smoke-point oils get there too fast and unevenly.
Recommendation: Avocado oil if budget allows, grapeseed or canola for everyday use. All three are widely available and perform consistently.
The Real Key to Non-Stick Cooking: The Leidenfrost Effect
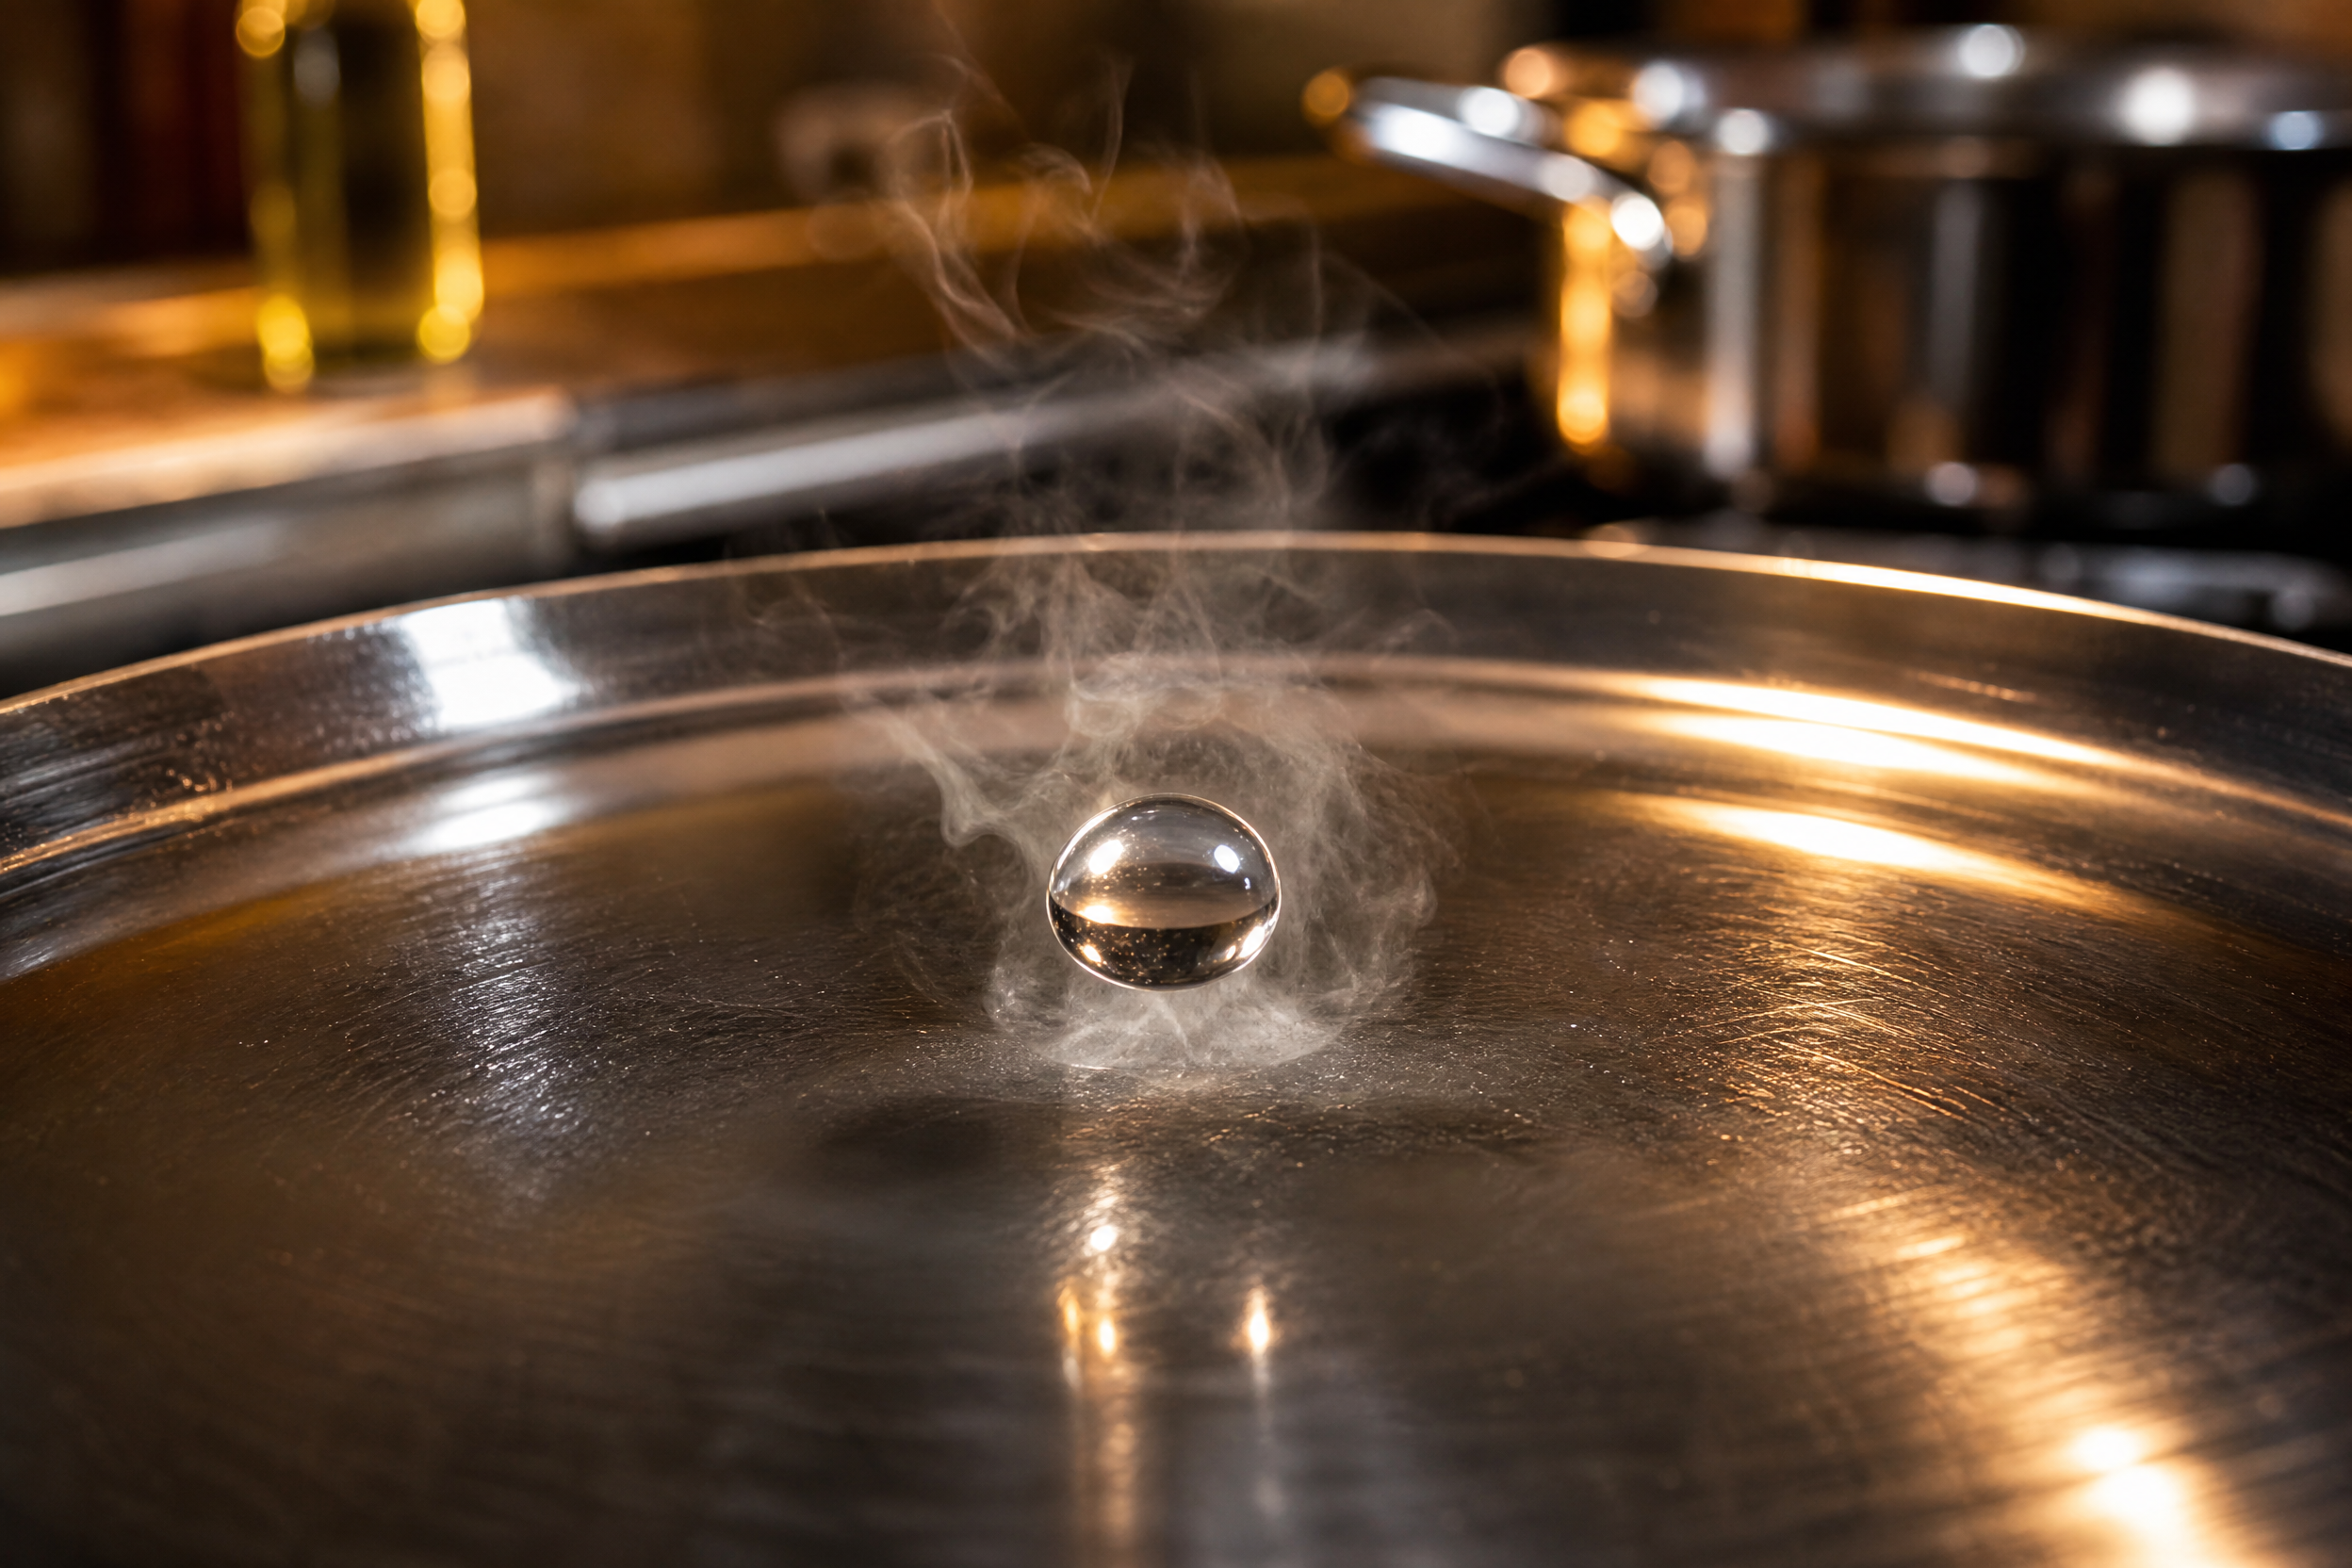
This is the technique that makes the biggest difference in daily cooking — more impactful than seasoning alone.
The Leidenfrost effect is a physics phenomenon named after 18th-century German scientist Johann Gottlob Leidenfrost. When a surface is significantly hotter than the boiling point of water, liquid that contacts it instantly forms a vapor layer underneath — which insulates the droplet and causes it to bead up and glide across the surface rather than spreading and evaporating.
In practical cooking terms: when your stainless steel pan hits roughly 370°F–450°F (188°C–232°C), the same principle applies to moisture in food. Instead of food proteins bonding directly to the metal surface, the vapor layer acts as a barrier, keeping food slightly elevated and free to move.
The Water Drop Test
This is how you know your pan has reached the right temperature before adding oil:
Step 1: Heat your dry pan over medium to medium-high heat for 2–3 minutes.
Step 2: Flick 3–4 drops of water into the pan.
Three possible outcomes:
- Too cold: Water sizzles loudly and evaporates within 2 seconds. The surface is above 212°F but hasn’t reached the Leidenfrost range. Continue heating and test again in 30 seconds.
- Transition zone (almost there): Water breaks into several small droplets that sizzle and skitter across the surface but evaporate within a few seconds. The pan is approaching the Leidenfrost range but not quite there. Heat another 20–30 seconds.
- Just right (Leidenfrost range): Water forms one or two round beads that roll smoothly around the pan surface without breaking up or immediately evaporating. The pan is ready for oil.
Once you hit “just right,” add your oil. It will shimmer immediately and the pan is ready for food.
Why this matters more than seasoning: A correctly preheated pan creates this vapor barrier regardless of how well-seasoned the surface is. A seasoned pan at the wrong temperature still sticks. Temperature is the controlling variable.
How to Cook Without Sticking — Every Time
Preheat + oil timing + patience when food hits the pan. Those three habits cover 90% of sticking problems.
The Full Sequence
1. Start with a dry, room-temperature pan. Moisture on a cold pan interferes with even heating.
2. Preheat over medium to medium-high heat. Give it 2–3 minutes. Rushing this is the most common mistake.
3. Do the water drop test. Confirm the Leidenfrost range before adding anything.
4. Add oil and let it heat for 20–30 seconds. The oil should shimmer and move easily across the surface. If it smokes immediately, the pan is too hot — remove from heat briefly.
5. Add food — then leave it alone. This is the hardest part. When proteins (meat, eggs, fish) first contact the hot surface, they bond temporarily. That bond breaks when the crust forms — usually 2–4 minutes for a steak, 45–90 seconds for eggs. Pressing or lifting food before the crust forms tears it loose and leaves residue.
6. Test gently before flipping. Slide a thin spatula under the edge. If there’s resistance, give it another 30–60 seconds. Food that’s ready to flip releases cleanly.
The Natural Release Principle
This is the insight that changed stainless steel cooking for me: sticking is often a timer problem, not a technique failure. Proteins form chemical bonds with the metal surface when they first hit it. As they cook and form a sear crust, those bonds break and the food lifts away on its own. Most frustrated stainless steel cooks are just moving food 60 seconds too early.
The rule: if your food resists the spatula, it’s not done releasing. Wait. It will let go.
Adjusting Heat Mid-Cook
Stainless steel holds heat well. After the initial sear, many cooks reduce heat slightly to finish cooking without burning. The Leidenfrost effect only matters for the initial contact moment — once food is searing, normal heat management applies.
Common Mistakes That Cause Sticking
Most stainless steel sticking problems trace back to one of these five errors.
1. Adding food to a cold or insufficiently preheated pan.
The most common culprit. Cold metal has open microscopic pores; proteins sink in and bond. Always complete the water drop test before proceeding.
2. Adding cold food straight from the refrigerator.
Cold food drops the pan temperature sharply, especially with proteins. Let meat and eggs sit at room temperature for 15–20 minutes before cooking. This isn’t just a food safety range issue — it’s a sticking issue. Cold food = instant temperature drop = bonds form before the vapor barrier can establish.
3. Overcrowding the pan.
Too much food creates steam, which disrupts the Maillard reaction crust formation. No crust = no natural release. Cook in batches if necessary.
4. Using the wrong oil (or too much oil).
A thick oil layer doesn’t help — it creates uneven heat transfer and can turn sticky. Thin coats of high-smoke-point oil work better than generous amounts of butter or olive oil.
5. Moving food constantly.
The natural release only works if food stays in contact long enough to form a crust. Continuous stirring and flipping prevents it. The “stir-fry” technique appropriate for a wok doesn’t transfer directly to stainless steel searing.
Long-Term Care: Keeping Your Pan Performing
Stainless steel is low-maintenance compared to cast iron, but a few habits protect your seasoning layer.
Cleaning Without Stripping Seasoning
- After normal use: Let the pan cool, then wash with warm water and a soft sponge. Dish soap in moderate amounts is fine — the seasoning layer on stainless is tough enough to withstand regular washing.
- After heavier cooking: Deglaze while still warm. Add water or broth to the hot pan and scrape up fond with a wooden spoon. This loosens stubborn bits without abrasive scrubbing.
- For burnt-on residue: Simmer a small amount of water with a tablespoon of baking soda for 2–3 minutes, then scrub gently. Bar Keepers Friend (oxalic acid-based) is the gold standard for polishing stainless and removing discoloration without damaging the surface.
When to Re-Season
You’ll notice re-seasoning is needed when:
- Food sticks more than usual despite proper preheating technique
- The pan surface looks dull or has a rough, matte texture rather than a subtle sheen
- After any harsh scrubbing with steel wool or abrasive pads (which strip the layer)
A full re-season takes about 20 minutes and resets the surface completely.
What to Avoid
- Steel wool or abrasive scrubbers — they scratch the surface and strip seasoning
- Cooking acidic foods (tomato sauce, wine reductions) immediately after freshly seasoning — acid strips the layer. Wait until it’s been built up over a few uses.
- Dishwasher — repeated high-heat dishwasher cycles gradually degrade both the surface finish and any seasoning you’ve built
FAQ
Can you season stainless steel like cast iron?
Yes, but the result is less durable. Cast iron’s porous surface absorbs oil and builds up a thick, long-lasting patina. Stainless steel’s denser surface holds a thinner layer that requires more regular maintenance. The technique is similar — thin oil coat, heat to smoking, cool, wipe — but expect to re-season stainless more frequently.
Why does food still stick even after seasoning?
Seasoning alone doesn’t make stainless non-stick if the pan isn’t preheated correctly. The most likely reason food still sticks is the pan wasn’t hot enough when food was added, or the food was moved before the natural release crust formed. Run the water drop test before every cook — it takes 10 seconds and eliminates the guesswork.
What’s the best oil for seasoning a stainless steel pan?
Refined avocado oil is the top choice due to its high smoke point (~480°F/249°C) and neutral flavor. Grapeseed oil (~420°F) and canola oil (~435°F) are solid, cheaper alternatives. Avoid extra-virgin olive oil and butter for seasoning — their low smoke points cause them to burn before proper polymerization.
Do you need to season stainless steel before first use?
It’s beneficial but not strictly required. Washing, drying, and doing a single oil seasoning pass before the first cook gets the surface into better condition faster. Some manufacturers pre-treat their pans; check the care instructions included with the cookware.
Can I use stainless steel for eggs?
Yes, but eggs are the hardest test case. Even with proper preheating and a well-seasoned pan, eggs require lower heat and more fat than a PTFE non-stick pan. Use butter (which adds flavor and creates a fat barrier) over medium-low heat after completing the Leidenfrost preheat, then reduce heat before adding eggs. If you’re new to stainless, practice with steak and chicken first — eggs are the advanced level.
How often should I re-season my stainless steel pan?
There’s no fixed schedule. Re-season when you notice performance degrading — more sticking than usual, a rough surface texture, or after any session with abrasive cleaning. For regularly-used pans in a home kitchen, that usually means once every month or two.
Final Thoughts
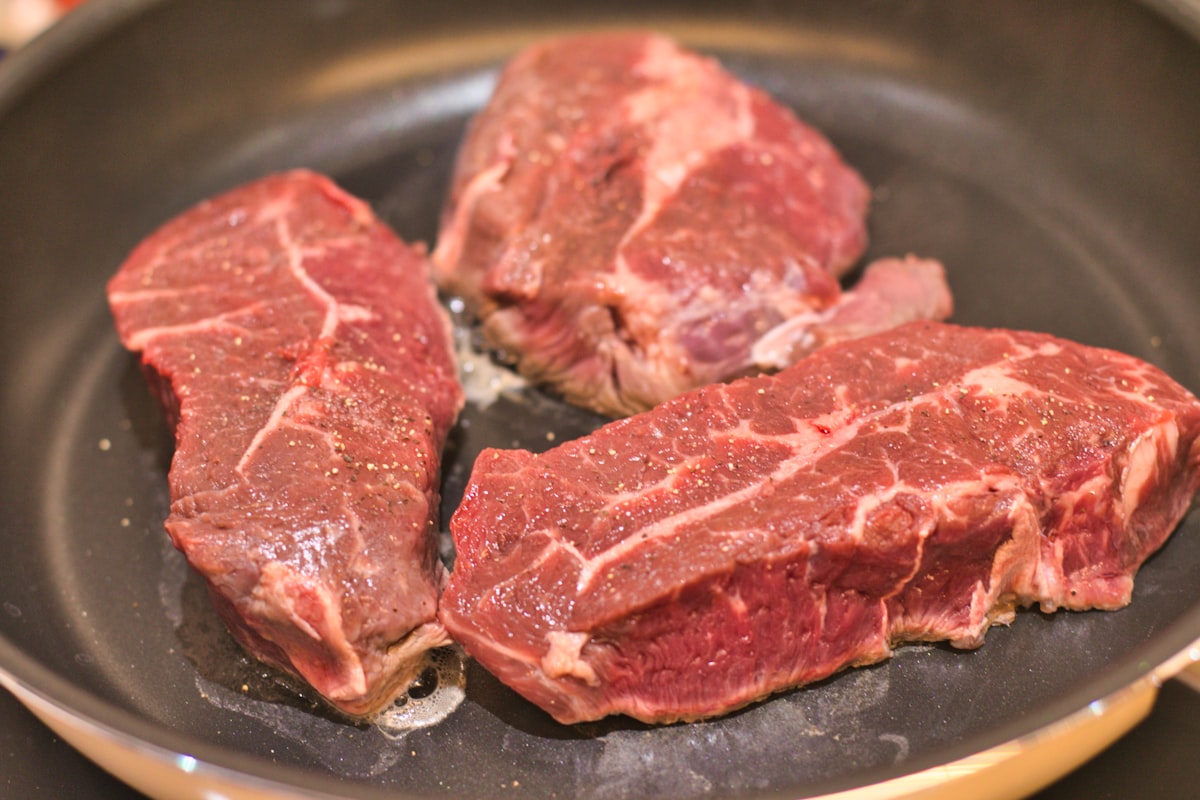
Stainless steel gets a bad reputation for being difficult, but most of that reputation comes from skipping two learnable steps: proper oil seasoning and correct preheating. Once you understand what’s happening at the surface level — proteins briefly bonding to metal, then releasing as the crust forms — the whole “stainless is hard to cook on” complaint starts to dissolve.
The water drop test takes five seconds and eliminates the most common cause of sticking. A quick oil seasoning session once a month keeps the surface performing. And the natural release principle saves a lot of torn steaks once you trust it.
Stainless steel isn’t a replacement for non-stick — use a PTFE or ceramic pan for delicate fish skin and scrambled eggs if you want zero frustration. But for searing, sautéing, browning, and deglazing, a well-maintained stainless pan at proper temperature is one of the most rewarding cooking surfaces there is.