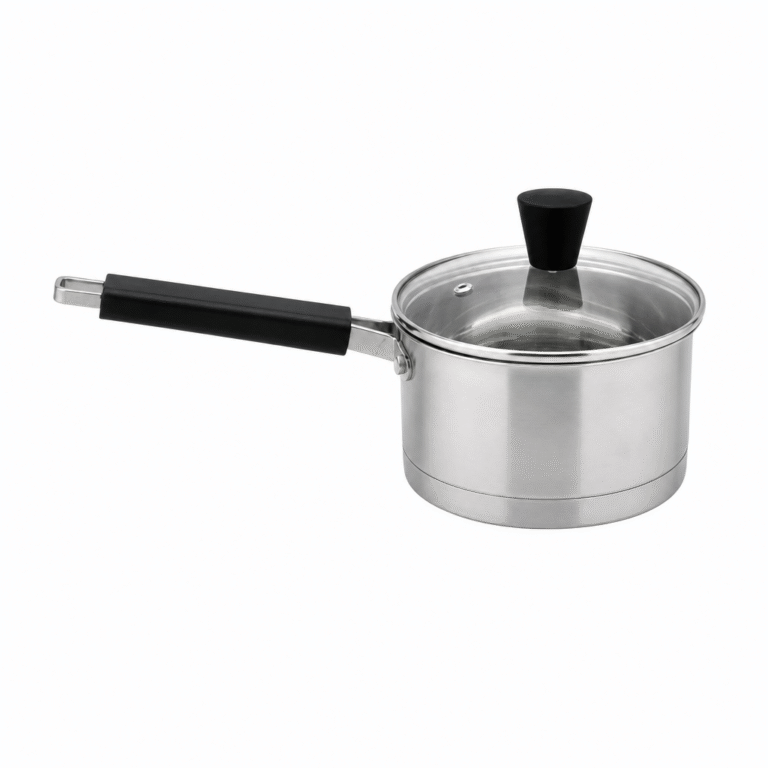


Stainless steel cookware is one of the most durable kitchen investments you can make — but only if you know how to care for it. This guide covers daily cleaning routines, how to remove burnt food and stubborn discoloration, and the real difference between cleaning agents like Bar Keepers Friend and baking soda. Whether you’re dealing with rainbow stains, white mineral deposits, or a pan that looks like it’s seen better days, these tested methods will keep your stainless steel performing like new for decades. Dishwasher myths, passive layer chemistry, and professional kitchen techniques included.
Why Stainless Steel Cookware Needs Specific Care (And Why It’s Worth It)
Stainless steel cookware earns its durability from a thin, invisible layer of chromium oxide that forms naturally on the surface. This passive layer — created when the chromium content (at least 10.5% in food-grade steel, typically 18% in 18/10 cookware) reacts with oxygen — is what makes the material resistant to rust and corrosion. The key to caring for stainless steel is protecting this passive layer, not scrubbing through it.
Grade 18/10 stainless steel, defined by ASTM A240 standards, contains 18% chromium and 10% nickel. The nickel enhances both corrosion resistance and that characteristic polished appearance. Grade 18/0 (no nickel) is used in lower-cost cookware and induction-compatible exterior layers — it’s more magnetic but slightly less corrosion-resistant.
Here’s what most guides miss: the passive layer is self-repairing but fragile. Chloride-based cleaners (bleach, many all-purpose sprays), prolonged salt water contact, and aggressive abrasives like steel wool can breach it. Once breached, you get pitting and surface oxidation that looks like rust. Understanding this chemistry is why the care rules aren’t arbitrary — each one exists to preserve that protective oxide layer.
I’ve cooked with 18/10 stainless daily for six years across multiple brands. The pans that still look close to new are the ones I stopped cleaning incorrectly. The difference is noticeable.

Daily Cleaning: The Right Routine for Stainless Steel
The daily routine for stainless steel is simple: cool it down, wash with mild soap, and dry immediately. Most damage to stainless cookware comes from skipping one of these three steps.
Step-by-Step Daily Wash
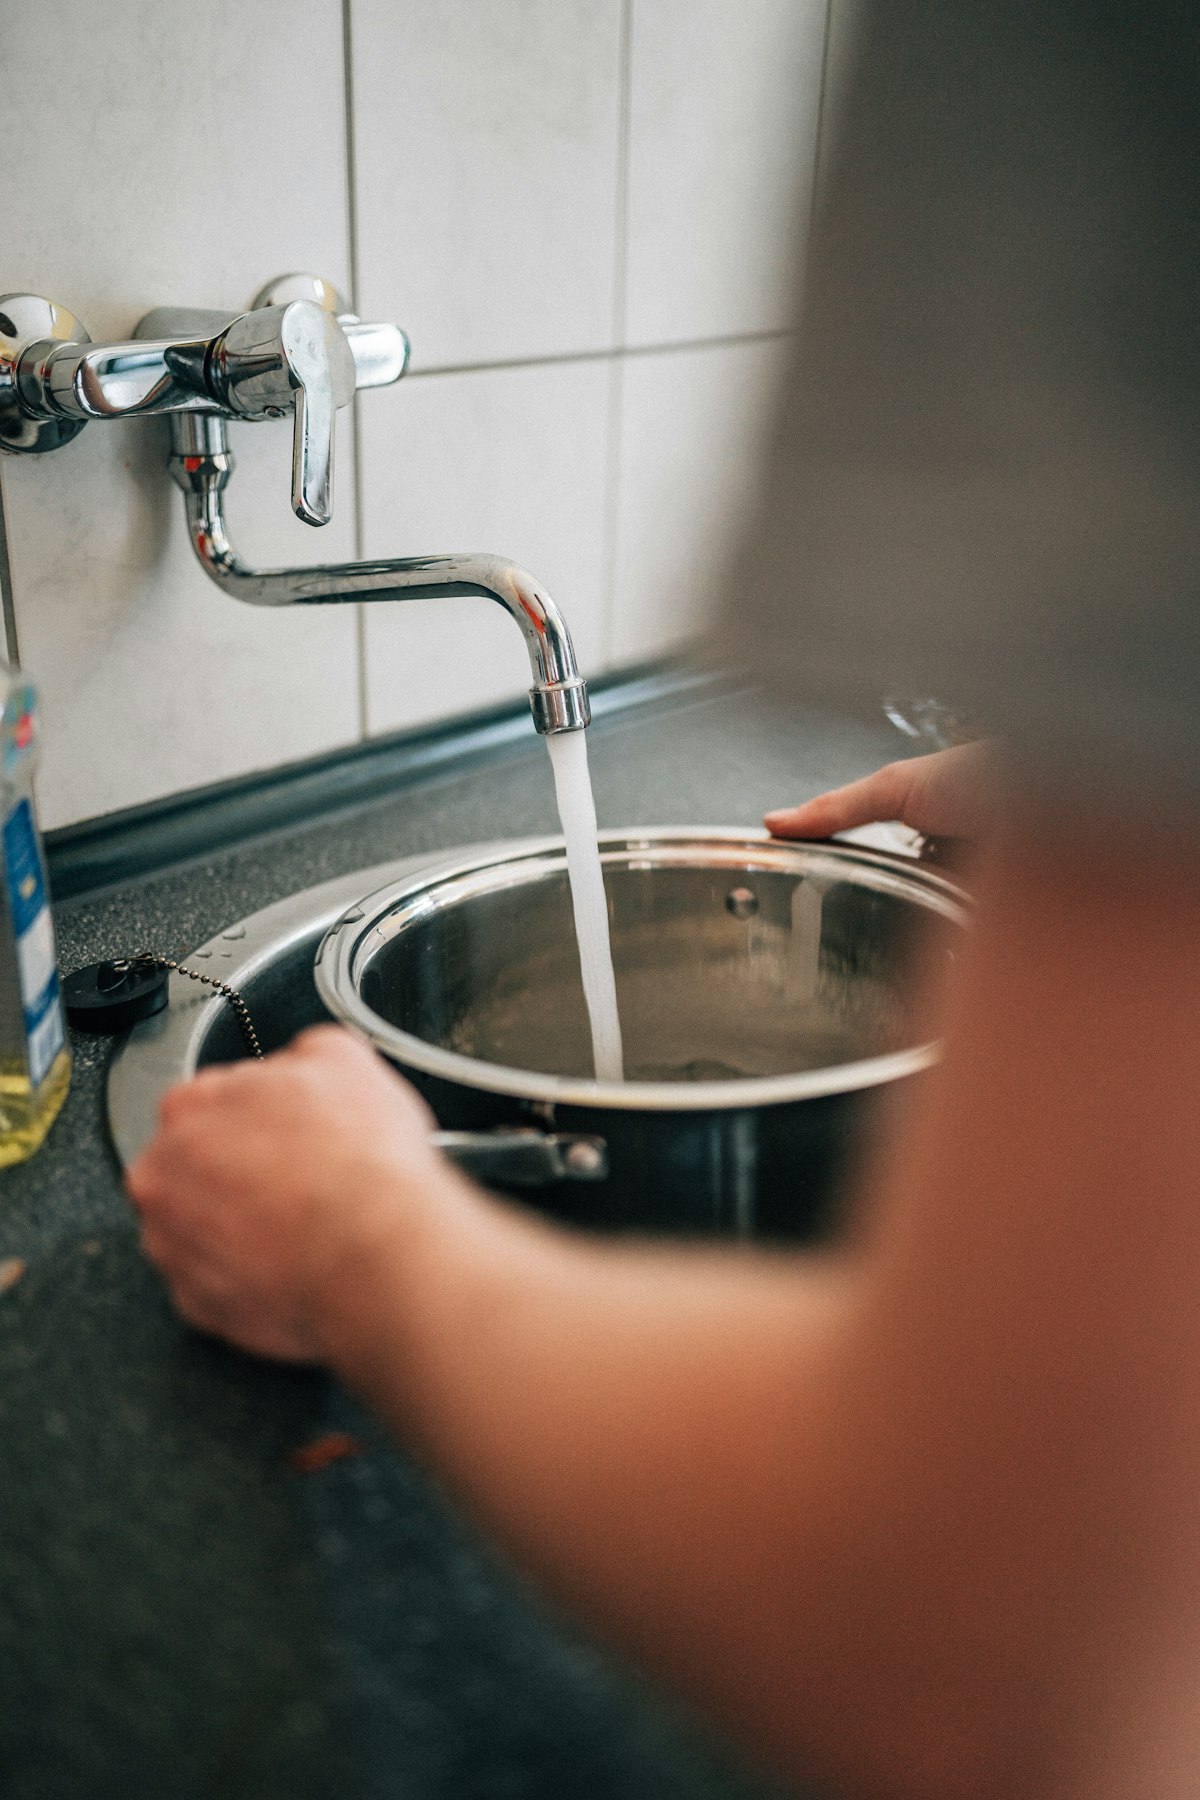
- Let the pan cool for 10–15 minutes before washing. Thermal shock from plunging a hot pan into cold water can warp the base over time — especially on thin-gauge or single-ply pans. Multi-ply construction is more tolerant, but the habit still matters.
- Wash with warm water, mild dish soap, and a soft cloth or non-scratch sponge. Most daily cooking residue comes off at this stage without any effort. Use dish soap that doesn’t contain bleach additives — check the label if you’re using a “heavy-duty” formulation.
- Rinse thoroughly. Soap residue left on the surface can cause slight dulling over time.
- Towel-dry immediately — don’t air dry. Water spots form when mineral-laden tap water evaporates on the surface, leaving calcium and magnesium deposits behind. A quick towel-dry prevents this entirely. In hard-water areas, this step makes a visible difference within weeks.
On Dishwasher Use
Many stainless steel pans are technically dishwasher safe, and the manufacturers are not lying — a single dishwasher cycle won’t ruin a quality pan. But repeated dishwasher use causes cumulative dulling from high-temperature alkaline detergents and the mechanical action of the spray arms. After 6–12 months of regular dishwasher use, the finish will look noticeably flatter.
For everyday cooking pans, hand washing takes under 2 minutes and preserves the surface finish significantly. Reserve dishwasher use for light loads or occasional convenience — not as the default.
How to Remove Burnt Food from Stainless Steel Pans
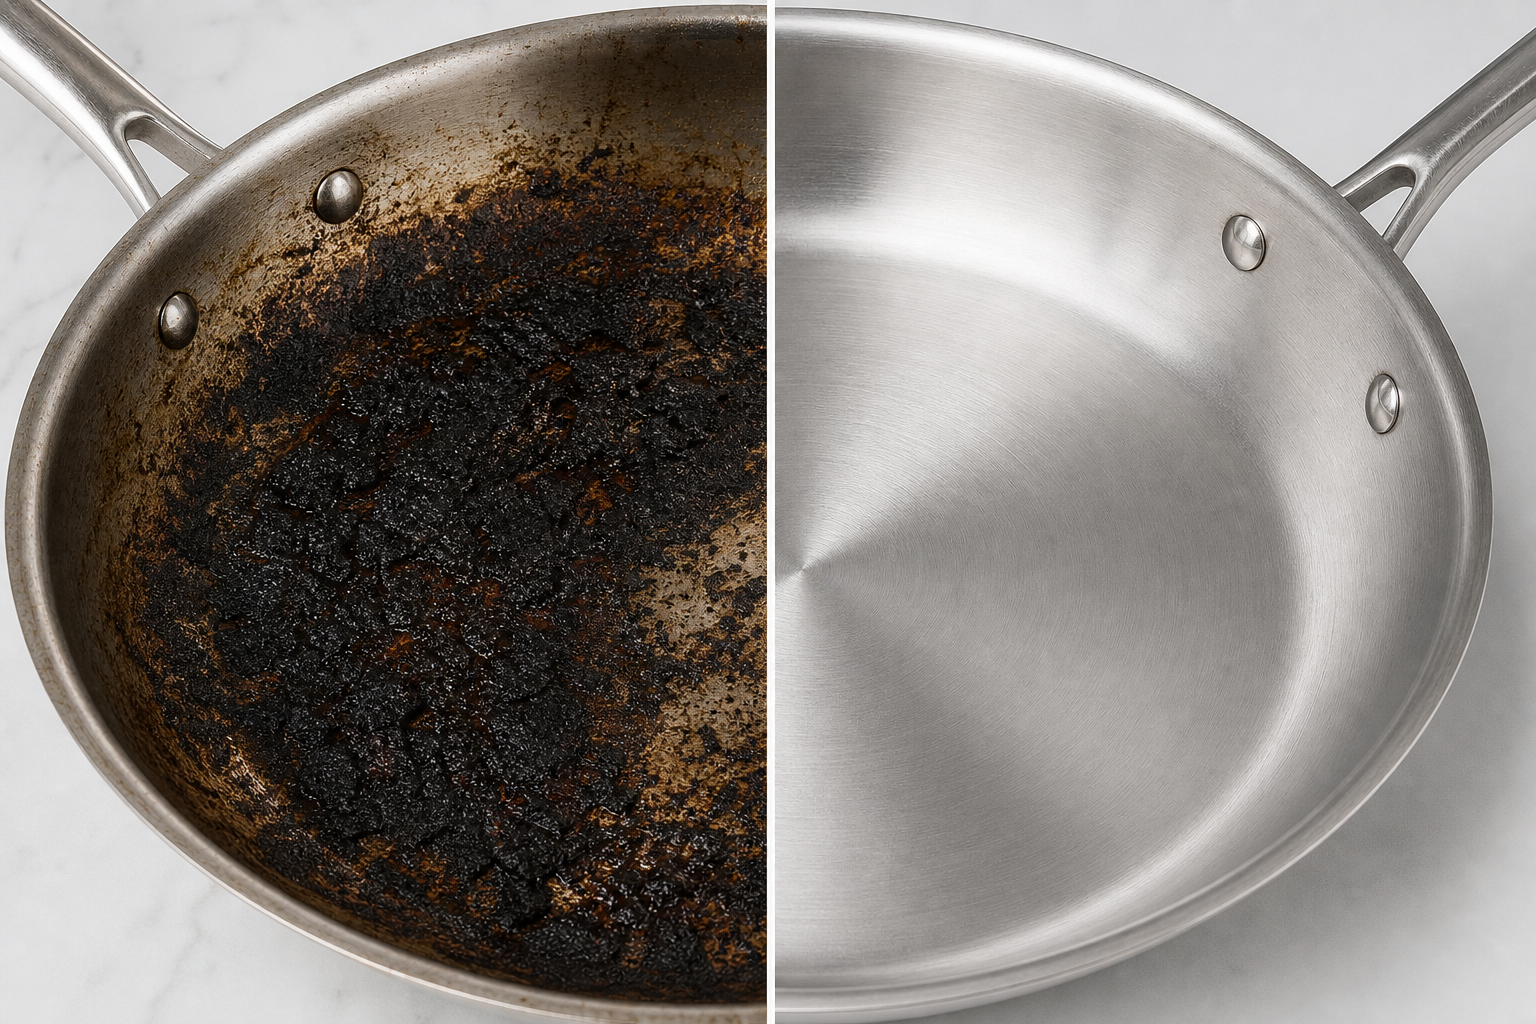
For burnt food on stainless steel, start with the simmer method before reaching for any abrasive cleaner — it works in 80% of cases without any risk to the surface.
The Simmer Method (First Line of Attack)
- Add about 1 inch of water to the pan, enough to cover the burnt area
- Bring to a simmer over medium heat (3–5 minutes)
- Use a wooden spatula or silicone scraper to loosen the residue — it will lift easily
- Discard the water, let cool, then wash normally with soap
This works because heat and water loosen the bond between carbonized food and metal. No abrasive needed, no risk to the surface.
For Heavy Burns (Simmer Didn’t Fully Work)
When the simmer method leaves residue, escalate:
- Fill the pan with enough water to cover the burn, add 2 tablespoons of baking soda
- Bring to a boil and let simmer for 5 minutes
- Let cool completely, then scrub with a non-scratch pad (Scotch-Brite green pads without the metal layer work well)
- For anything still remaining: apply Bar Keepers Friend powder, work into a paste with a few drops of water, rub in circular motions for 1–2 minutes, then rinse thoroughly
The baking soda boil handles roughly 70–80% of burnt food situations in my experience. The alkalinity of baking soda (sodium bicarbonate, pH ~8.3) loosens acid-bonded residue. Bar Keepers Friend, which contains oxalic acid as its active ingredient, handles the remaining stubborn carbon char cases.
What Not to Use on Burnt Food
- Steel wool — leaves iron particles embedded in the stainless surface, which then oxidize and cause rust-like spots
- Bleach or bleach-based cleaners — the chlorides attack the passive layer
- Dry scrubbing with abrasives — always keep Bar Keepers Friend or any powder cleaner wet during use; dry abrasives scratch more aggressively
One finding from testing: white vinegar heated in the pan (1 part vinegar, 4 parts water, simmered 5 minutes) is effective for loosening mineral-bonded deposits but doesn’t outperform baking soda on carbon char. Use the right tool for the right problem.
Dealing with Discoloration: Rainbow Stains, White Deposits, and Dark Spots
Stainless steel discolors in ways that look alarming but are almost always cosmetic. Understanding what each type means — and how to address it — removes the anxiety.
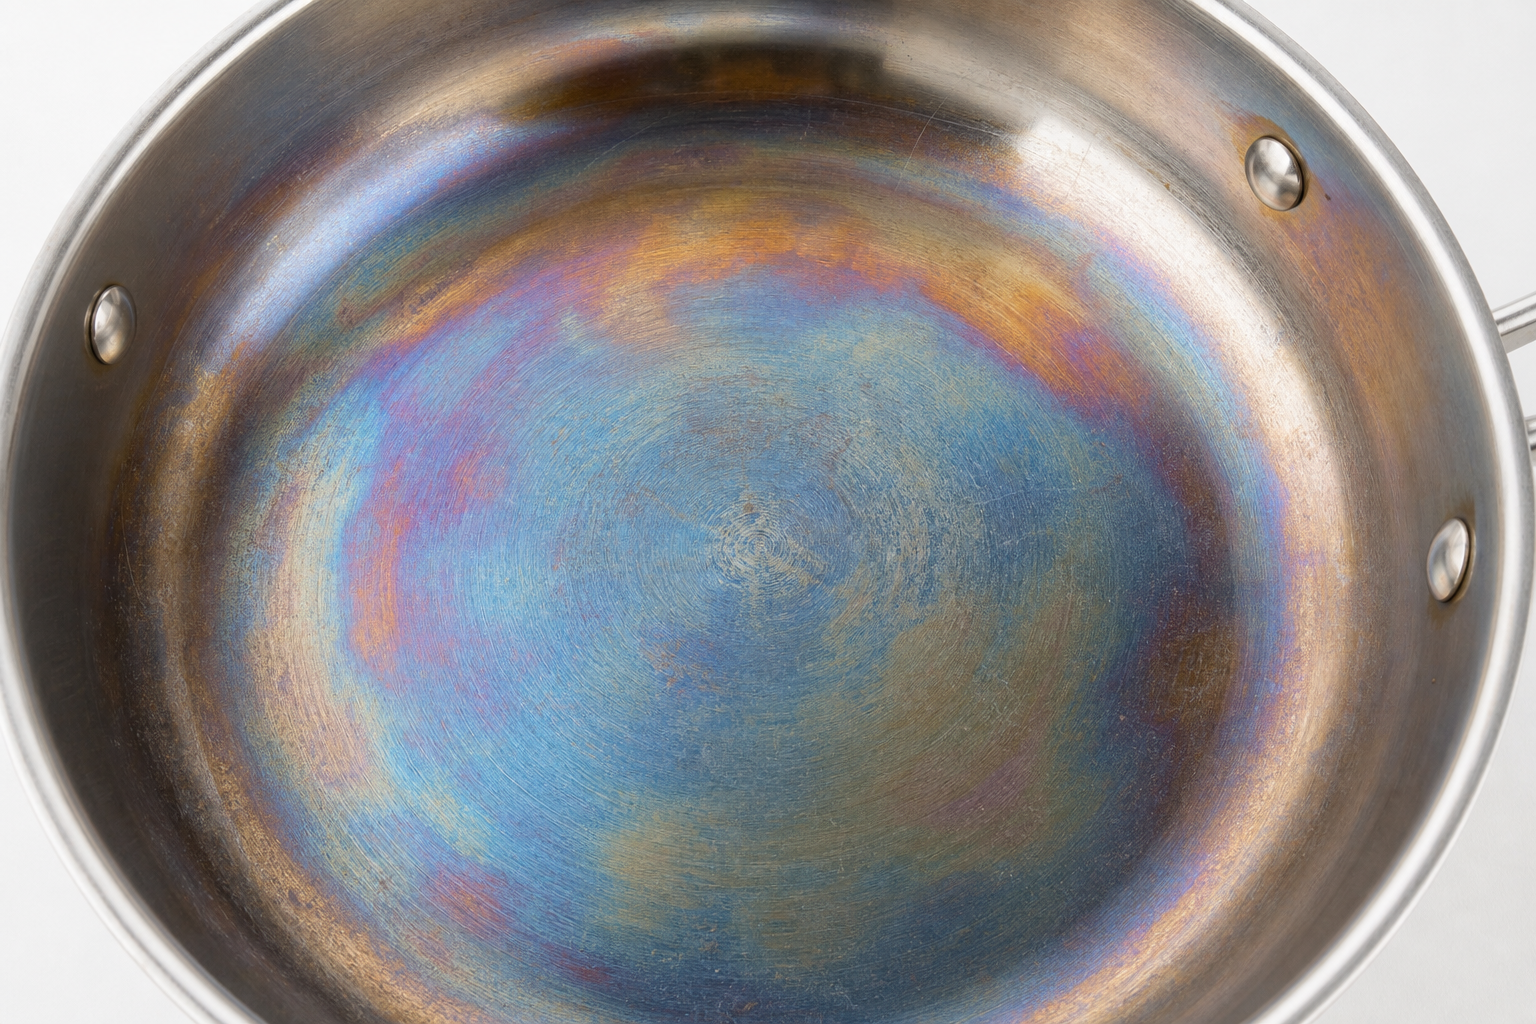
Rainbow / Blue-Gold Iridescent Stain
This heat tint appears when the chromium oxide passive layer thickens from excess heat — essentially the layer is oxidizing at a higher level than normal. It happens most often when a pan is preheated too long before adding oil, or when cooking at very high temperatures with oil that smokes excessively.
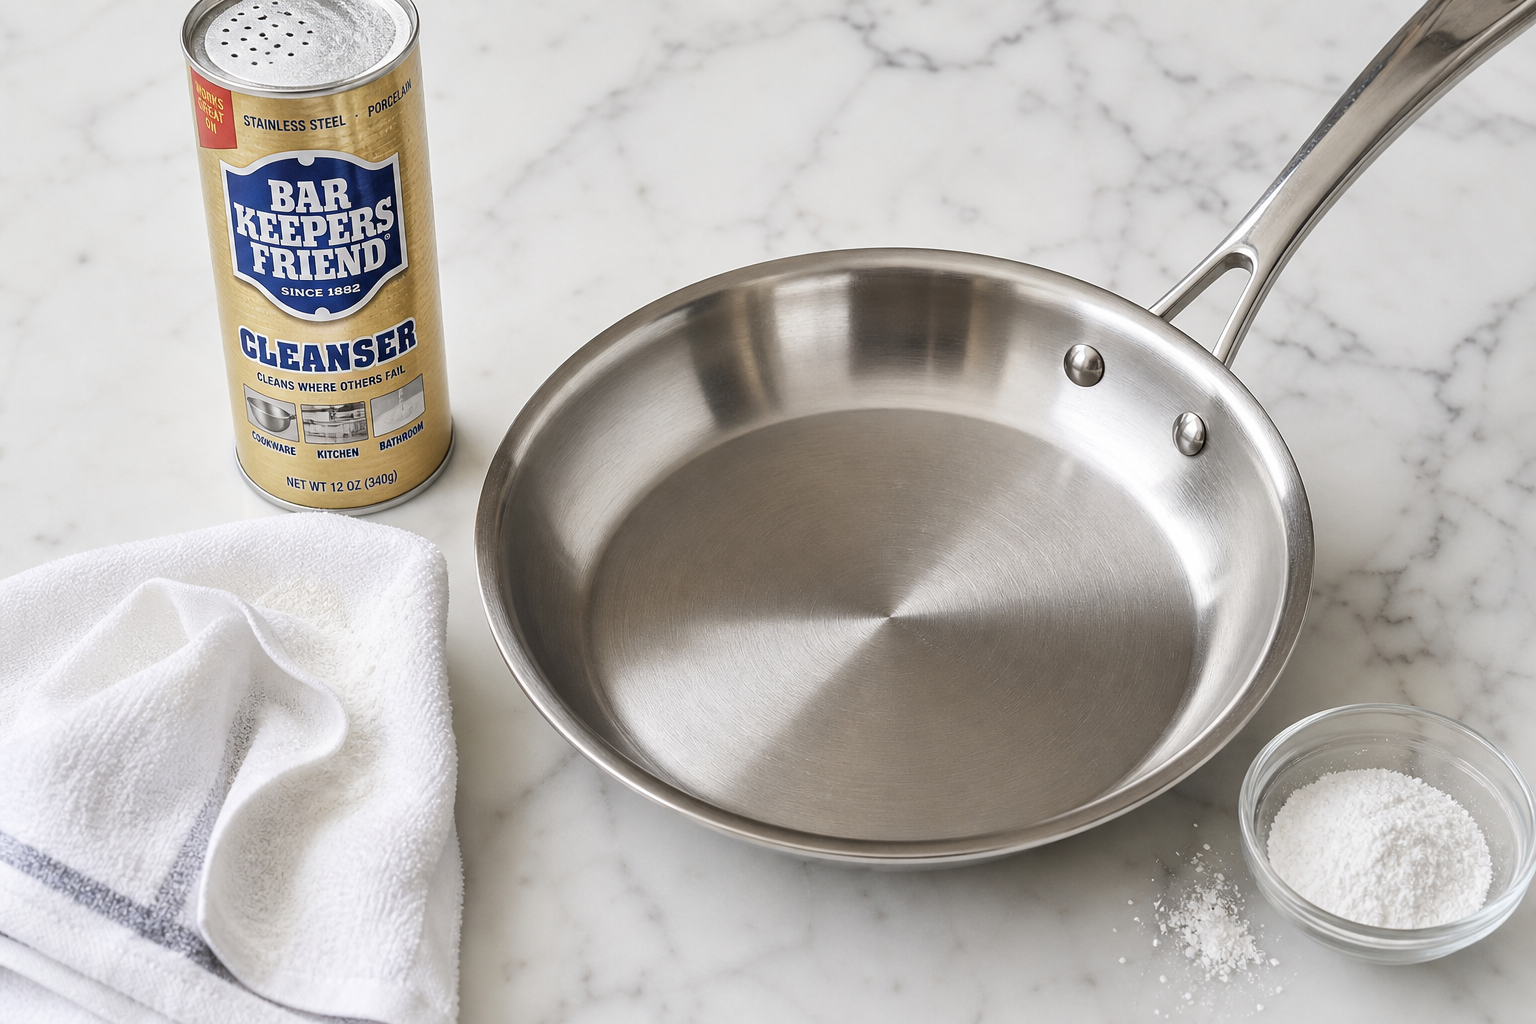
It’s purely cosmetic and safe. The fix is Bar Keepers Friend: wet the surface, apply a small amount of powder, rub with a damp cloth in circular motions following the grain of the metal, then rinse thoroughly. One treatment usually removes it completely.
White Chalky Deposits
These are calcium and magnesium mineral deposits left by hard water evaporating on the surface. They’re particularly common in areas with hard tap water.
The fix is white vinegar: soak a cloth in undiluted white vinegar and lay it over the deposits for 10 minutes, then scrub with a soft pad and rinse. The acetic acid in vinegar dissolves mineral scale without harming the stainless surface. For thick buildup inside a pot, fill with a 50/50 vinegar-water solution, bring to a simmer for 5 minutes, then discard and wash.
Dark Gray or Brown Spots (Interior)
Usually caused by overheating an empty pan or high-heat cooking with acidic ingredients. These are harder to remove than rainbow stains. Multiple Bar Keepers Friend treatments may be needed.
If the spots are pitted (rough to the touch, slightly below the surface level), that’s actual surface damage — not reversible with cleaning, but still cosmetic and safe to cook in under normal use.
Rust-Colored Streaks or Spots
This often isn’t rust from the pan itself. The most common causes:
- Iron contamination from a steel wool pad used previously
- Cast iron cookware stored directly on top of a stainless pan
- Reactive minerals in tap water
Fix: Soak in a 1:10 white vinegar and water solution for 30 minutes, scrub with a non-scratch pad, rinse well. If actual pitting rust develops (rough, elevated, orange texture), the passive layer has been compromised — usually from prolonged chloride exposure. Extensive pitting warrants pan replacement.
Deep Cleaning and Restoring the Shine
A quarterly deep clean with the right agent restores stainless steel to near-original condition.
Cleaning Agent Comparison
| Agent | Best For | Application Method | Contact Time | Rinse Required |
|---|---|---|---|---|
| Bar Keepers Friend powder | Rainbow stains, heat tint, surface polish, overall restoration | Wet surface, apply powder, rub in circular motion | 1–2 minutes | Thorough — oxalic acid residue is a food safety concern |
| Baking soda paste | Burnt food, odors, general grime | Mix with water, apply, let sit, scrub | 5–10 minutes | Normal rinse |
| White vinegar | Hard water deposits, mineral scale | Apply undiluted or 50/50 with water, soak | 10 minutes | Normal rinse |
| Simmer with water | Fresh burnt-on food, light residue | 1 inch water, simmer on stovetop | 5–8 minutes active | Normal wash after |
Bar Keepers Friend (BKF) is the most effective single agent for restoring stainless cookware appearance. Its oxalic acid dissolves surface oxidation while its feldspar-based mild abrasive polishes the surface. The critical caveat: it needs thorough rinsing because oxalic acid residue is a food safety concern. Always rinse until no powder residue remains, then wash with soap.
Polishing Direction Matters
For brushed (satin) finish stainless steel, always rub in the direction of the grain — the fine parallel lines visible on the surface. Circular motion on a brushed finish creates swirl marks that catch light differently and look worse than the original problem. For mirror-polished interiors, circular motion is fine.
Seasoning Stainless Steel
Some cooks season stainless steel by heating the pan and rubbing oil into the surface — similar to cast iron seasoning but much less permanent. This is genuinely useful for reducing sticking, though the effect lasts only a few cooks before washing removes it. It doesn’t change the cleaning routine meaningfully and is not required for pan longevity.
What to Never Do with Stainless Steel Cookware
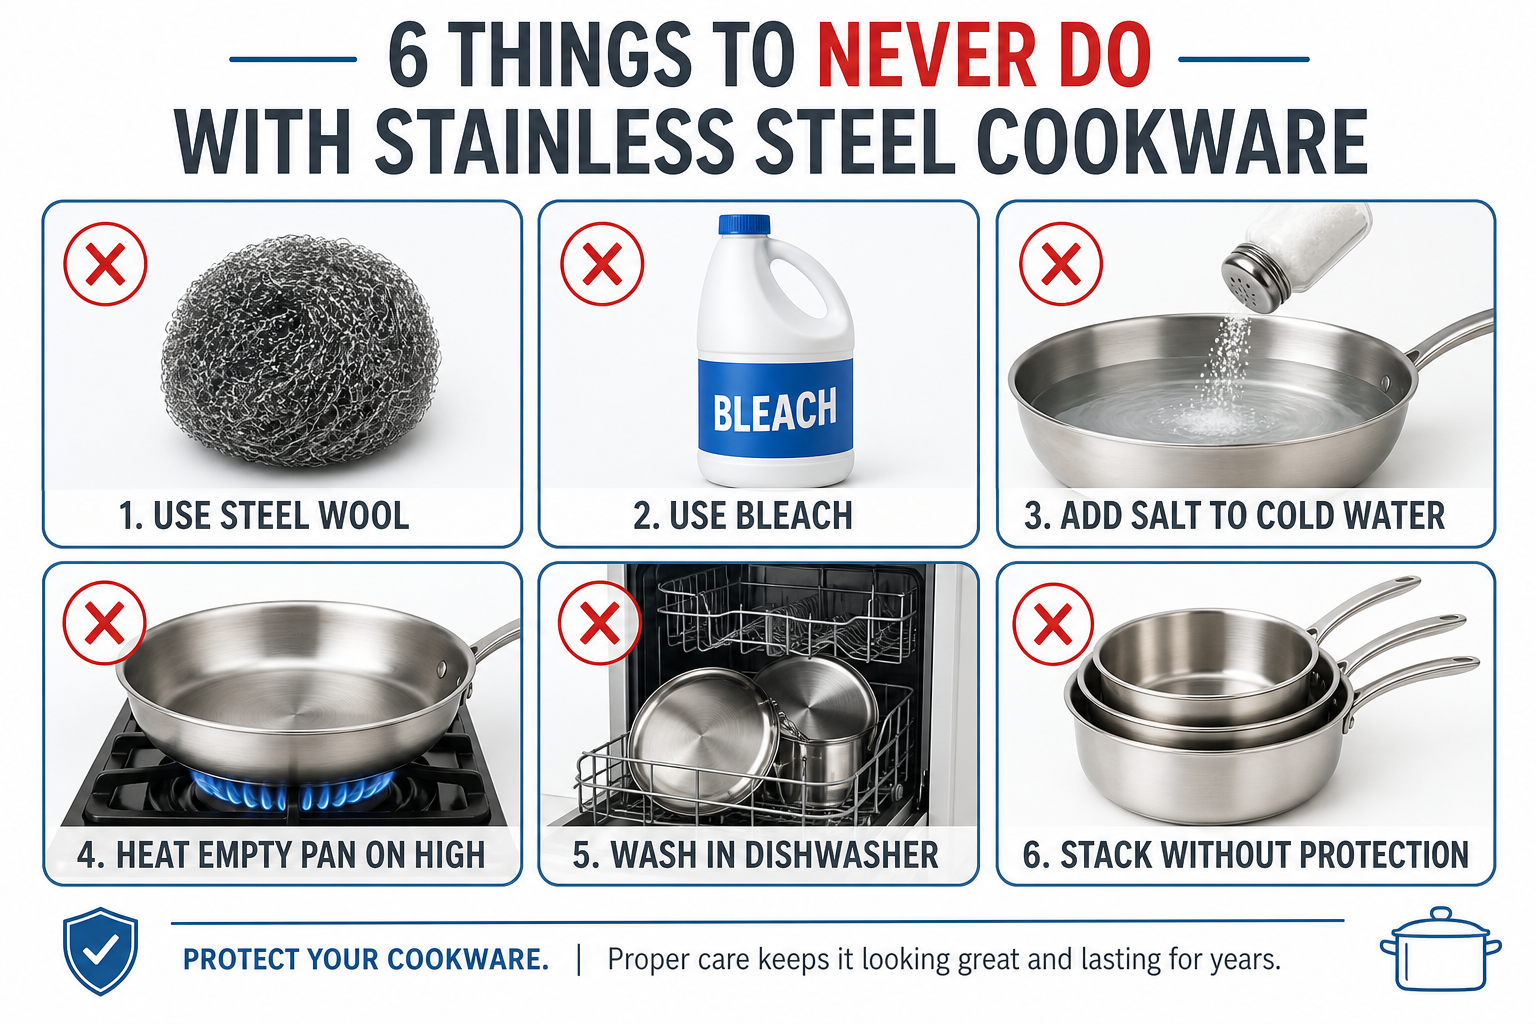
These six practices cause the most damage to stainless steel — some are reversible, some are not.
- Never soak in salt water. Adding salt to cold water creates a chloride solution. Even 20 minutes of contact can initiate pitting. Always add salt after water comes to a boil, and never leave salty liquid sitting in the pan for extended periods.
- Never use bleach-based cleaners. Sodium hypochlorite (bleach) contains chlorides. This includes many “all-purpose” kitchen sprays and sanitizing products. Check ingredient labels — anything listing sodium hypochlorite should stay off your stainless cookware.
- Never use steel wool or metal scrubbing pads. Steel wool embeds iron particles in the stainless surface, which then oxidize and produce rust spots. Scratches from metal pads also create crevices that trap food and bacteria.
- Don’t heat an empty pan for extended periods. A 2-minute preheat before adding oil is correct technique and doesn’t harm the pan. Heating dry for 5+ minutes at high heat discolors the surface and can warp thinner pans.
- Avoid storing acidic foods for long periods. Tomato sauce stored overnight in a stainless pan is fine. Multi-day storage of acidic or salty foods — especially in lower-grade 18/0 stainless — can promote trace leaching of chromium and nickel. Use the cookware for cooking; use food storage containers for storage.
- Don’t stack unprotected. Pans stacked without protection scratch each other’s surfaces. Place a soft cloth, paper towel, or pan protector between stacked cookware.
Maintenance Tips That Make Stainless Steel Last Decades
With consistent simple habits, quality stainless steel cookware genuinely outlasts everything else in the kitchen.
Master the Preheat Technique
The biggest complaint about stainless steel — food sticking — is almost always a technique problem, not a pan problem. Professional kitchens use stainless steel pans almost exclusively, and here’s how:
- Heat the empty pan over medium heat for 1–2 minutes
- Add oil — the oil should shimmer almost immediately (not smoke)
- Add food only after the oil shimmers
This works because metal expands slightly when heated, temporarily closing the microscopic pores in the surface that would otherwise grip food. The Leidenfrost effect also plays a role with very hot surfaces — a drop of water should bead and skitter across the surface before adding oil, which indicates correct preheating temperature.
Use Medium Heat, Not High
Stainless steel cookware with aluminum or copper cores (tri-ply, fully-clad) distributes heat efficiently. High heat is rarely needed. Medium to medium-high handles searing, sautéing, and sauce-making without the discoloration and sticking that come with excessive heat.
Clean Rivet Areas
Rivets on the interior of the pan (where handles attach) trap grease and become a hygiene concern. Use a small stiff brush — an old toothbrush works — to clean around rivets during regular washing.
Annual or Bi-Annual Bar Keepers Friend Treatment
Even with proper daily care, a semi-annual BKF polish treatment removes the subtle oxidation layer that accumulates from daily use and keeps the surface looking close to new.
Storage
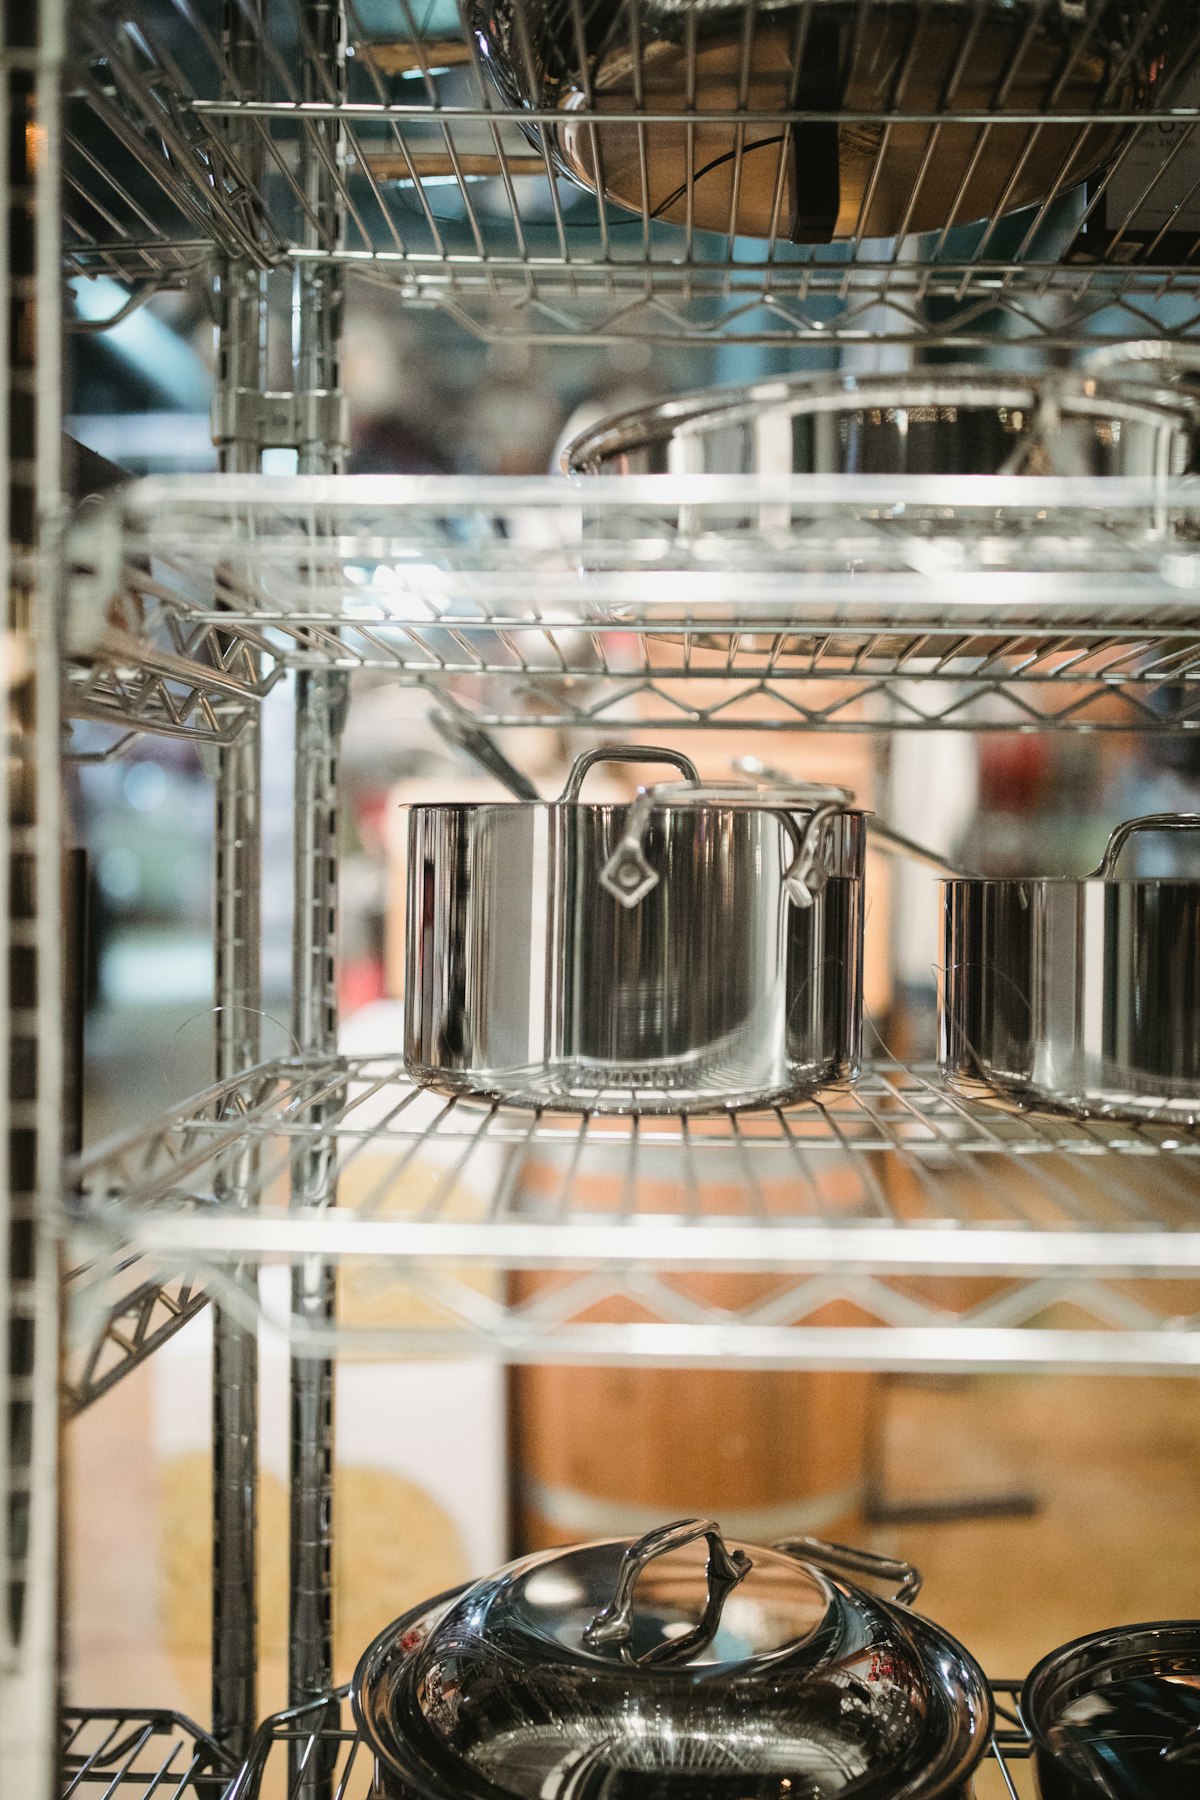
- Hang on a rack when possible — best for surface preservation
- Stack with pan protectors (felt circles or folded cloths) if space requires stacking
- Store dry — never stack damp pans; residual moisture accelerates mineral deposit formation
FAQ
Why does my stainless steel pan have rainbow or blue spots after cooking?
Rainbow discoloration is caused by the chromium oxide layer thickening from heat exposure — the thin film creates optical interference that produces iridescent colors. It’s completely harmless and doesn’t affect cooking performance. Bar Keepers Friend removes it in 1–2 minutes.
Is it safe to cook in a discolored stainless steel pan?
Yes, in virtually all cases. Rainbow tints, white mineral deposits, and brown heat stains are cosmetic. Only extensive rust pitting — where the surface is physically degraded — should prompt considering replacement, and even then it’s primarily an aesthetic concern rather than an acute safety issue.
What’s the best way to prevent food from sticking to stainless steel?
Proper preheating is the answer. Heat the empty pan for 1–2 minutes over medium heat before adding oil. The oil should shimmer when added — if it smokes immediately, the pan is too hot. Cold or room-temperature food on an inadequately preheated pan is the primary cause of sticking.
Can you use Bar Keepers Friend on stainless steel cookware?
Yes — it’s one of the most effective cleaners for stainless steel cookware. Use it wet, rub in circular motions (or with the grain on brushed finishes), and rinse thoroughly. Don’t let it dry on the surface.
Does stainless steel cookware need to be seasoned?
Not in the same way cast iron does. A light oil seasoning can temporarily reduce sticking, but it washes off quickly and isn’t essential. Proper preheating technique achieves the same result more reliably.
How long should quality stainless steel cookware last?
With proper care, indefinitely. Well-made 18/10 multi-ply stainless steel pans have a lifespan measured in decades, not years. Most early failures come from warping (from thermal shock) or surface degradation (from chloride exposure or steel wool) — both of which proper care prevents.
Summary
Stainless steel cookware rewards consistent, simple care over complex occasional treatments. The passive chromium oxide layer does the protection work — your job is to not undermine it. Avoid chlorides and steel wool, dry promptly after washing, and start with the simmer method for burnt food before reaching for abrasives. For discoloration and cosmetic restoration, Bar Keepers Friend is the product that reliably works. The daily routine is under 3 minutes. The preheat technique solves sticking. Done consistently, these habits are the reason a quality stainless pan bought today should still be in service 20 years from now.