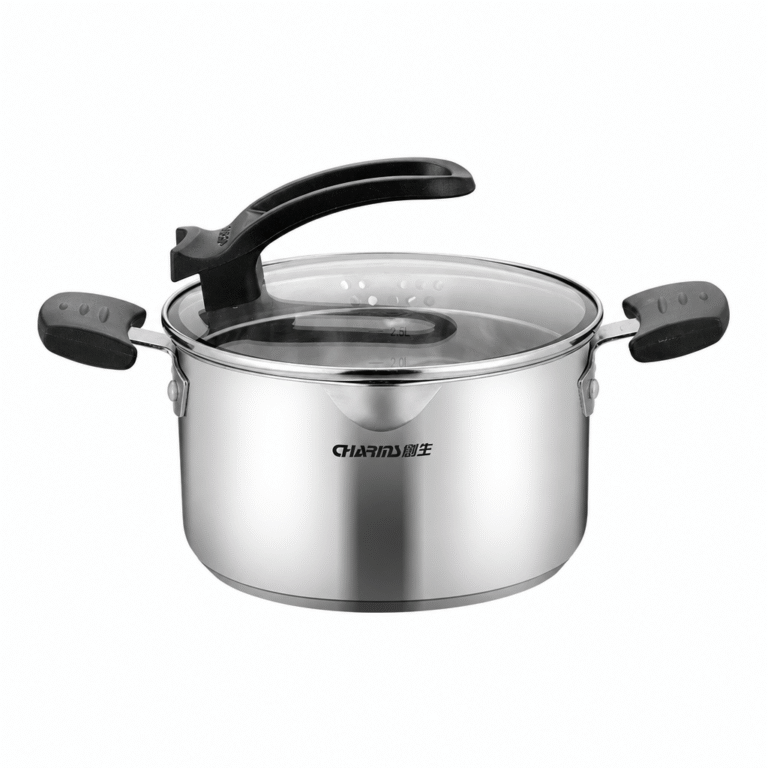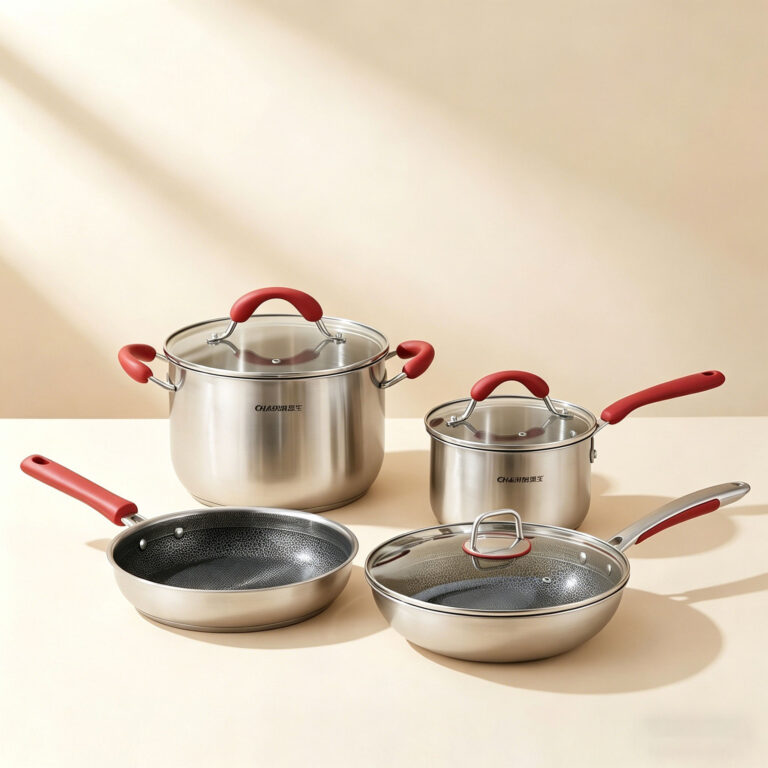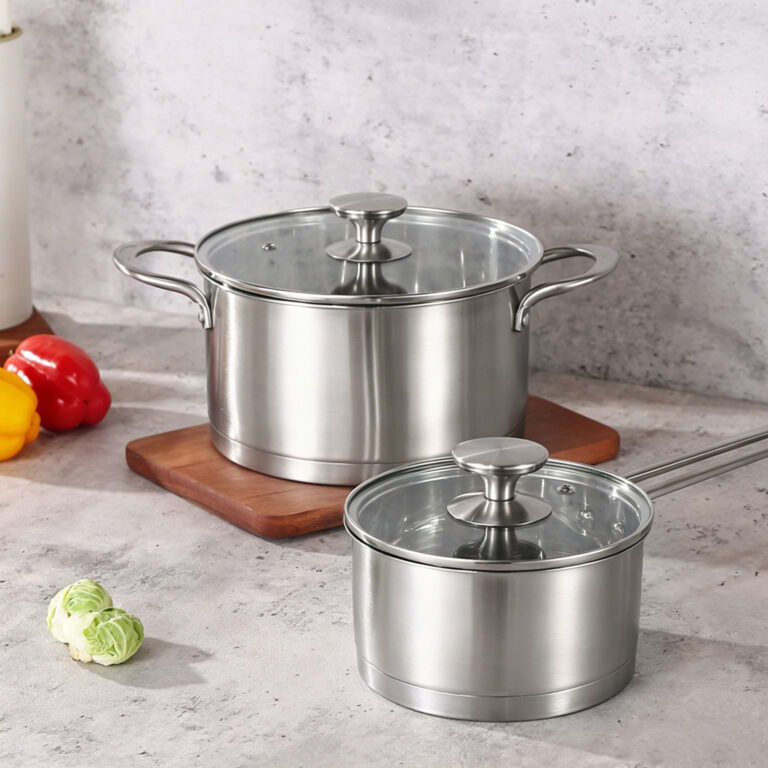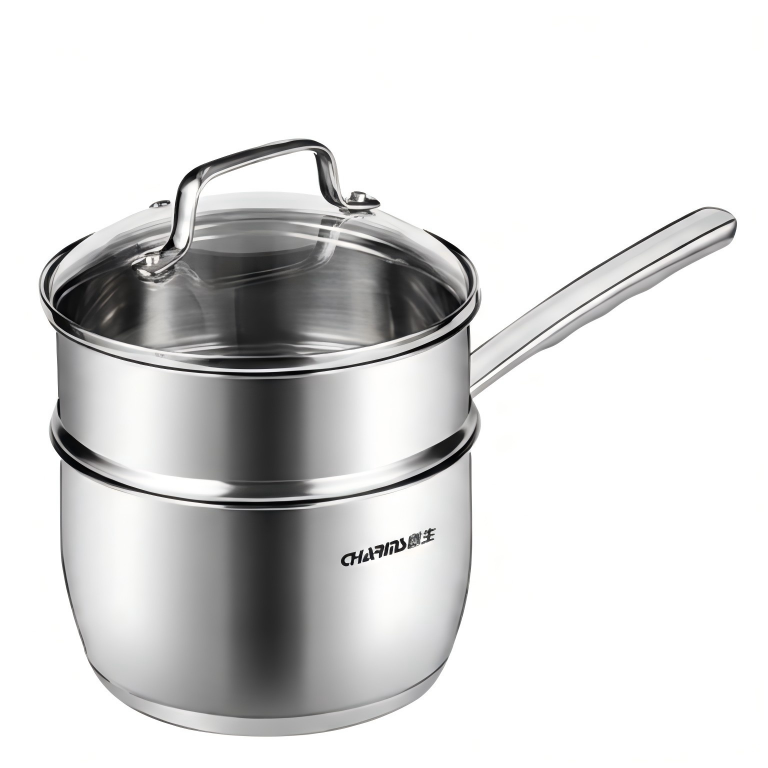


Stainless steel cookware is durable, non-toxic, and built to last decades — but it comes with a real learning curve. The most common problems are food sticking, white mineral deposits, rainbow discoloration, surface pitting, rust spots, and stubborn burnt-on residue. Almost all of them are fixable with the right technique, not replacement. This guide explains the science behind each problem and gives you specific, tested fixes — including when a pan genuinely is past saving.
Food Sticking to the Pan — The #1 Complaint
The short answer: stainless steel sticks when the pan isn’t hot enough before you add food or oil.
This trips up almost everyone who switches from nonstick. The fix isn’t seasoning, it isn’t a better brand of pan — it’s temperature management, and there’s a simple test that tells you when you’re ready.
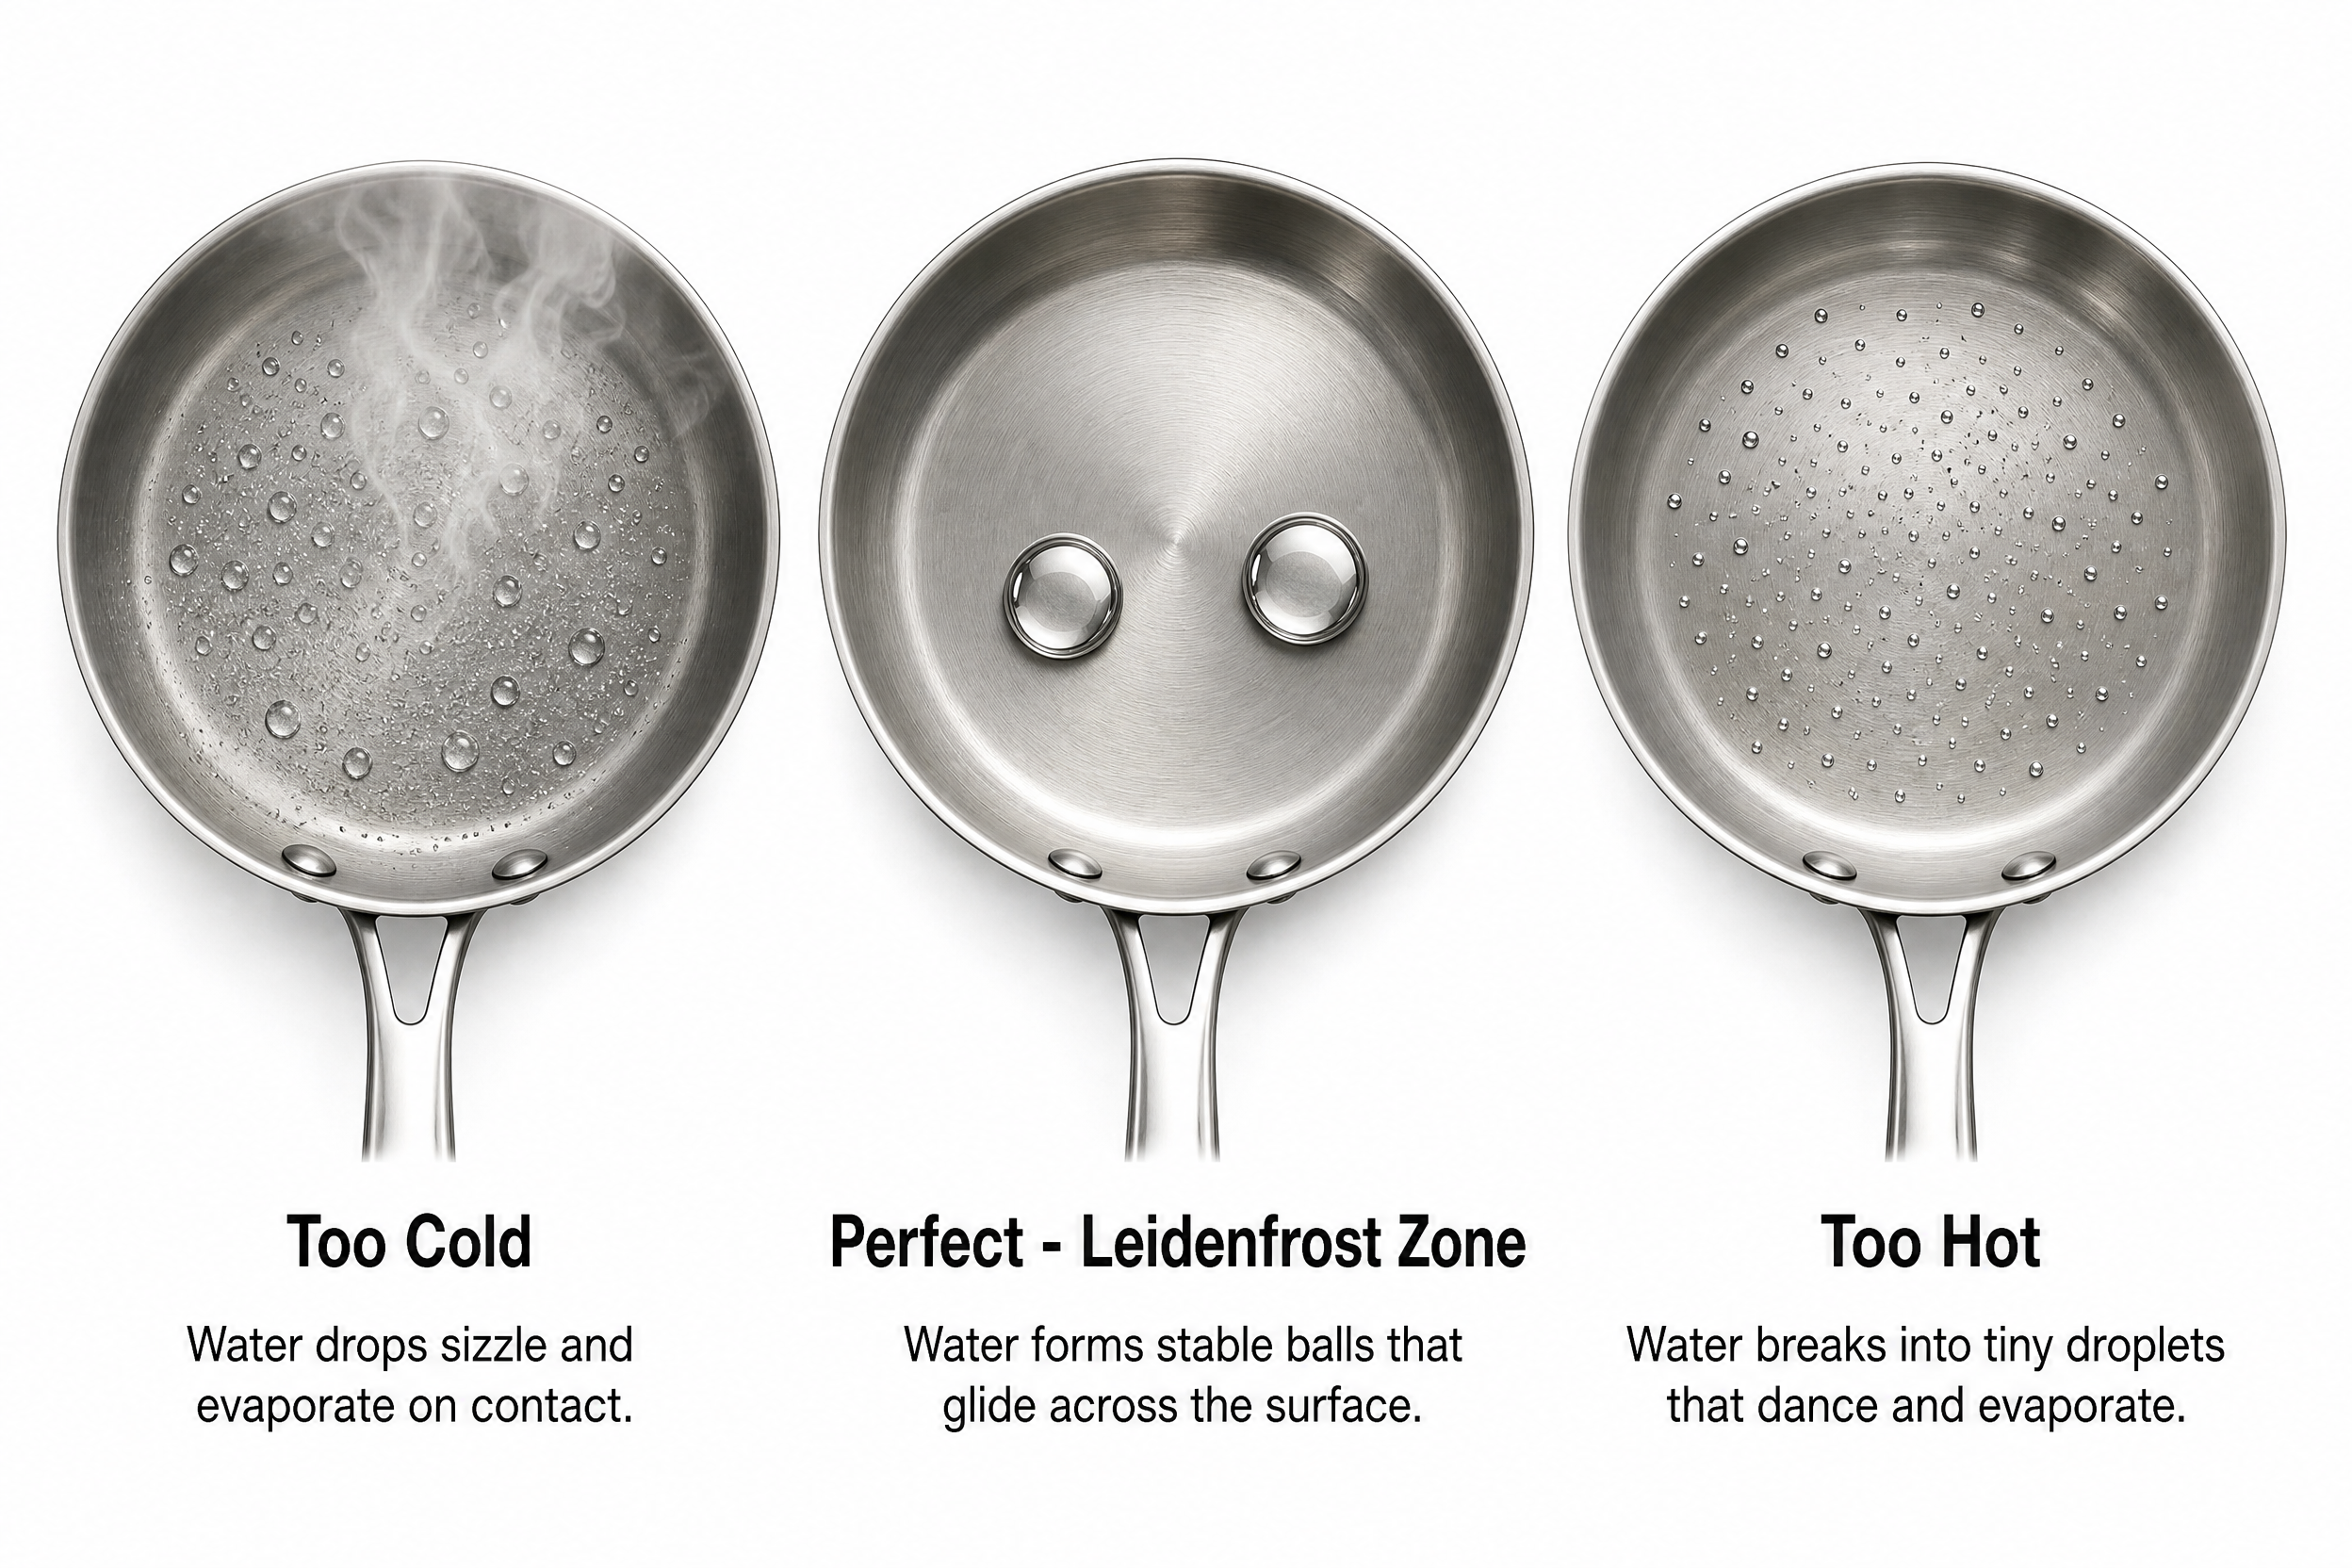
Before adding any fat, heat the pan over medium heat for 2–3 minutes. Then drop a few water droplets in. If they sizzle and evaporate immediately, the pan is too cold. If they bead up and skitter around the surface like mercury balls, you’ve hit the Leidenfrost point — around 380°F (193°C). That behavior is called the Leidenfrost effect: the water vaporizes so fast it creates a thin cushion that keeps the droplet from touching the metal directly. Below that threshold, water just sizzles and evaporates — the pan isn’t ready yet.
At that temperature, add your oil, let it shimmer (another 30–60 seconds), then add food. The oil fills the microscopic pores of the steel, and food releases naturally rather than bonding to the surface.
The three most common sticking mistakes:
- Adding oil to a cold pan, then heating both together (the oil polymerizes unevenly before food goes in)
- Cooking on too high heat — the surface gets uneven hot spots and food scorches before the inside cooks
- Moving food too soon — stainless steel initially grips food, then releases when a crust forms; give it 2–3 minutes before trying to flip
For eggs specifically, lower your heat slightly after the pan reaches temperature, add butter (not just oil), and don’t touch the eggs for the first 90 seconds.
White Spots and Chalky Deposits
White spots on stainless steel fall into two categories — and they need different fixes.
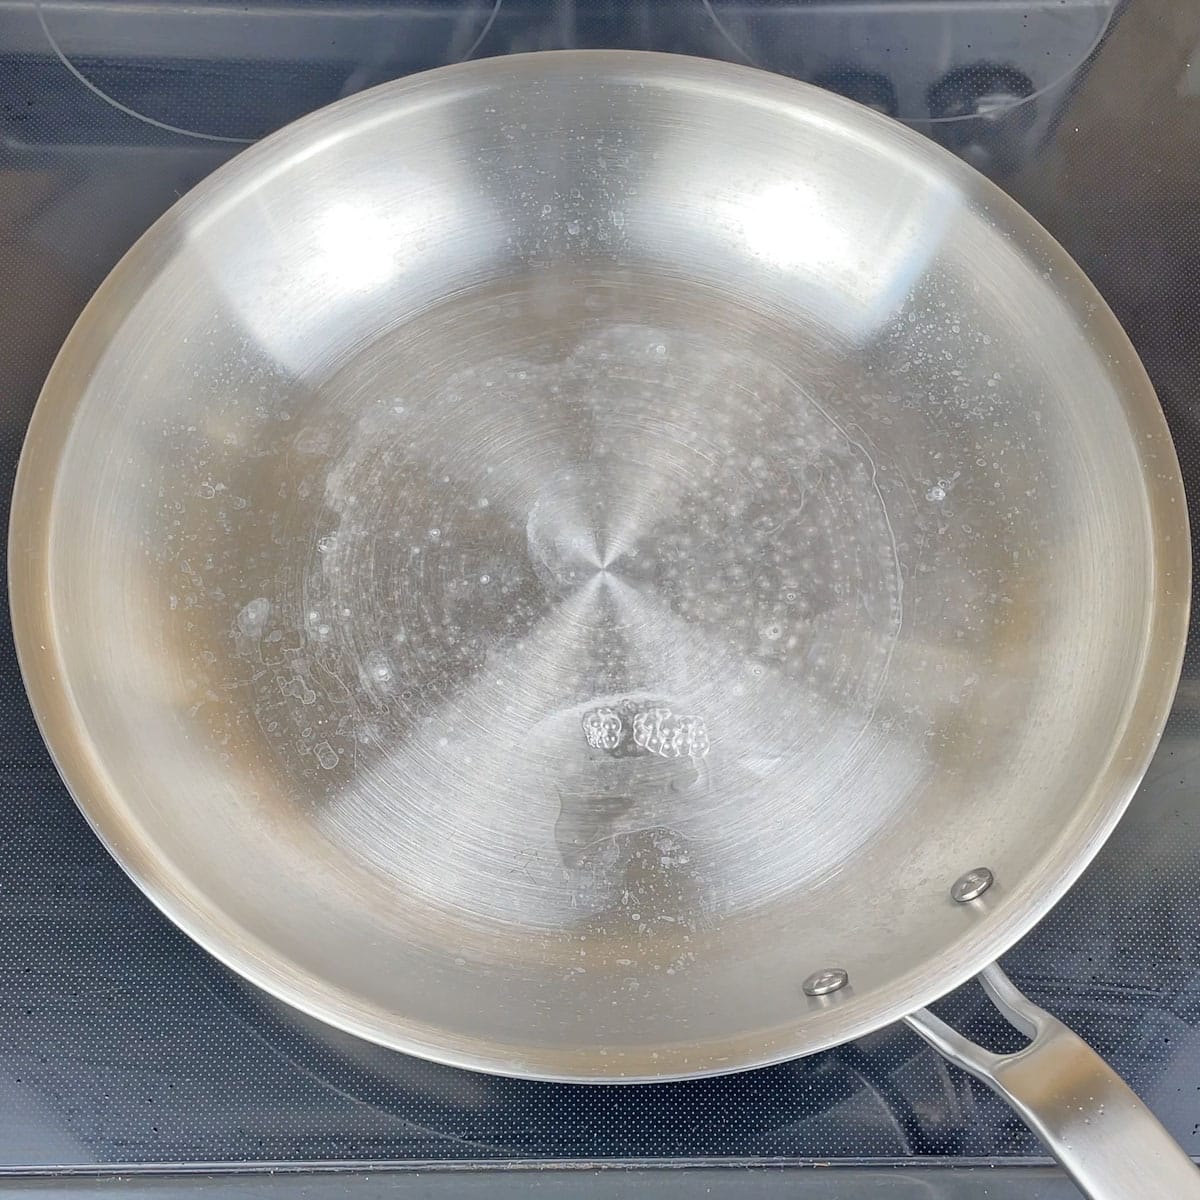
The first type is calcium and mineral deposits from tap water. When water evaporates from a hot or wet pan, the minerals stay behind and form a white, chalky film. This is especially noticeable in hard-water areas. These spots are purely cosmetic — they don’t affect cooking performance or safety.
Fix: boil a mixture of equal parts white vinegar and water in the affected pan for 5–10 minutes, then let it cool before pouring out. Made In Cookware’s official care guide recommends this 1:1 ratio — the acidity dissolves the calcium buildup. Rinse and dry immediately with a cloth.
The second type is salt deposits. If you add salt to water before it boils, the salt settles on the bottom of the pan and can leave pitting or white residue marks (more on pitting below). The white patches from salt are similar in appearance but slightly more irregular.
Fix: Bar Keepers Friend (the powder or liquid version) is the most reliable cleaner — apply a paste, scrub with a soft cloth in a circular motion, rinse thoroughly. For stainless steel cookware interiors, circular scrubbing is correct (grain-direction technique applies to appliance exteriors, not pan surfaces).
One more cause people miss: some dishwasher detergents leave a white film on stainless steel. Hand-washing is always safer for maintaining the finish.
Rainbow or Blue Discoloration
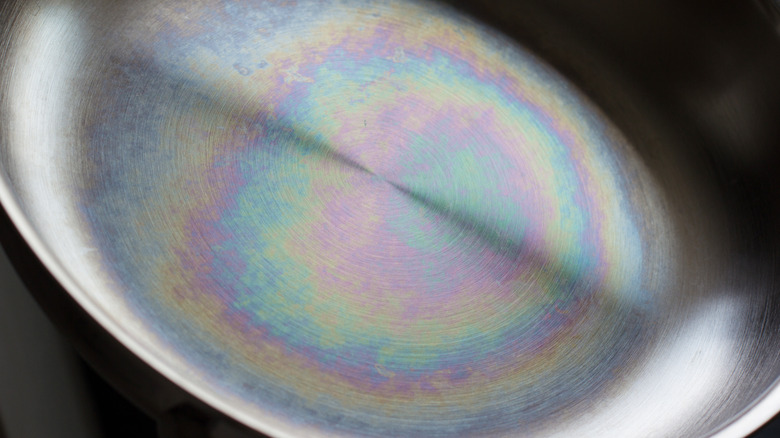
Rainbow staining is cosmetic — it does not mean your pan is damaged.
That blue or iridescent rainbow sheen that appears after high-heat cooking is called heat tint. It forms when chromium in the steel oxidizes at high temperatures. The resulting oxide layer is extremely thin — thin enough that it refracts visible light, splitting it into colors the same way a soap bubble does.
This is not a structural problem. The pan is still completely safe to use. The discoloration doesn’t affect cooking performance and doesn’t indicate the steel is breaking down.
Fix: Bar Keepers Friend works well here too. Apply, scrub gently with a soft cloth or non-scratch pad, rinse. Alternatively, a paste of baking soda and a few drops of dish soap left on for 10 minutes, then scrubbed off, removes most heat tint. For stubborn rainbow staining, a 50/50 mixture of white vinegar and water brought to a simmer in the pan will break it down.
To prevent it: avoid cooking on maximum heat with an empty or dry pan. Stainless steel distributes heat well — you rarely need the burner above medium-high.
Pitting: Small Holes on the Surface
Pitting is more serious than discoloration — but most pitting is still safe.
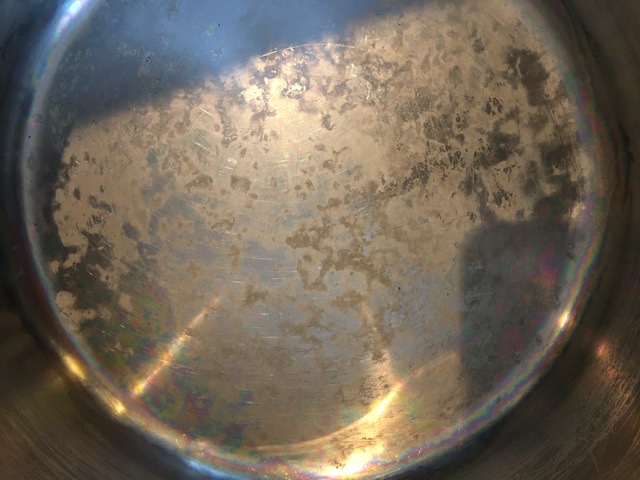
Pitting corrosion appears as small pinhole-sized depressions or craters on the cooking surface. From the outside they look minor, but underneath the surface the damage can be wider and deeper than it appears. There are two main causes: chloride exposure and salt contact at high temperatures.
Cause 1 — Salt in cold water: When you add salt to cold or warm water and then heat it, the salt chlorides concentrate on the pan surface before they dissolve. At elevated temperatures, chlorides break through the passive chromium oxide layer that protects stainless steel, creating corrosion pits. This is why every stainless steel manufacturer says to add salt only after water is already boiling.
Cause 2 — Harsh cleaning agents: Bleach-based cleaners, steel wool, and abrasive scrubbers can strip the protective layer and make the steel vulnerable to pitting.
Is it safe to cook in a pitted pan?
Mild surface pitting (hairline depressions you can feel but not easily see) is still safe — the FDA has no specific ruling against it, and the steel isn’t leaching at levels considered harmful. However, deep pitting creates irregular surfaces where bacteria can accumulate and where food is more likely to stick. If pitting has created visible craters, grooves, or roughness you can feel clearly with a fingernail, it’s time to replace the pan.
There is no home repair for structural pitting. Re-seasoning or scrubbing won’t fill the pits.
Rust Spots
“Stainless” doesn’t mean rust-proof — it means rust-resistant.
Grade 304 stainless steel (used in most quality cookware) contains 18% chromium and 8% nickel. The chromium forms a thin, self-healing oxide layer that resists rust under normal conditions. But that layer has limits.
Rust on stainless steel typically appears as small reddish-brown spots or streaks. Common causes:
- Prolonged exposure to salt or acidic food without rinsing — particularly common with tomato sauce, citrus marinades, or salty brines left in the pan overnight
- Contact with plain carbon steel (steel wool, cast iron pans, metal utensils left resting on the surface) — carbon steel particles embed in stainless and rust
- Hard water with high iron content — the iron deposits on the surface and oxidizes
Fix: Bar Keepers Friend removes surface rust on stainless effectively. Apply as a paste, scrub with a soft non-scratch pad, rinse with clean water, dry immediately. For small spots, a cut lemon dipped in salt also works as a mild abrasive acid treatment.
Prevention: rinse pans promptly after cooking acidic foods, don’t soak stainless steel overnight, avoid steel wool entirely.
If rust has penetrated deeper than the surface (you can see dark pitting below the rust spots), the protective layer is compromised. That pan can still be used safely for most cooking, but it’s more vulnerable to future corrosion.
Burnt-On Food That Won’t Come Off
Burnt residue on stainless steel looks permanent — it almost never is.
The key mistake is reaching for a metal scrubber and physical force. That damages the surface and does less to remove the burnt layer than the correct method.
Method 1 — Deglaze while still warm: As soon as you’re done cooking, add 1–2 cups of water to the still-warm (not scalding) pan and return it to medium heat. As the water heats, it loosens the fond and burnt bits. A wooden spoon or silicone spatula is enough to scrape everything clean. This also works after deep browning or caramelizing.
Method 2 — Baking soda paste for stubborn residue: Let the pan cool completely. Apply a paste of baking soda and a small amount of dish soap directly to the burnt area. Leave it for 15–20 minutes. The alkaline baking soda breaks down the carbonized residue without scratching the steel. Scrub with a non-scratch pad (nylon or soft sponge only) in a circular motion, then rinse.
Method 3 — Bar Keepers Friend for oxidized burns: For dark, carbonized patches that have been there a while, Bar Keepers Friend’s oxalic acid formula cuts through oxidized residue without scratching. Apply as a paste, scrub with a non-scratch pad, rinse well — oxalic acid residue shouldn’t stay on a cooking surface.
What to avoid: steel wool (scratches), bleach (strips the protective layer), soaking in soapy water for hours (softens residue slightly but damages the steel surface long-term).
What Not to Cook in Stainless Steel
Stainless steel handles most foods well — but a few categories cause unnecessary problems.
Highly acidic foods for extended cooking: Short contact with tomatoes, citrus, or wine is fine. Problems start with long, slow braises or sauces that sit in the pan for 30+ minutes at high heat. Acids break down the oxide layer gradually, causing metallic off-flavors and slight discoloration of the food. For tomato sauce that simmers for an hour, an enameled cast iron or ceramic pan is a better fit.
Eggs (without the right technique): Eggs are protein-dense and bond strongly to metal when heat isn’t managed correctly. They’re not impossible in stainless steel, but they require lower heat, adequate fat, and patience. Most home cooks get better results with eggs in a nonstick pan and save the stainless for searing and sautéing.
Highly salted liquids left in the pan: Brine, pickle liquid, or heavily salted marinades sitting in a stainless pan overnight will damage the surface. Rinse promptly.
Delicate fish without a crust: Thin fillets with high moisture content often tear when stuck to steel. For fish, wait for a proper sear (3–4 minutes undisturbed) and it will release cleanly. Don’t attempt to move it before the crust forms.
When Should You Replace a Stainless Steel Pan?
A well-made stainless steel pan should last 20–30 years with normal use. Most “problems” are not reasons to replace it.
The confusion here is that cosmetic issues — heat tint, white spots, surface scratches from metal utensils — look alarming but don’t affect safety or performance. Stainless steel doesn’t leach harmful chemicals when damaged the way nonstick coatings can.
Legitimate reasons to replace a stainless steel pan:
- Deep structural pitting — visible craters or grooves where food hides and bacteria can accumulate
- Warped base — if the pan rocks on a flat surface and won’t sit flat on an induction or glass stovetop, it heats unevenly and can’t be corrected
- Delamination — if the pan has a clad construction (layers of aluminum or copper bonded inside steel) and the layers are visibly separating at the rim, the thermal performance is degraded
- Handle failure — a loose handle that can’t be retightened is a safety hazard
Surface scratches, minor discoloration, slight staining, and even light rust spots after cleaning are not replacement triggers. They’re maintenance issues.
One practical test: If you can cook an evenly browned piece of chicken breast in the pan without hot spots and the base sits flat without rocking, the pan is still doing its job regardless of how it looks.
Frequently Asked Questions
Why is everything sticking to my new stainless steel pan?
The pan almost certainly isn’t hot enough before you add food. Do the water drop test: heat the dry pan for 2–3 minutes on medium, then drop in a few water droplets. If they bead up and roll around (rather than sizzle and evaporate), the pan is ready. Add oil, wait for it to shimmer, then add food.
Why is my stainless steel pan sticking all of a sudden when it used to work fine?
Two common causes: residue buildup from previous cooking has changed the surface properties (clean with Bar Keepers Friend and re-test), or you’ve changed your heat management habit. Try the water drop test again from scratch.
Are white spots on stainless steel dangerous?
No. White spots are mineral deposits from tap water — calcium and magnesium left behind when water evaporates. They’re cosmetic only. Boil equal parts white vinegar and water in the pan for 5–10 minutes to dissolve them.
Is pitting in stainless steel pans safe?
Minor surface pitting is safe for continued cooking use. Deep pitting that creates visible craters or grooves you can feel with your fingernail creates surfaces where bacteria can accumulate, making the pan harder to clean effectively — that’s when replacement makes sense.
What should you not cook in stainless steel?
Highly acidic foods in long braises (tomatoes, citrus, wine sauces cooking 30+ minutes), eggs without proper heat management, and heavily salted liquids left to sit in the pan. Short contact with acidic ingredients is fine — it’s extended cooking that causes issues.
How do I get the rainbow stain off my stainless steel pan?
Rainbow heat tint is cosmetic and not harmful. Bar Keepers Friend paste or a baking soda and dish soap paste left on for 10 minutes, then scrubbed in a circular motion with a non-scratch pad, removes most of it. Simmering a 50/50 vinegar-water solution in the pan also works.
When should you throw away stainless steel pans?
The only clear reasons to replace: structural pitting (visible craters), a warped base that won’t sit flat, delaminated clad layers at the rim, or a failed handle. Surface scratches, minor discoloration, and light staining are not reasons to replace.
Summary
Most stainless steel cookware problems come down to two things: skipping proper preheating, and not knowing which cleaning method matches which type of residue. Once you understand why food sticks (the Leidenfrost effect), why white spots form (mineral deposits), and what pitting actually means for safety, the pan stops being a mystery.
Stainless steel rewards a little technique with decades of reliable cooking. The problems that seem to indicate a defective pan are almost always technique problems — and they’re all fixable.